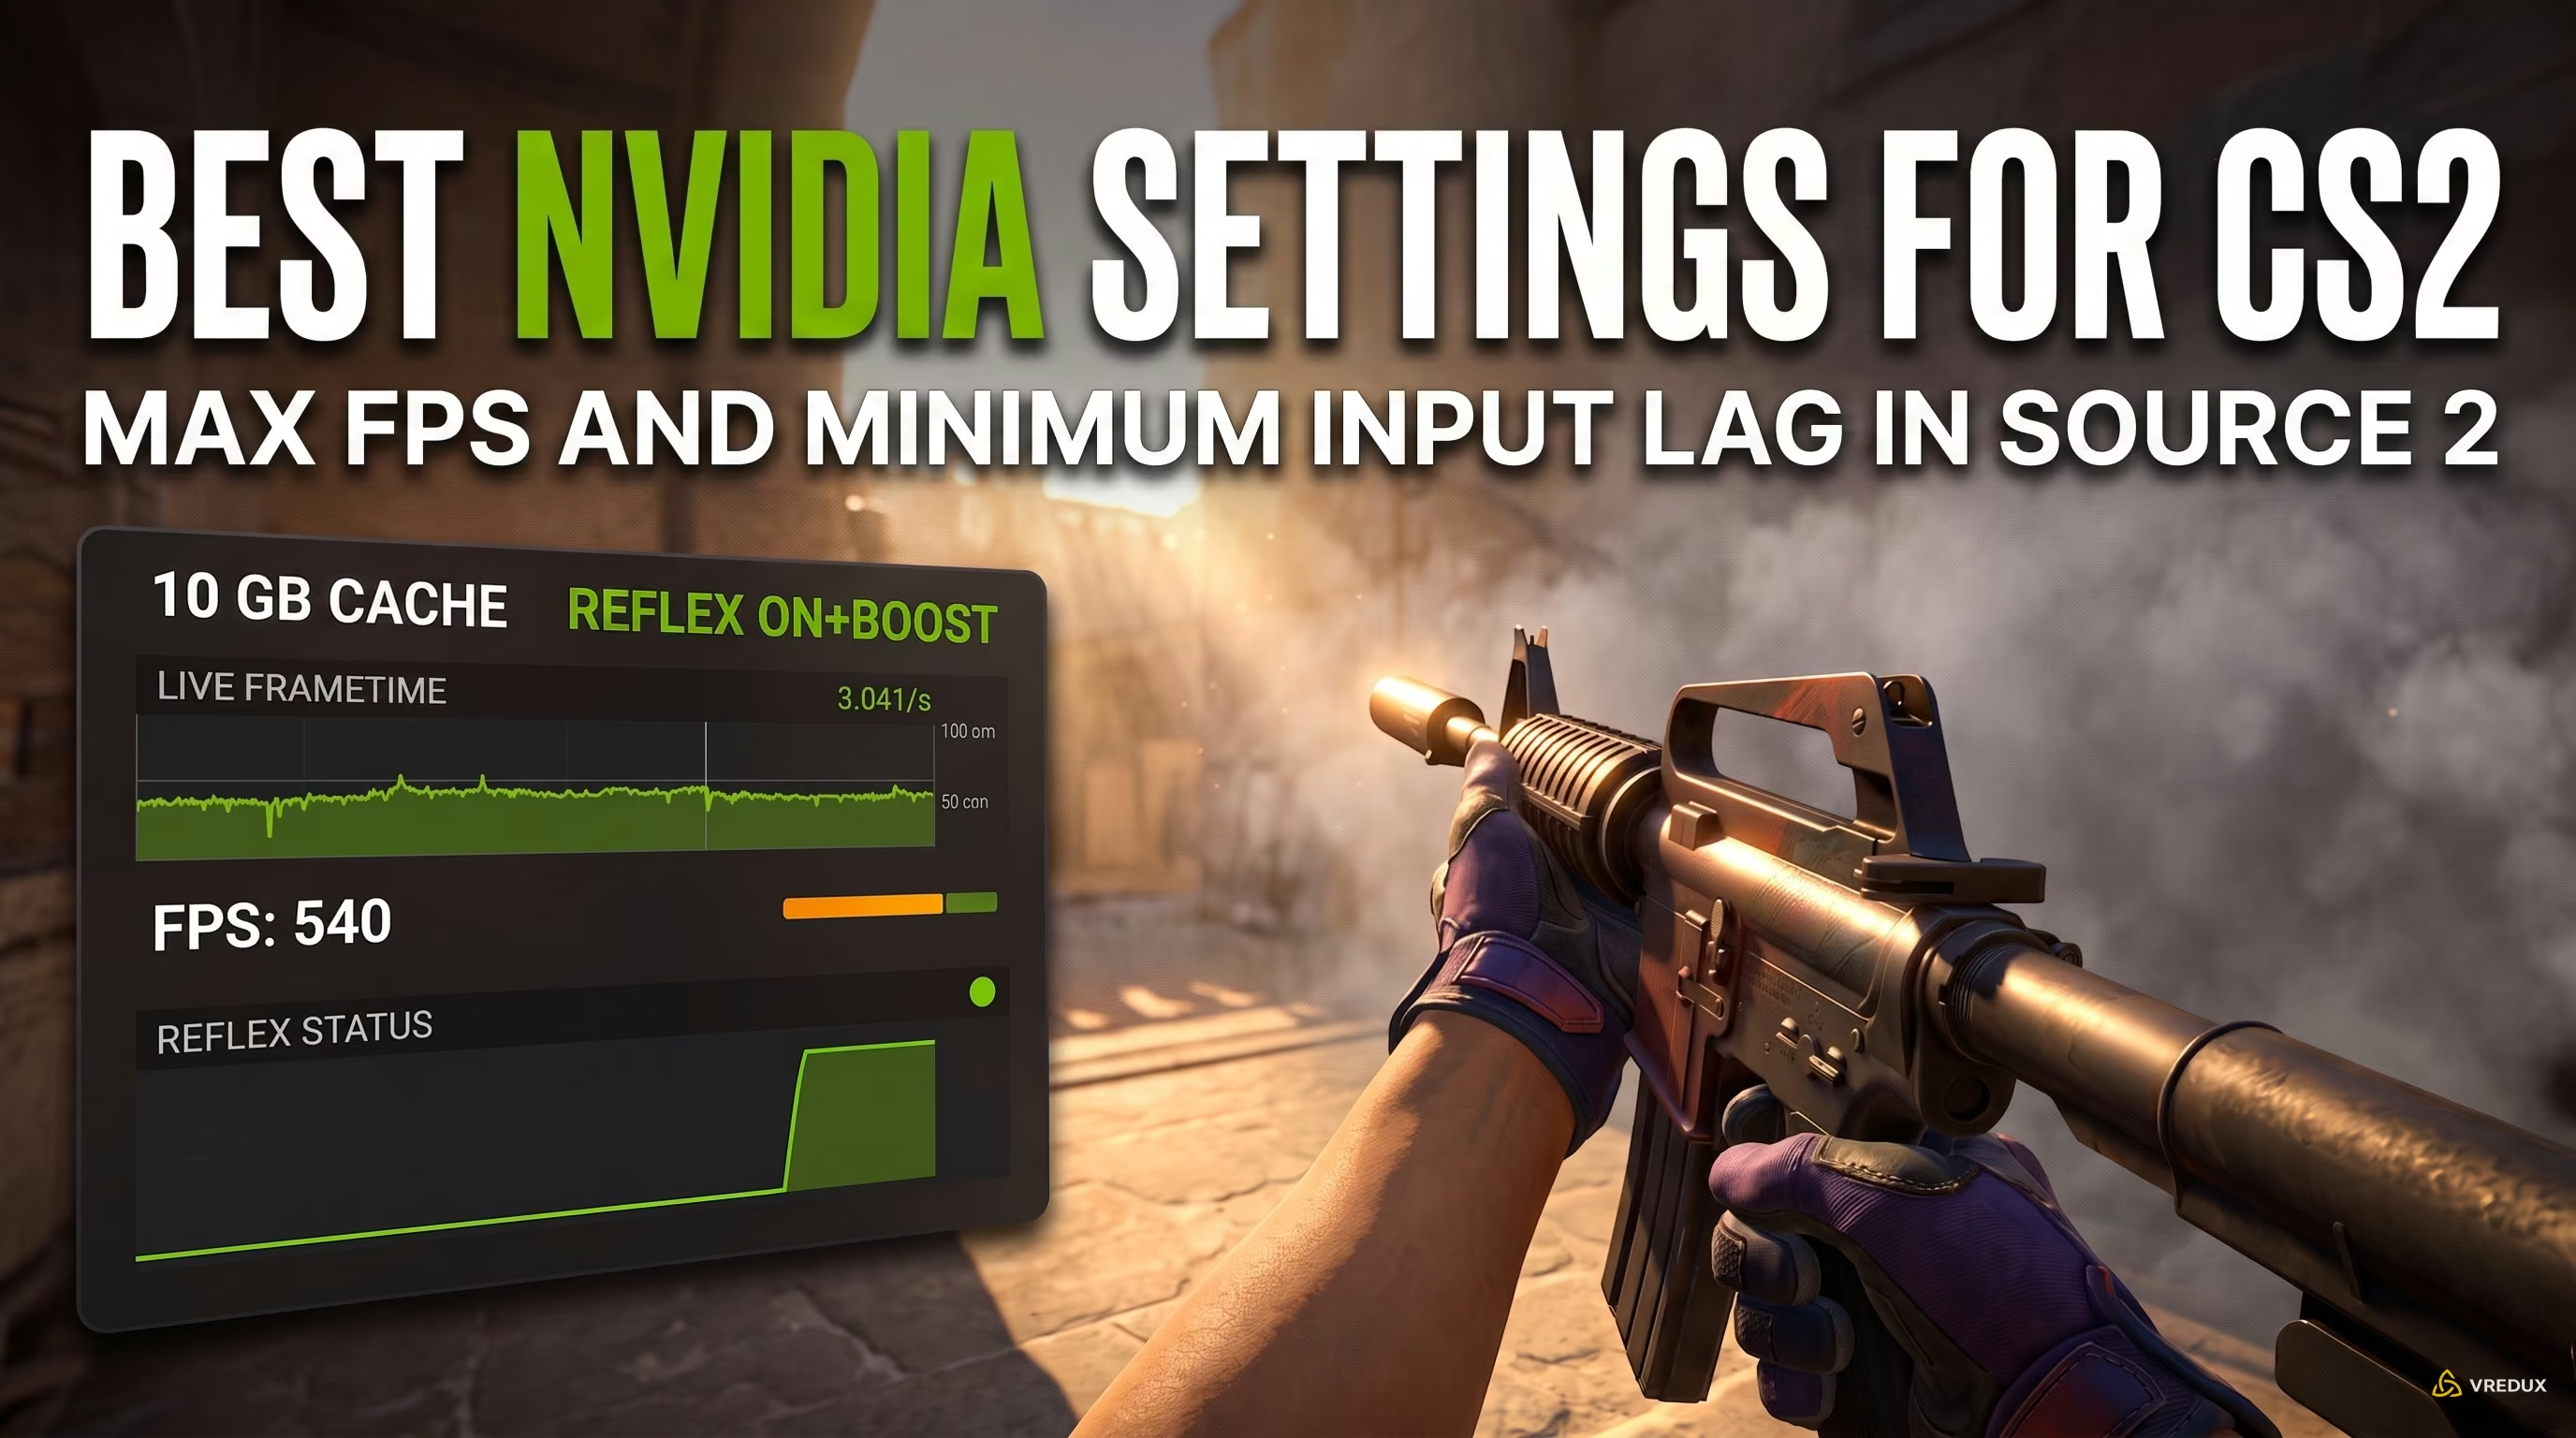
The transition to the Source 2 engine completely overhauled Counter-Strike 2's hardware demands. Unlike CS:GO, which relied heavily on single-thread CPU performance, CS2 shifts substantial load onto the GPU with volumetric smokes, dynamic lighting, and real-time particle rendering. When your frametime spikes in a crucial Premier round, visual hitching and render latency can ruin your hit registration. Dialing in the correct GPU settings through the NVIDIA Control Panel and the modern NVIDIA App is essential to fixing these frametime drops and eliminating micro-stutters.
Stop copying outdated CS:GO tweaks—they do not work in Source 2 and often introduce micro-stutters. To secure stable FPS, eliminate image blur, and reduce input lag to absolute zero, configure your GPU drivers specifically for the game executable. Here is our battle-tested setup for GeForce GTX and RTX graphics cards from the VRedux team.

Quick Verdict
The best NVIDIA settings for Counter-Strike 2 require switching the cs2.exe profile to maximum performance, increasing the Shader Cache Size to 10 GB, and enabling NVIDIA Reflex in-game. This configuration cuts system latency by 10–18 ms and eliminates Source 2 frametime stutters around volumetric smoke grenades.
- Program Profile: Apply 3D settings exclusively to
cs2.exerather than globally. - Power Management: Select Prefer maximum performance to lock GPU core clocks.
- Shader Cache: Set a 10 GB limit to stop shader compilation stutters during smoke and molotov interactions.
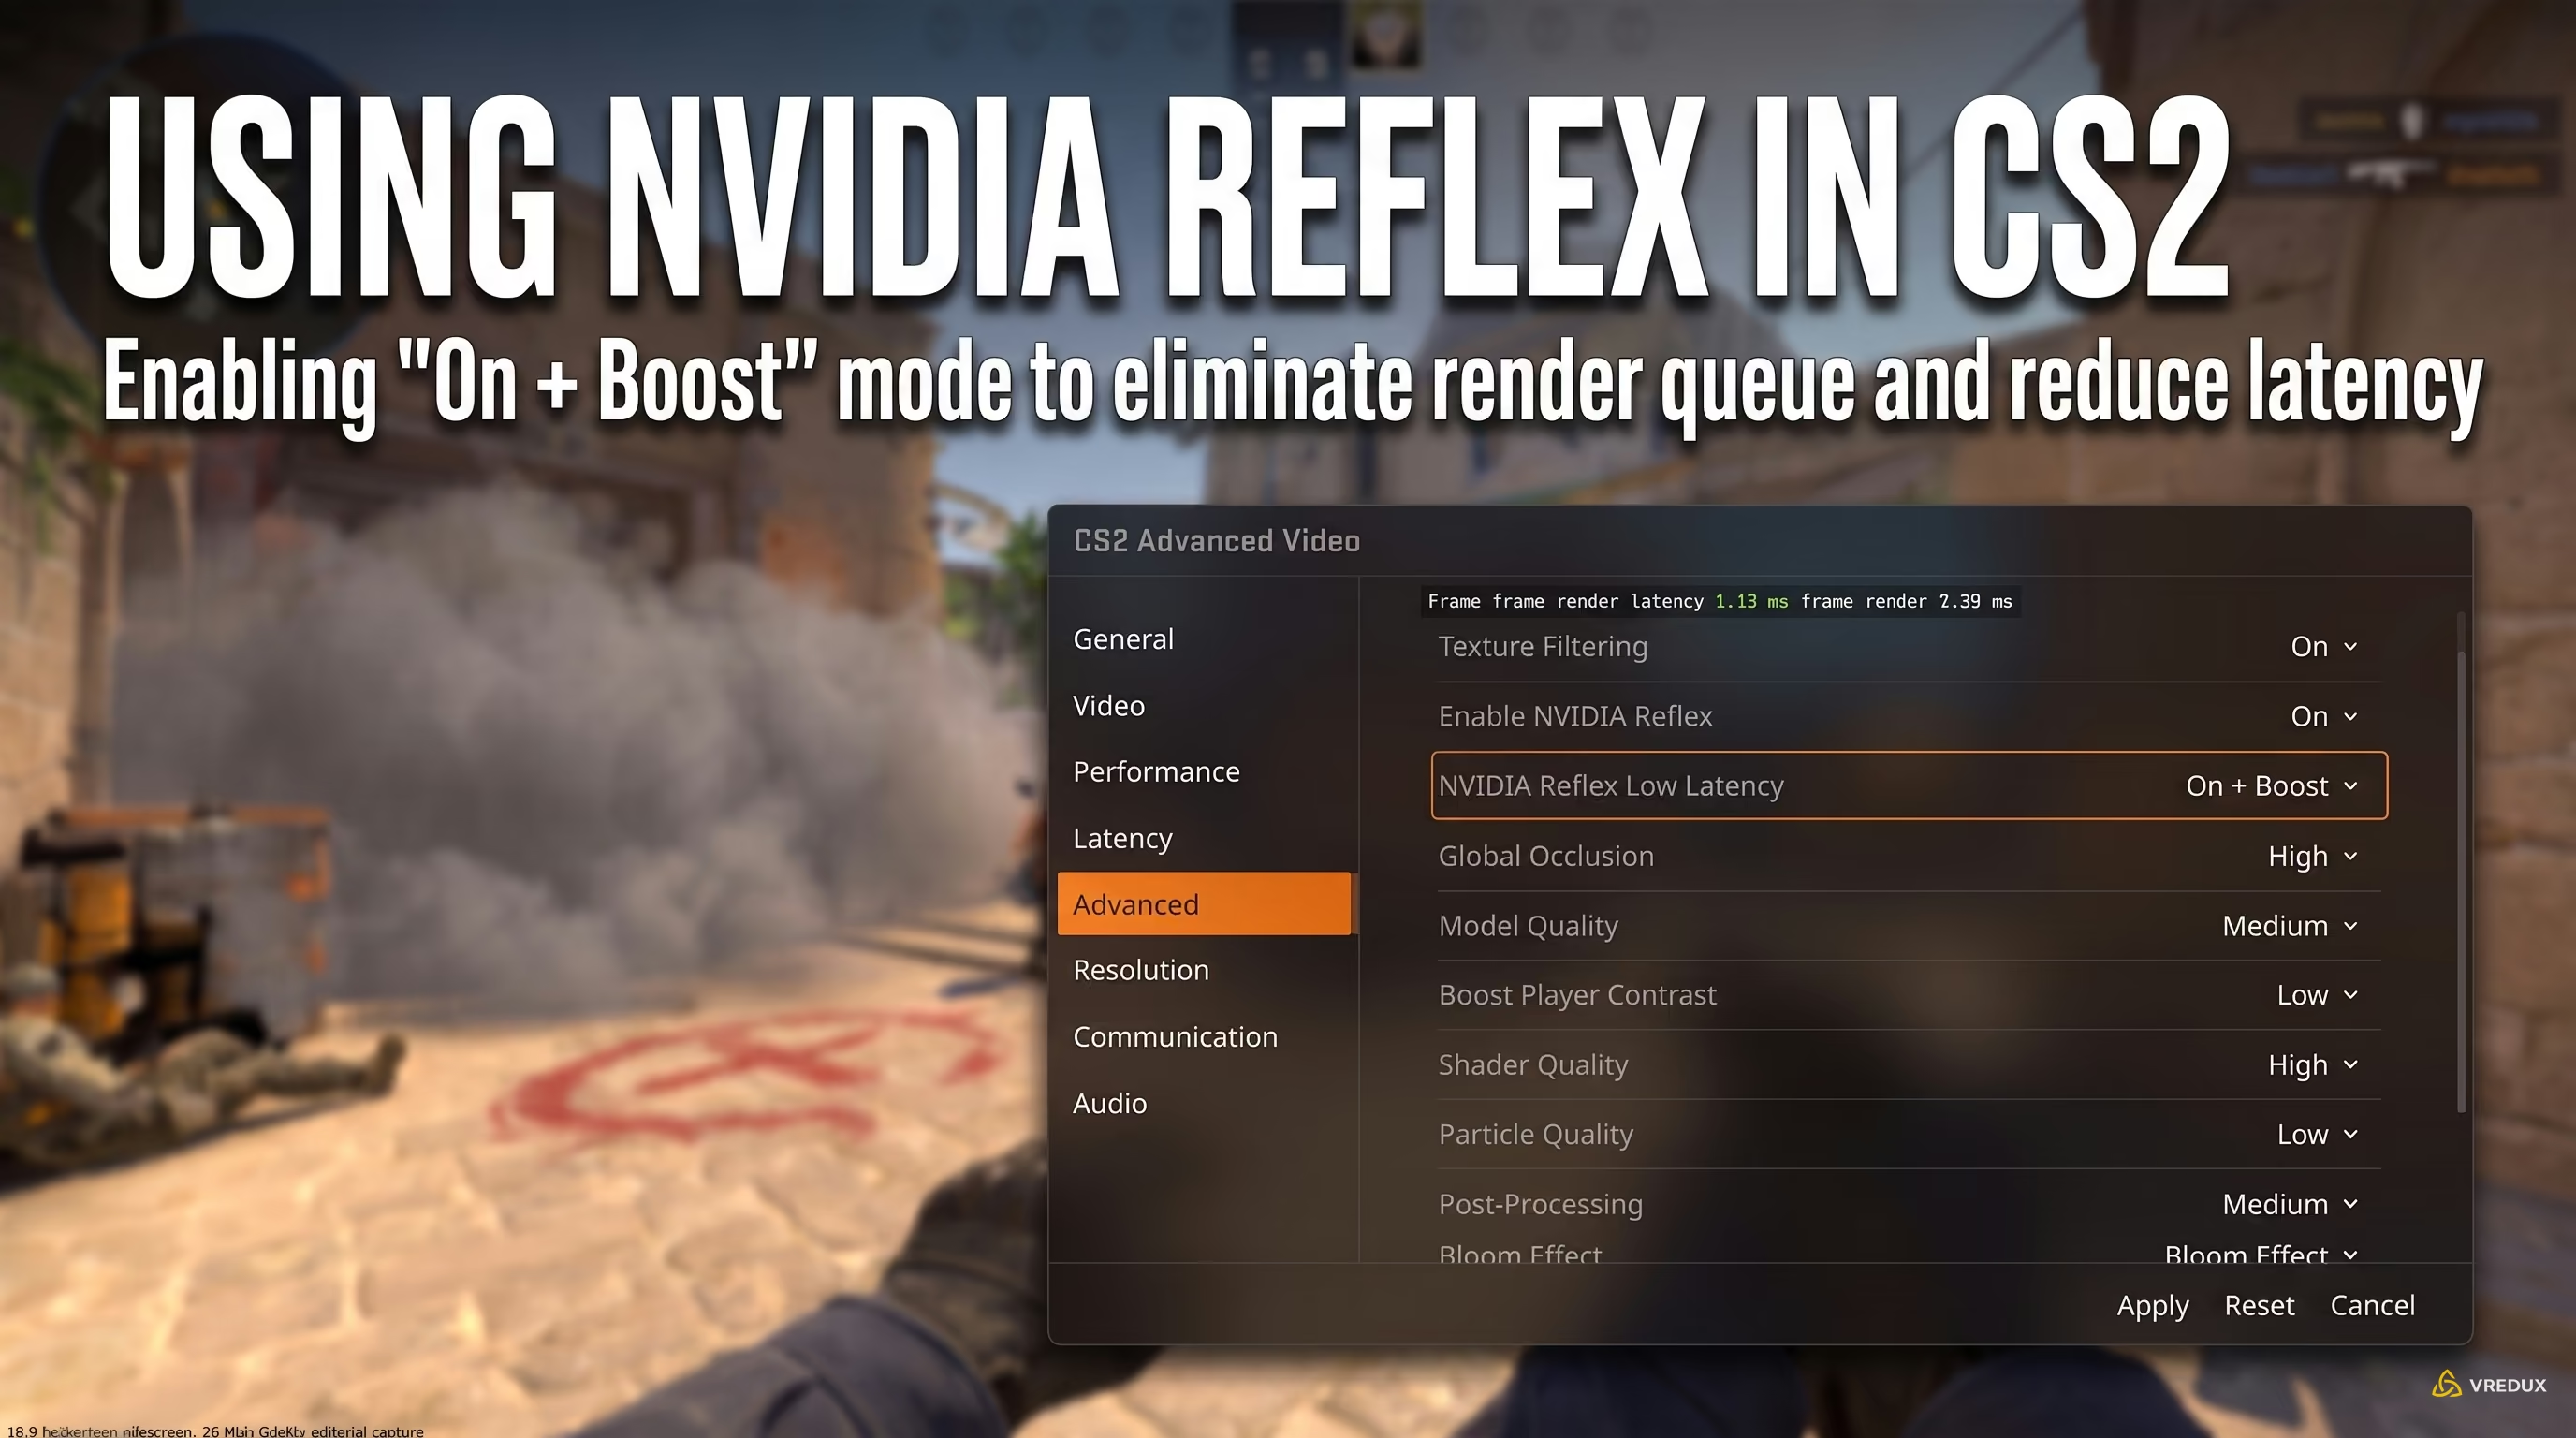
- NVIDIA Reflex: Enable "On + Boost" to minimize input lag and eliminate the render queue in Source 2.
- Display Scaling: Process 4:3 stretched on your display hardware to achieve the lowest possible latency.
Below is a complete technical breakdown of every driver parameter optimized for competitive matchmaking and Premier mode.
NVIDIA Master Settings Table for CS2
Optimizing your NVIDIA graphics card for Counter-Strike 2 involves configuring the cs2.exe program profile to maximum performance, setting texture filtering to High Performance, expanding the shader cache to 10 GB, and enabling NVIDIA Reflex in-game. This setup lowers input latency by 10–18 ms and stabilizes 1% low frametimes.
If you want immediate performance gains without reading through extensive technical explanations, use this reference table for your driver configuration. Apply these values in the NVIDIA Control Panel or NVIDIA App and save your profile.
Step-by-Step Manage 3D Settings Guide for cs2.exe
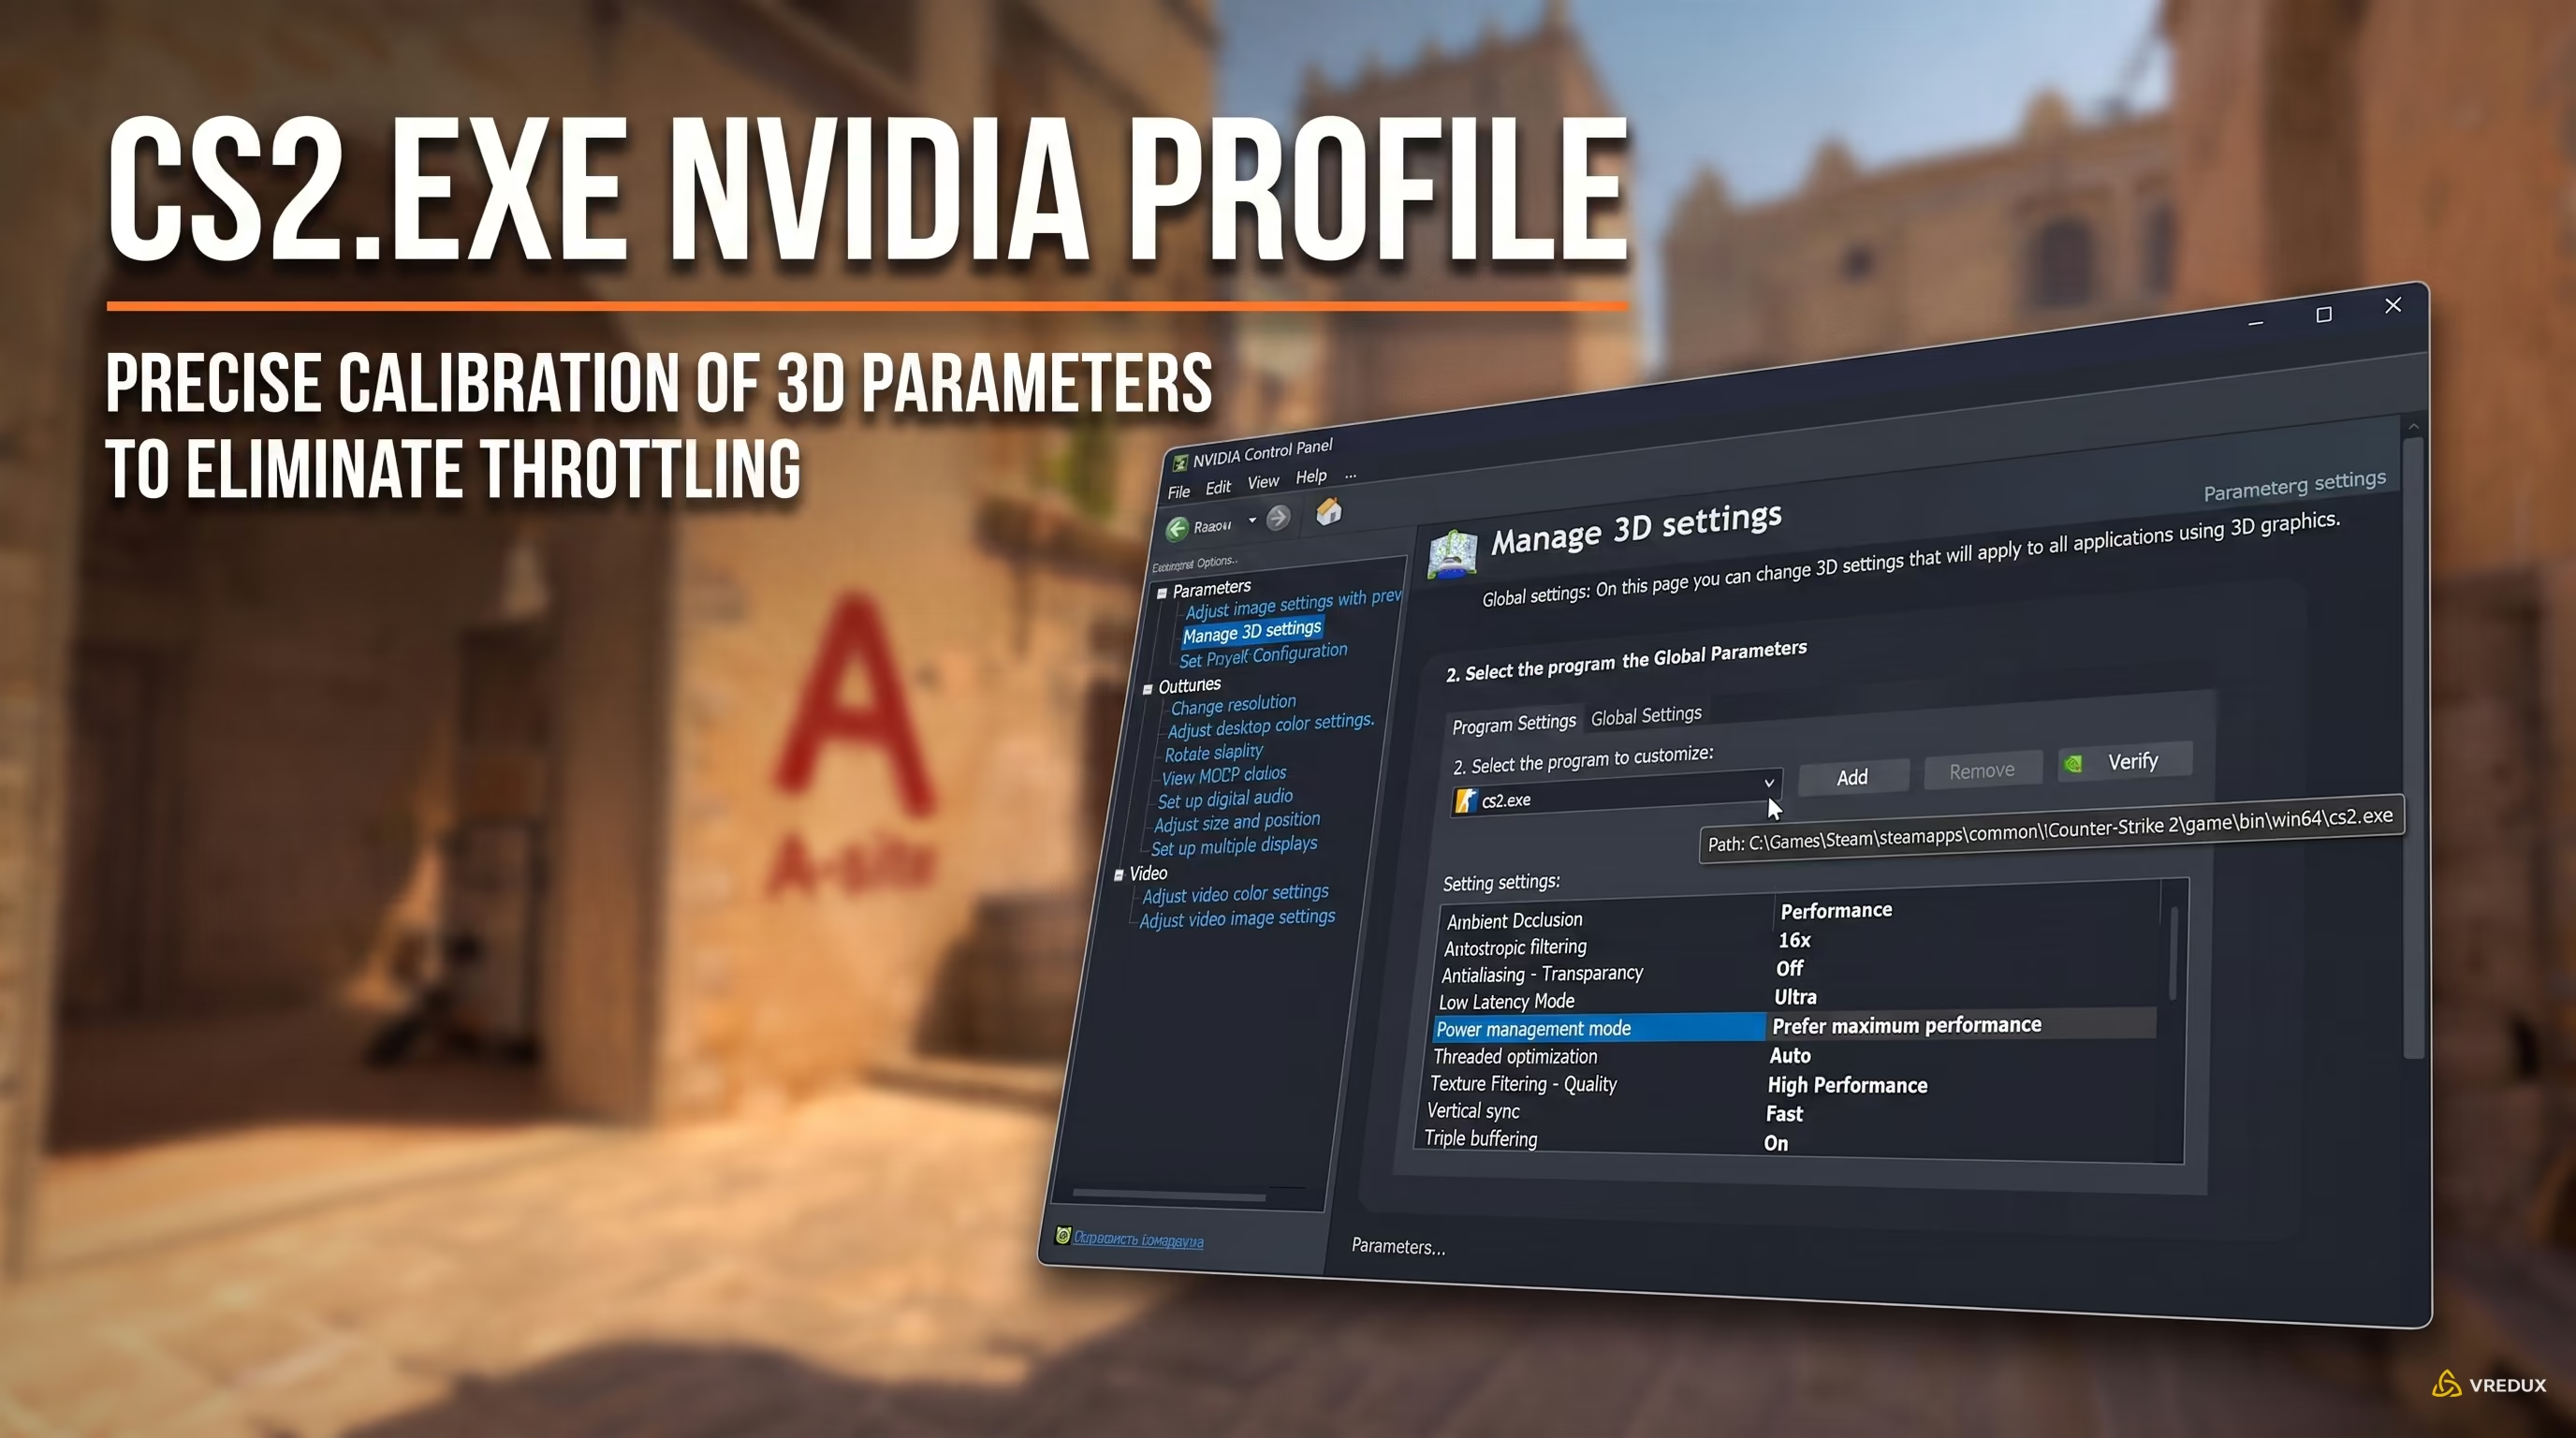
Properly configuring NVIDIA 3D settings for CS2 requires adding cs2.exe under Program Settings. Set Power Management Mode to Prefer maximum performance, Texture Filtering Quality to High Performance, and Shader Cache Size to 10 GB. This stabilizes frametimes and prevents GPU clock throttling during matches.
The biggest mistake players make is changing settings in the Global Settings tab. Forcing maximum performance globally prevents your graphics card from downclocking on your desktop or in web browsers. Your GDDR6/GDDR6X VRAM will run constantly at maximum clock rates, driving idle temperatures up to 50–60°C (122–140°F) and causing unnecessary fan noise. Always apply your competitive tweaks exclusively to the game's executable profile.
If you are configuring the NVIDIA App for CS2, the process is identical: open the NVIDIA App, go to the Graphics tab, select the Counter-Strike 2 profile, and adjust power management, texture filtering, and shader cache to these exact values. While some enthusiasts tweak Nvidia Profile Inspector using Frame Rate Limiter v2 to trim driver buffers, the in-engine frame limiter combined with NVIDIA Reflex delivers lower system latency and greater stability in competitive play.
How to Add the CS2 Executable Correctly
Source 2 uses a different folder structure than CS:GO. Selecting a desktop shortcut or the root directory executable will not apply driver profiles to the active game process.
- Open the NVIDIA Control Panel by right-clicking on your desktop.
- Navigate to 3D Settings → Manage 3D settings.
- Select the Program Settings tab.
- Click Add. If Counter-Strike 2 does not appear in the list, click Browse.
- Locate the 64-bit binary at:
Steam\steamapps\common\Counter-Strike Global Offensive\game\bin\win64\cs2.exe. - Click Add Selected Program.
Complete 3D Settings Table (CS2 Program Profile)
Below is the complete list of NVIDIA 3D settings along with the technical rationale for their impact on Source 2 performance.
NVIDIA Settings for Low-End PCs in CS2
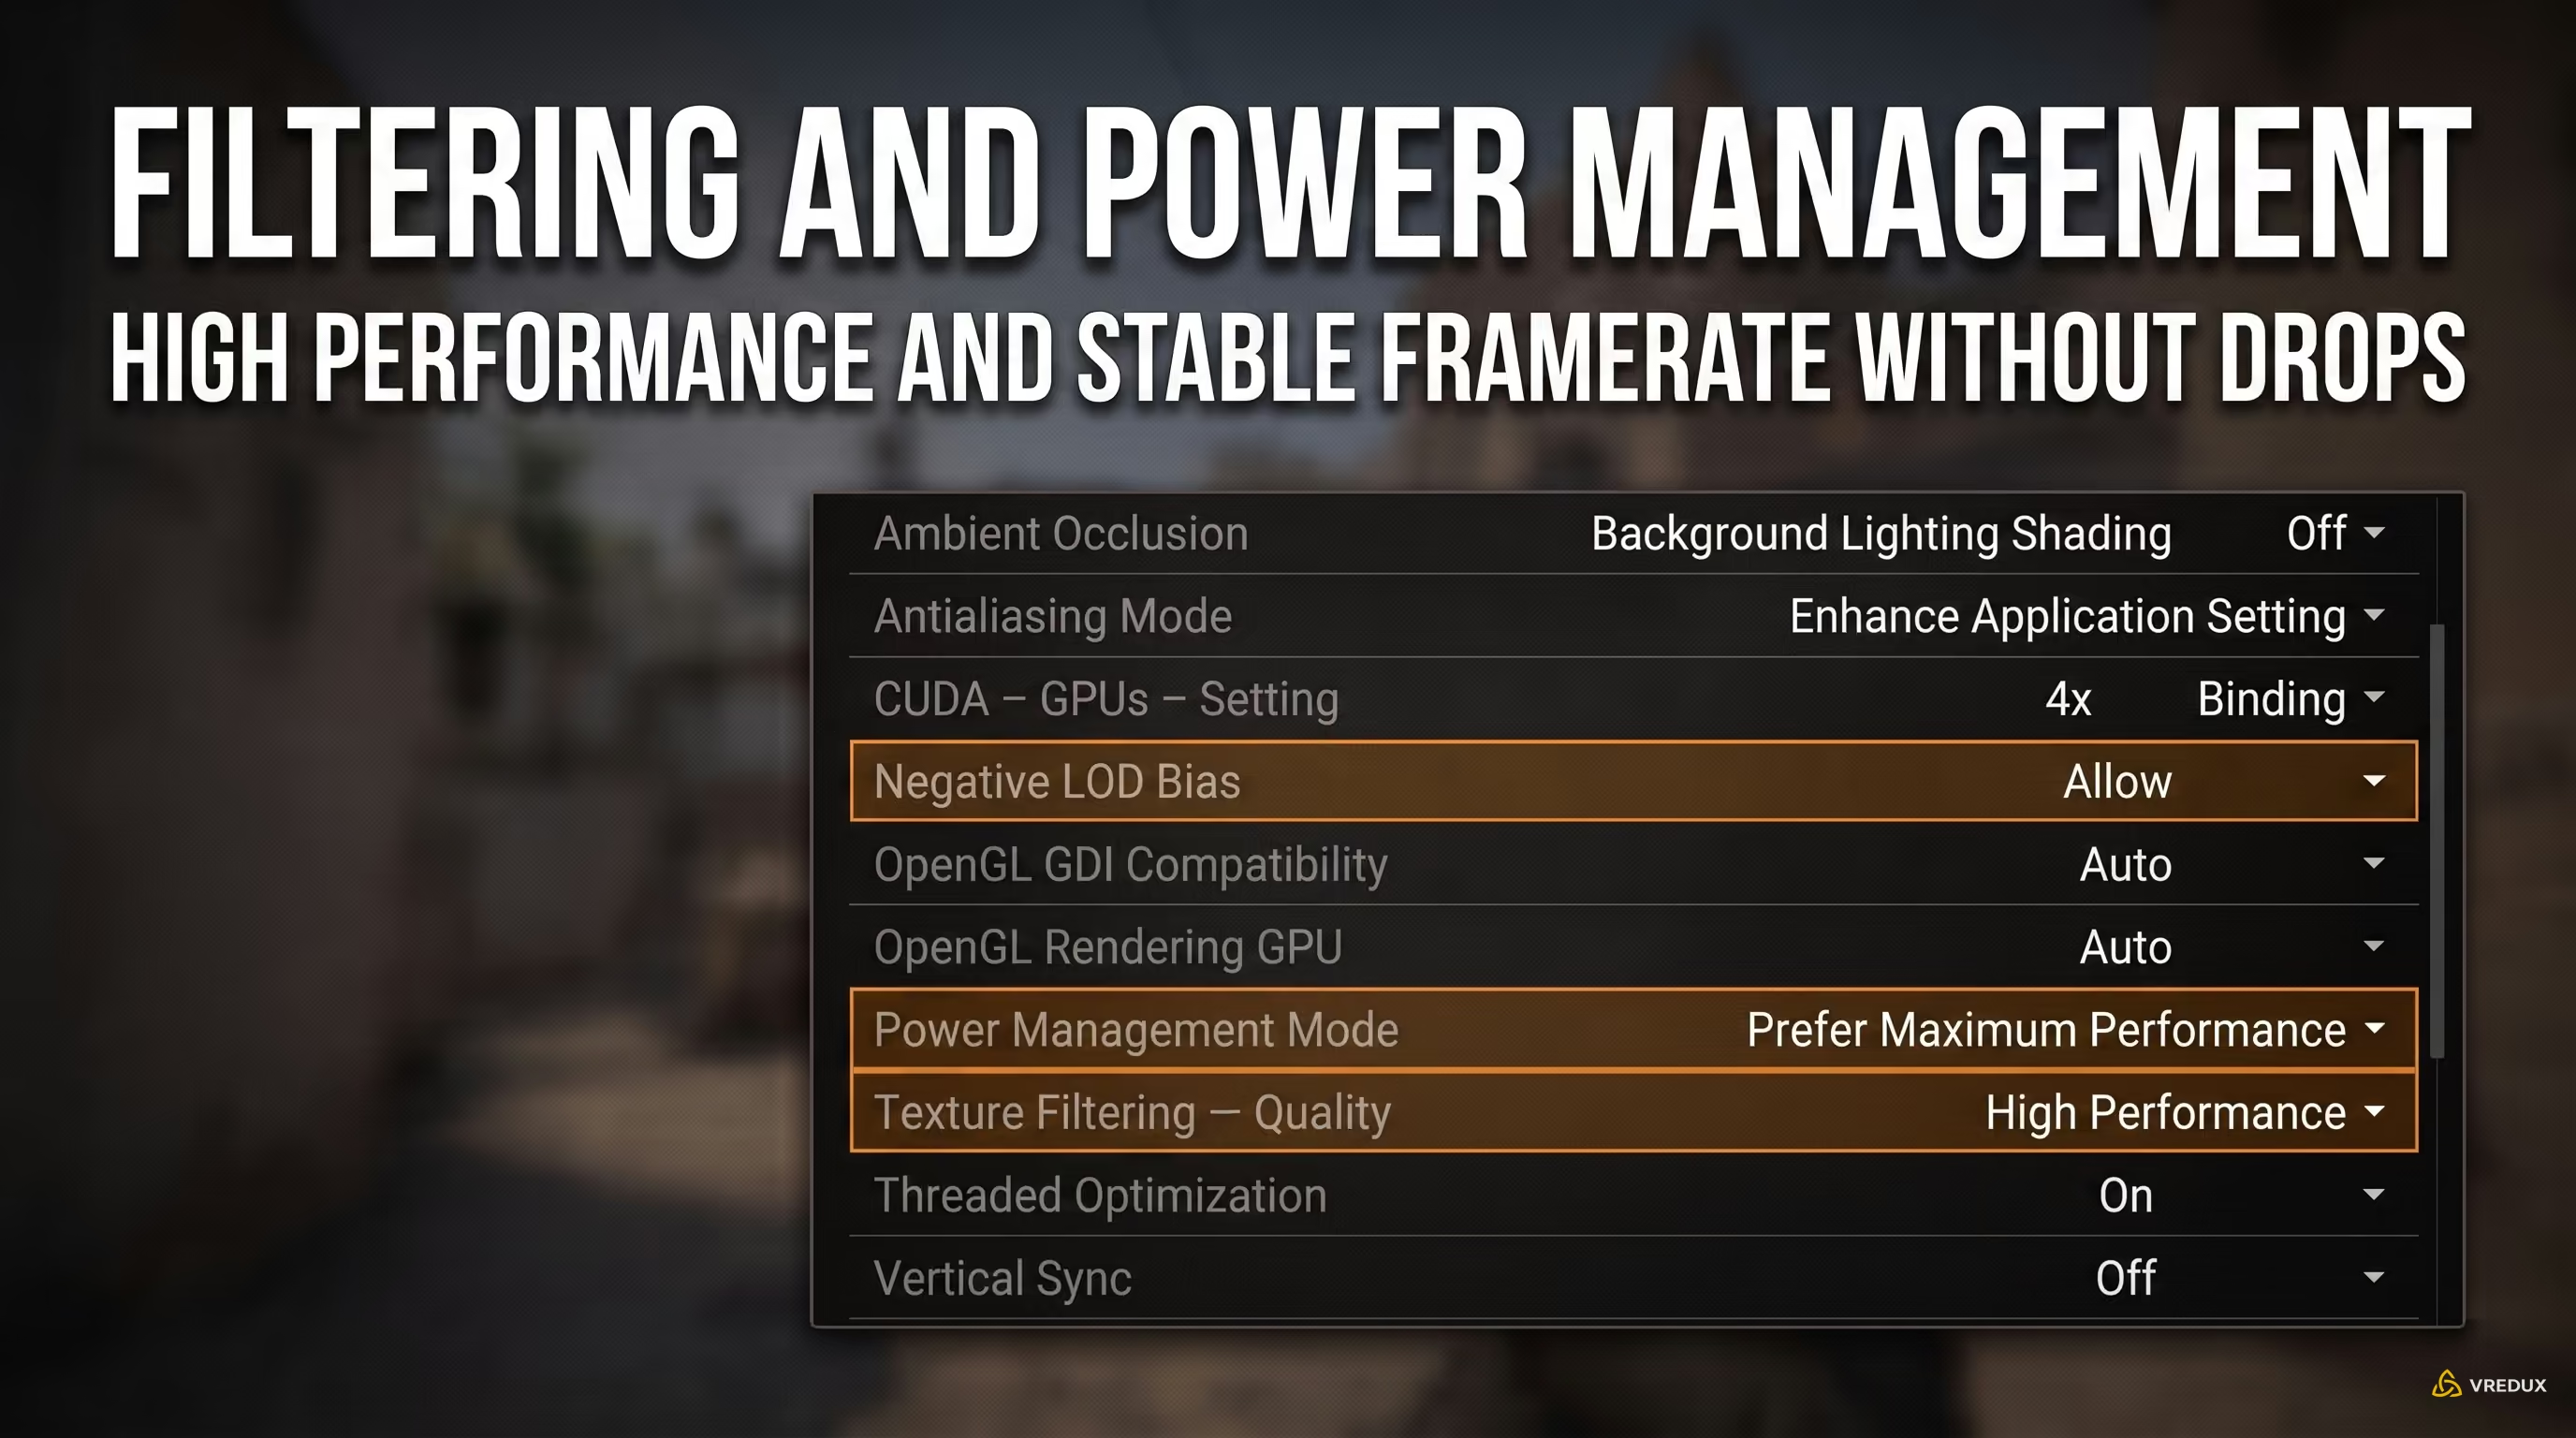
For budget GPUs (such as the GTX 1060, GTX 1650, and RTX 3050), optimizing texture pipelines is critical. Set Texture Filtering - Quality strictly to High Performance, set Negative LOD Bias to Allow, and ensure Antialiasing - Transparency and FXAA are completely Off. This unburdens your texture processing units, reclaims 10–15% in GPU compute headroom, and prevents severe frame drops during intense firefights.
System Latency: NVIDIA Reflex Architecture, Low Latency, and G-Sync
In Counter-Strike 2, NVIDIA Reflex operates natively inside Source 2 to eliminate render queues before frames reach the GPU. The On + Boost mode keeps GPU clock frequencies pinned at maximum during CPU-bound scenes. For variable refresh rate displays, combining G-Sync, driver-level V-Sync, and in-game Reflex yields tear-free smoothness with ultra-low latency.
Players often confuse the driver-level Low Latency Mode in the NVIDIA Control Panel with the in-game NVIDIA Reflex Low Latency setting. When Reflex is enabled in CS2, the driver's Low Latency Mode is automatically bypassed. The integrated Reflex SDK directly governs the render pipeline and synchronizes CPU frame submission with the GPU, allowing you to effectively eliminate input lag in CS2.
NVIDIA Reflex: "On" vs. "On + Boost"
CS2 offers three configurations for NVIDIA Reflex in its advanced video menu:
- Disabled: The engine renders frames without queue regulation. When GPU utilization reaches 95–99%, a queue of 2–3 frames builds up in the buffer, causing PC latency to spike to 25–35 ms.
- Enabled (On): The engine dynamically times frame submissions so the CPU prepares the next frame exactly when the GPU is ready to render it. This eliminates the render queue and cuts system latency to 10–14 ms.
- On + Boost: Provides all benefits of 'On' while overriding GPU power-saving states (P-States). If you hold an angle or face a wall where GPU load drops, the driver prevents clock downshifting. This eliminates frame drops when enemies suddenly peek or execute onto your site.
Competitive G-Sync + V-Sync + Reflex Setup (Valve Standard)
While the traditional "disable all sync and uncap FPS" approach yields minimal latency at ultra-high framerates (400+ FPS), fluctuating frametimes can introduce screen tearing and frame pacing micro-stutters. According to Valve's engineering documentation and competitive testing, there is a standardized esports setup for G-Sync / FreeSync monitors:
- Monitor: Enable G-Sync / G-Sync Compatible in your monitor's OSD and the NVIDIA Control Panel.
- NVIDIA Control Panel: Set Vertical Sync to On (in the Global or CS2 Program Profile).
- In CS2 Video Settings: Set V-Sync to Disabled.
- In CS2 Video Settings: Set NVIDIA Reflex Low Latency to Enabled + Boost.
Under this configuration, Reflex automatically caps your framerate just below your monitor's refresh ceiling (for example, ~225 FPS on 240 Hz or ~340 FPS on 360 Hz). This keeps the display within its active VRR window, completely eliminating screen tearing while keeping input latency on par with uncapped framerates.
Configuring Scaling (4:3 Stretched) and Color Vibrance
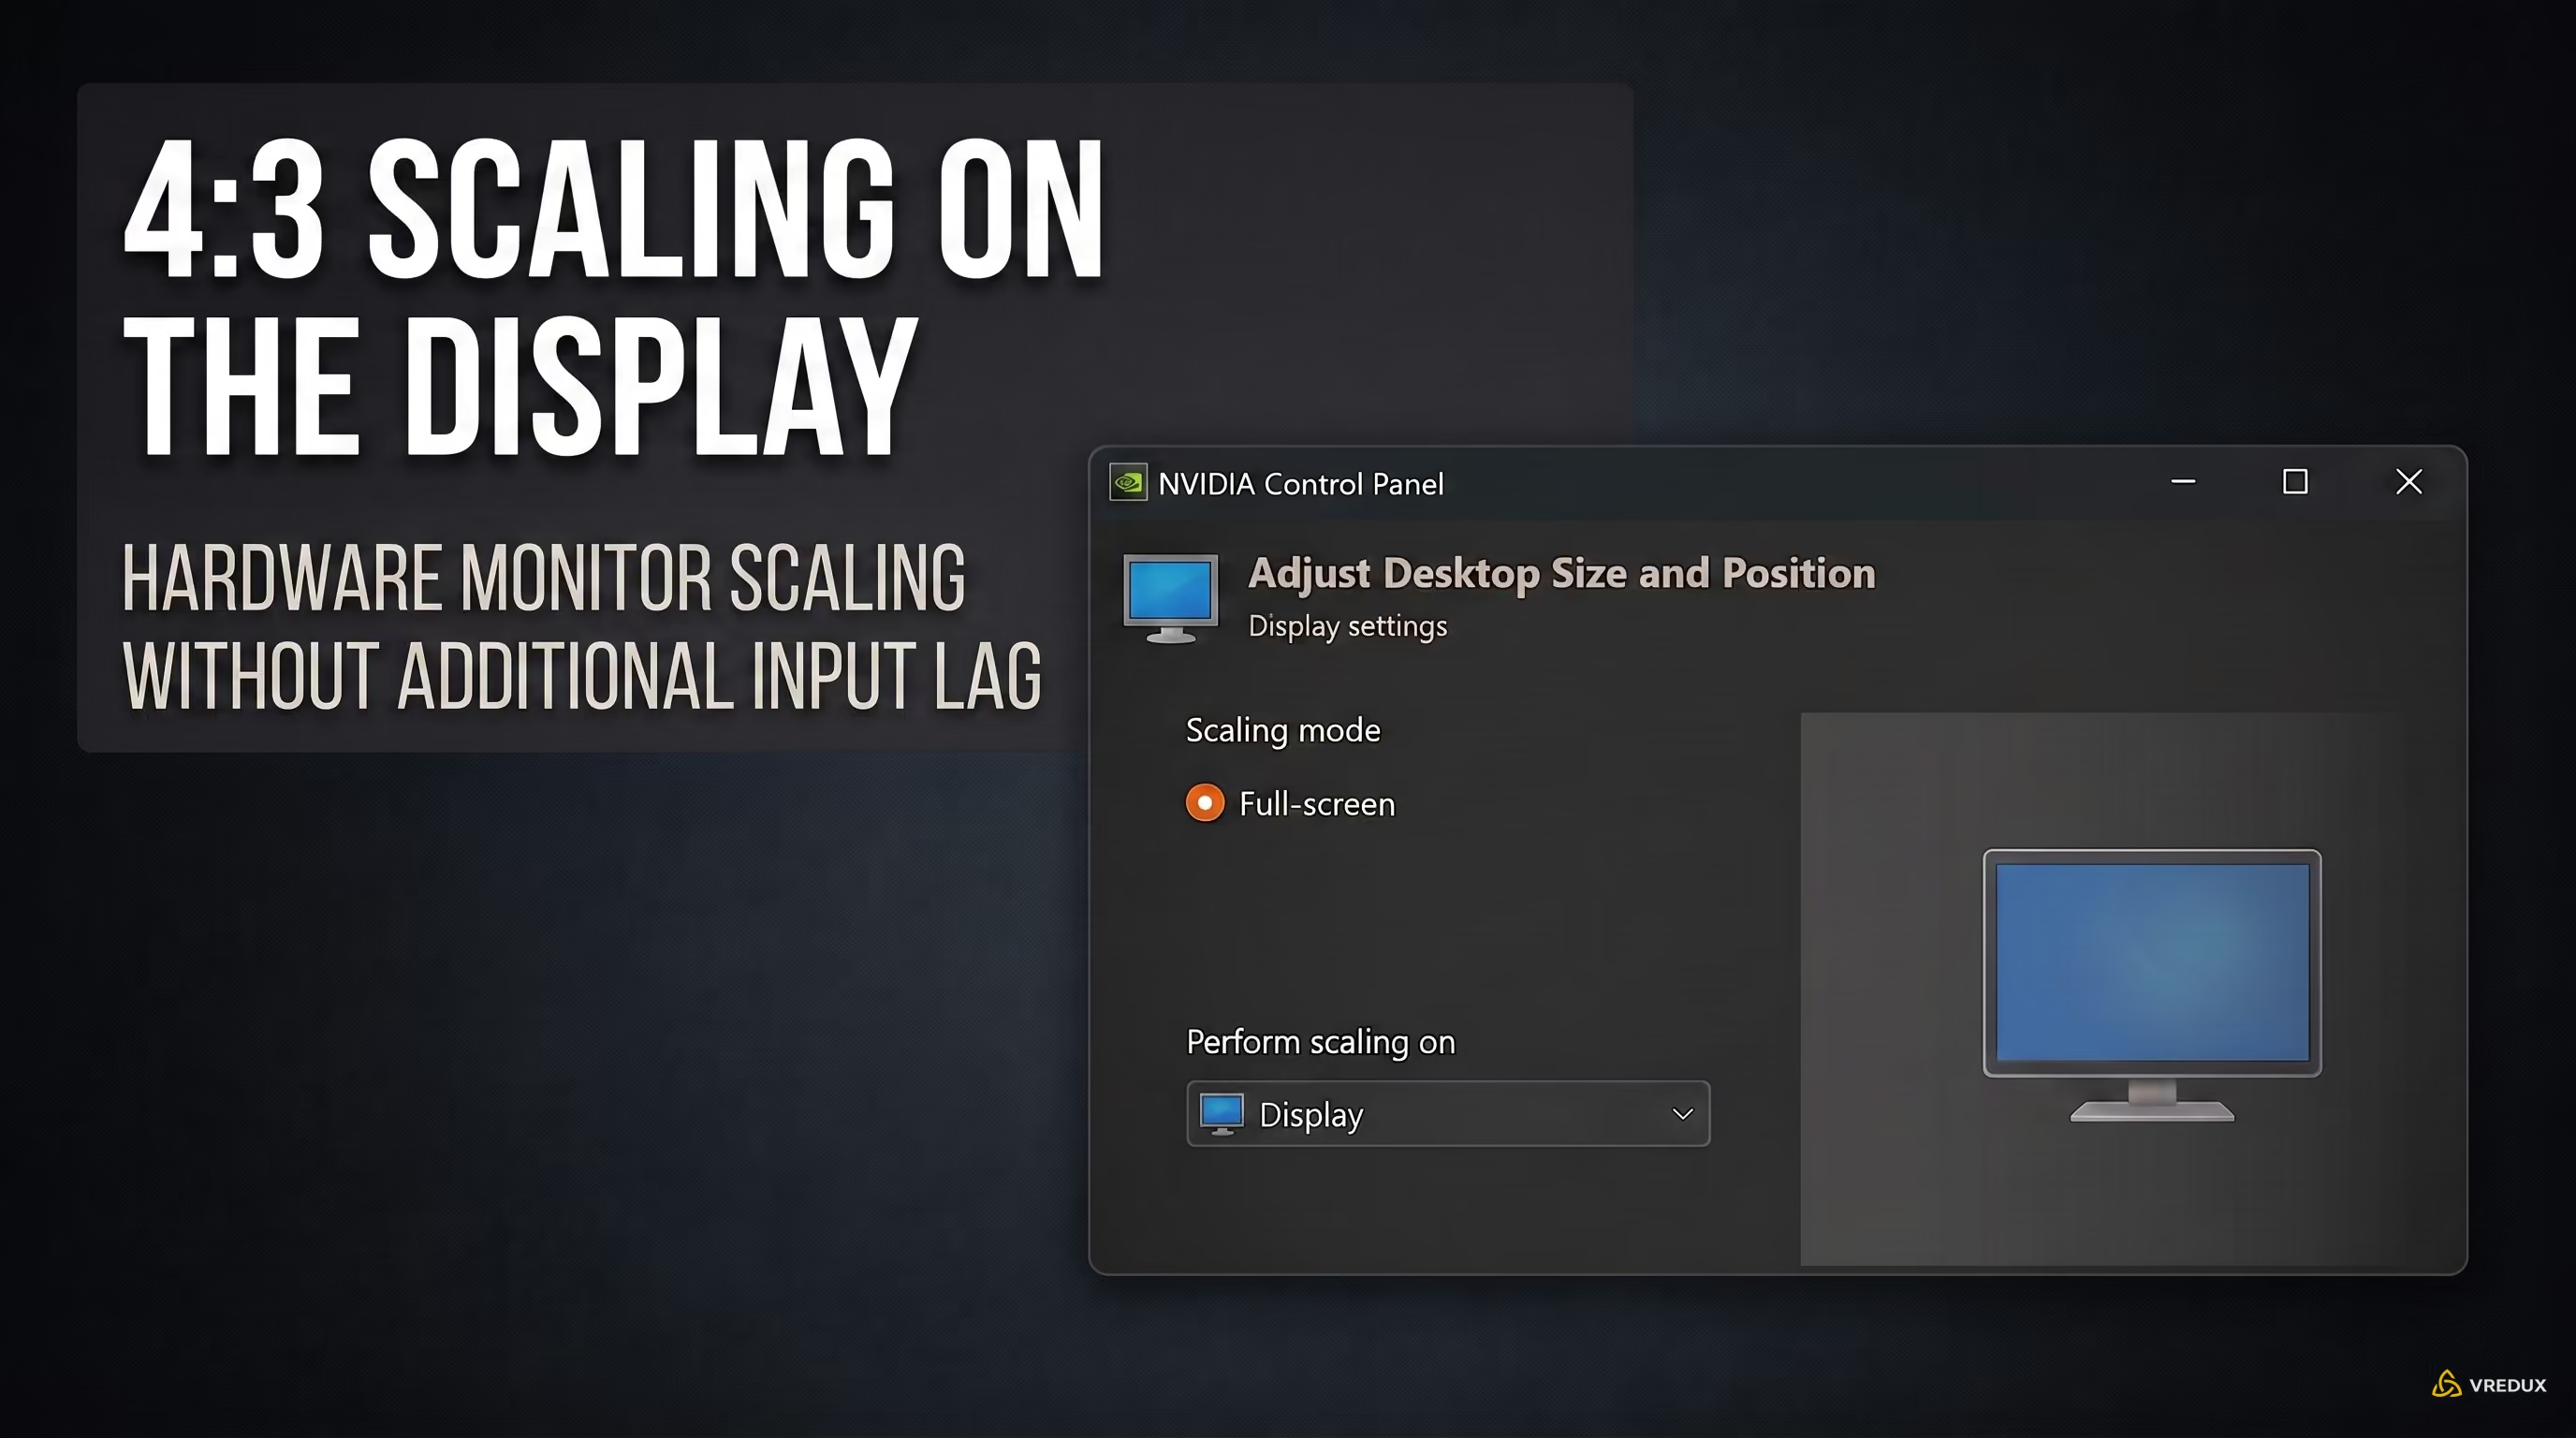
To play on 4:3 stretched, select Full-screen under scaling mode in the NVIDIA Control Panel and set scaling to Display. This minimizes latency by offloading the aspect ratio stretch to your monitor's hardware scaler. Increasing Digital Vibrance to 75–85% improves enemy silhouette visibility against dark map backgrounds.
Most competitive pros use 4:3 resolutions (such as 1280x960 or 1440x1080). Stretching the image widens player models by approximately 33%, making targets easier to track and headshots simpler to line up at long range. Choosing the best screen resolution for CS2 is crucial for gaining a competitive edge.
GPU vs. Display Scaling: Choosing the Right Scaler
Under Display → Adjust desktop size and position, configure the scaling parameters as follows:
- Scaling Mode: Select Full-screen to remove black bars.
- Perform scaling on: Choose Display. Modern gaming monitors handle hardware upscaling with sub-millisecond overhead, avoiding GPU rasterization load and saving 1–2.5 ms of system latency. Only use GPU scaling on laptops lacking a dedicated MUX switch or on legacy panels.
- Override the scaling mode set by games and programs: Check this box to prevent CS2 from resetting your scaling preference on startup.
Creating a Custom 1440x1080 Resolution (HD 4:3 Stretched)
If 1280x960 looks too pixelated and native 1920x1080 lacks model width, setting up a custom 1440x1080 resolution offers the perfect middle ground:
- In NVIDIA Control Panel, open Display → Change resolution.
- Click Customize... beneath the resolution list.
- Check Enable resolutions not exposed by the display and click Create Custom Resolution.
- Enter
1440in Horizontal pixels and1080in Vertical lines. - Set the Refresh rate to match your monitor's maximum capability (144 Hz, 240 Hz, 360 Hz, or higher).
- Click Test, confirm the prompt to save, and select your new resolution in CS2's video menu.
Fine-Tuning Color Settings and Digital Vibrance for Map Visibility
In shaded map sectors—like Mirage Underpass, Inferno Banana, or dark corners on Ancient—agent models can easily blend into background textures. To optimize clarity, adjust the Adjust desktop color settings tab:
- Digital Vibrance: Set between 75% and 85%. This increases color saturation and separates player silhouettes from map geometry.
- Output Dynamic Range: Under Change resolution, scroll down and verify that Output dynamic range is set to Full (0–255) rather than Limited (16–235). This restores the full tonal range and shadow detail.
Shader Cache Size Configuration and Fixing Micro-Stutters
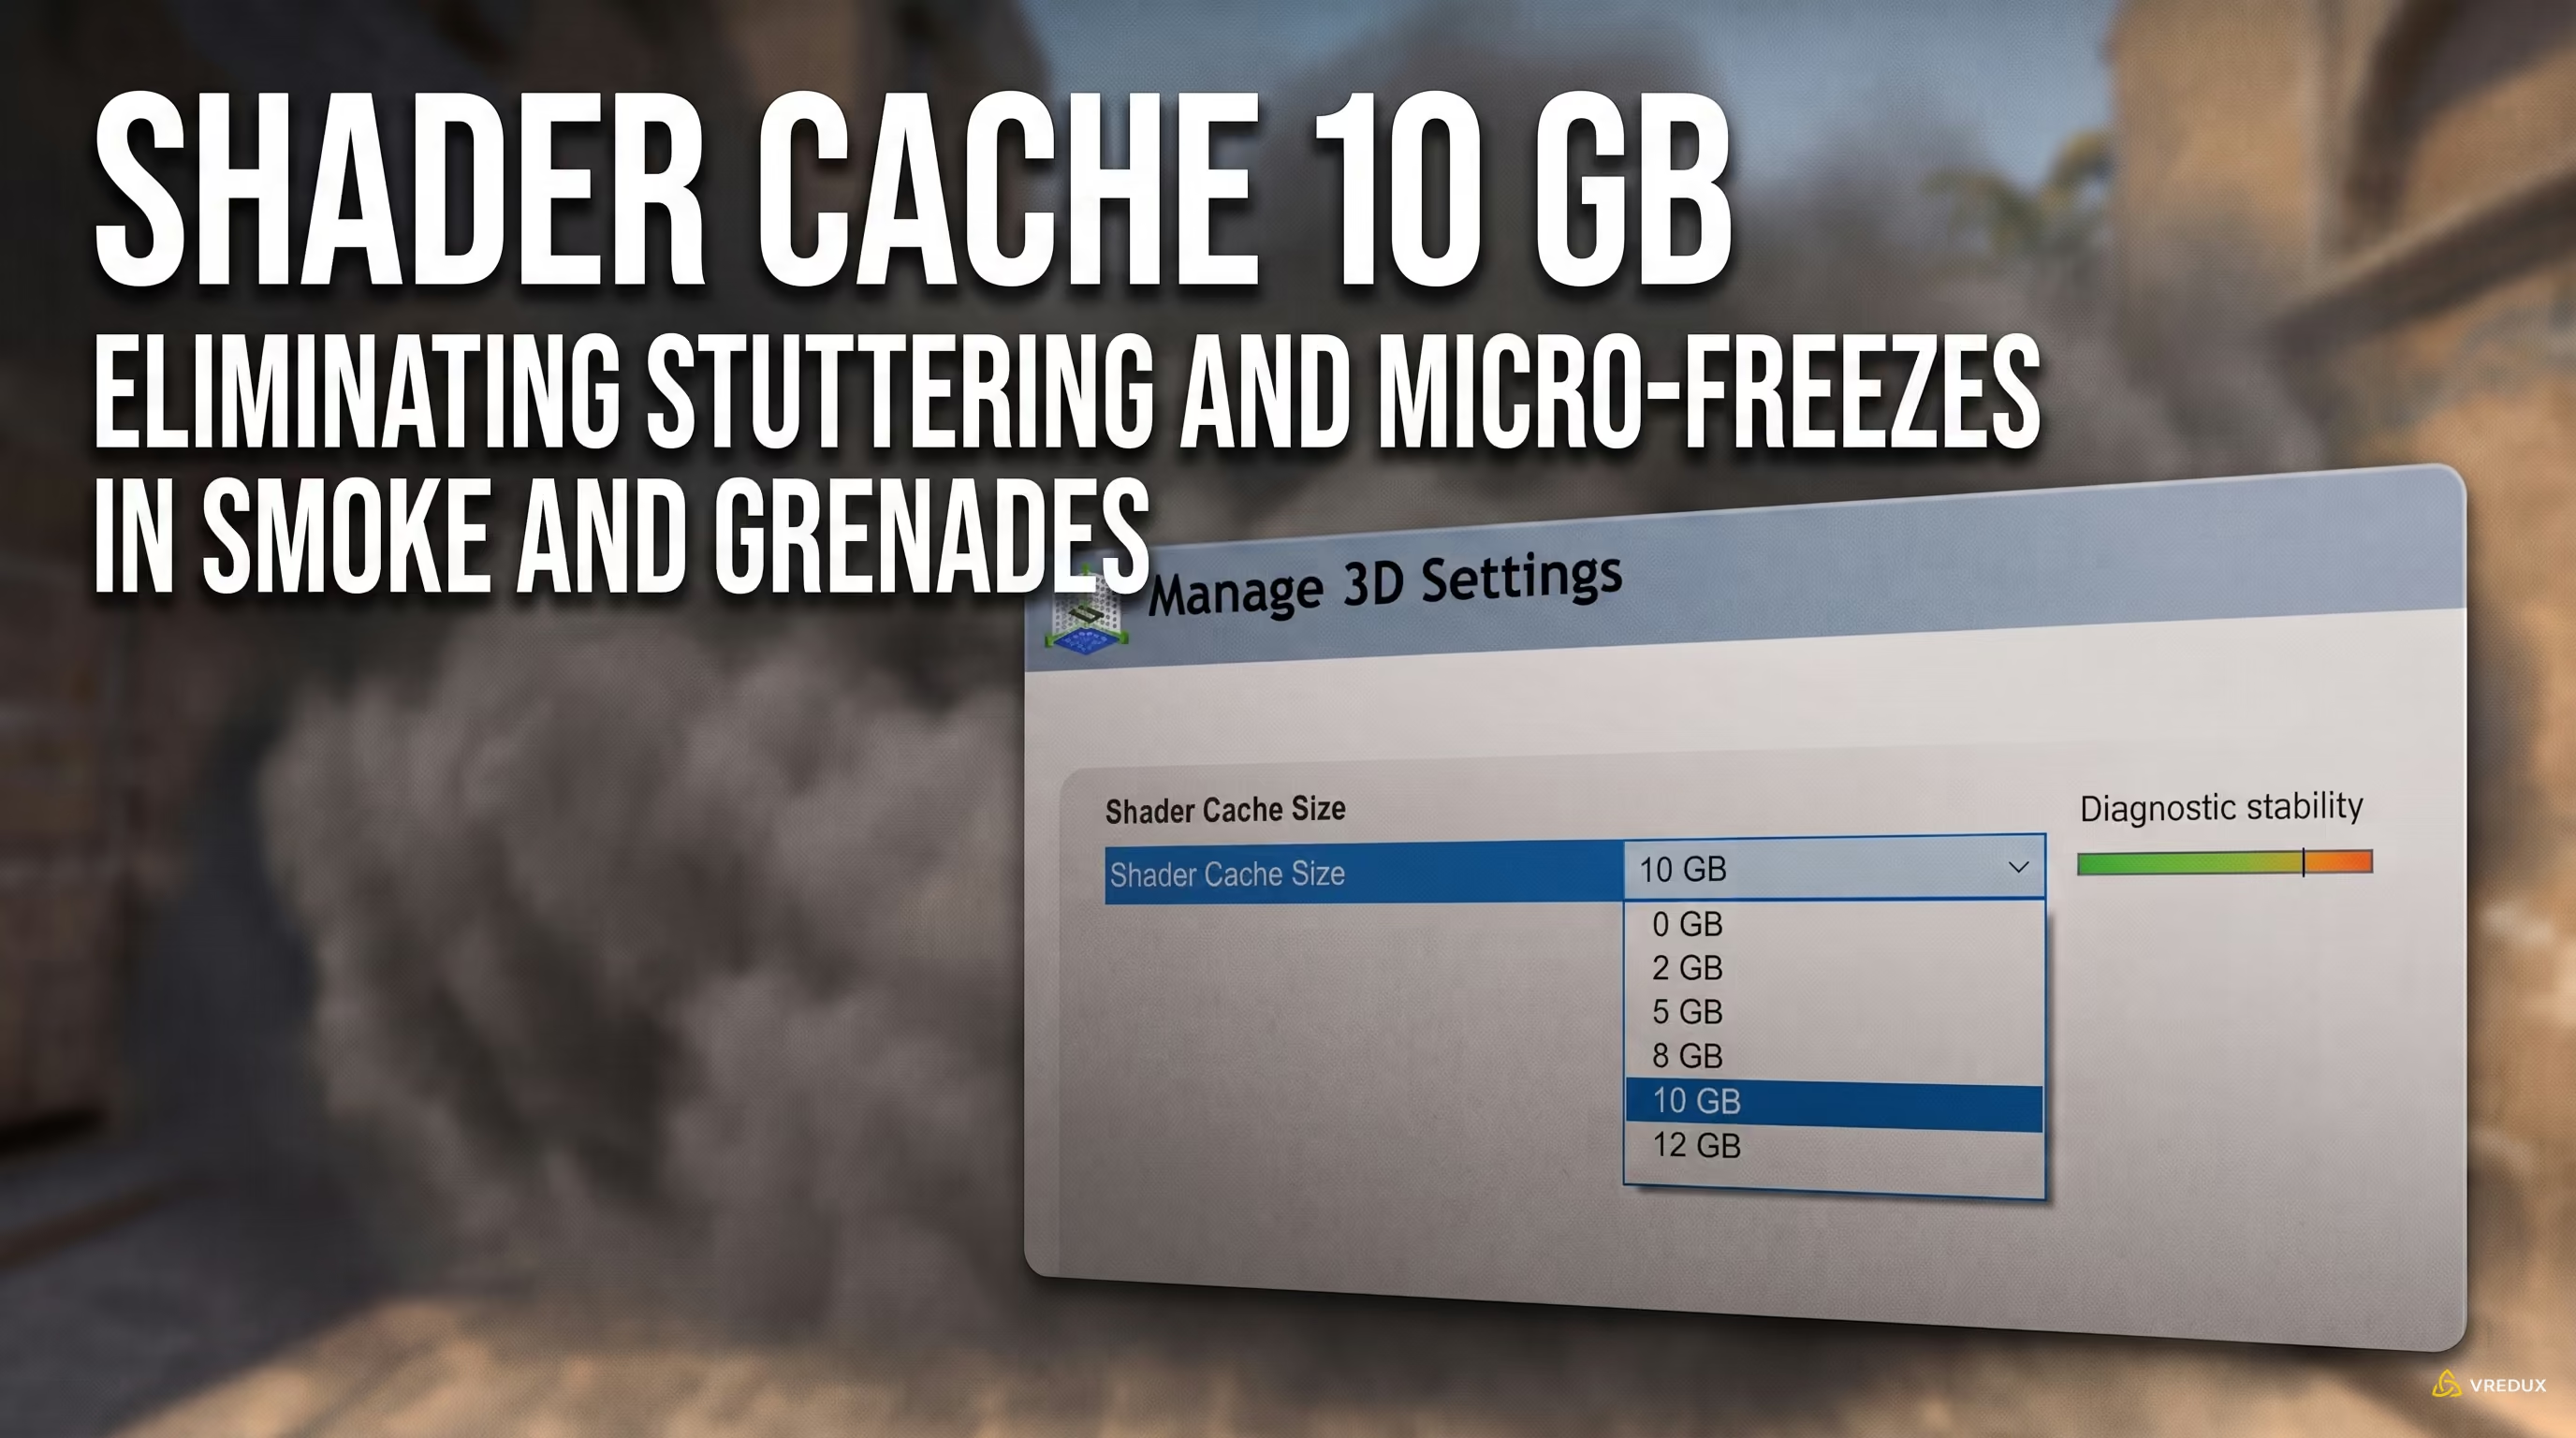
To eliminate stuttering in CS2 when encountering smoke or grenade explosions, set your Shader Cache Size to 10 GB or 100 GB in the NVIDIA Control Panel and clear any outdated DirectX cache. Source 2 compiles complex particle shaders that trigger immediate frametime spikes whenever the default cache buffer overflows.
By default, NVIDIA uses Driver Default (~4 GB), which is shared across all installed games. In CS2—with its dense PBR materials, dynamic grenade lighting, and volumetric smoke physics—this buffer fills up within days. Once exhausted, the driver evicts older shaders and recompiles them mid-match, causing noticeable stutter during firefights.
Step-by-Step Guide to Clearing and Expanding the Shader Cache
- Open the NVIDIA Control Panel → Manage 3D settings.
- Locate Shader Cache Size and select 10 GB (or 100 GB if you have 512 GB+ of free SSD space).
- Click Apply.
- Exit CS2 and close the Steam client.
- Press
Win + R, typecleanmgr, and press Enter. - Select your system drive (
C:), check DirectX Shader Cache, and click OK. - Launch CS2 and load into an empty practice server for 3–5 minutes so the engine can build a clean, unified shader cache on your NVMe SSD.
Steam Launch Options Audit and Windows 11 Optimizations
NVIDIA GPU optimization works hand-in-hand with Windows settings and Steam launch options. Using deprecated Source 1 launch commands like -threads or -d3d9ex breaks Source 2's native job scheduler, degrades 1% low FPS, and introduces frame pacing issues.
Many players still clutter their Steam launch options with legacy flags copied from old CS:GO guides. In Source 2, most of these parameters have been completely removed or actively harm performance. Check out our breakdown of the working launch options for CS2 to keep your system scheduler clean.
CS2 Launch Options Compatibility and Impact Table
Essential Windows 11 Settings for NVIDIA GPUs
- Hardware-Accelerated GPU Scheduling (HAGS): Navigate to Windows Settings → System → Display → Graphics → Default graphics settings. Enable HAGS to reduce CPU scheduling overhead when dispatching command queues to your RTX/GTX GPU.
- Game Mode: Keep this enabled. It prioritizes CPU and GPU resources for
cs2.exeand suspends background Windows updates and maintenance tasks during gameplay. - Optimizations for windowed games: Enable this setting in Windows 11 graphics options to ensure legacy flip models achieve the lowest input latency when alt-tabbing.
Pro Player NVIDIA Configurations
Esports professionals configure their NVIDIA drivers for maximum visual clarity and consistent frametimes. Most competitive players favor 4:3 stretched resolutions, elevated color vibrance, and tuned texture filtering to spot targets quickly at long range.
Below are the verified NVIDIA configurations used by top tier-1 CS2 pros.
Frequently Asked Questions (FAQ)
Find answers to the most common questions regarding NVIDIA driver configuration, input lag optimization, and shader cache settings for CS2 below.
Conclusion
While casual players struggle with smoke stutters, blurry silhouettes, and inconsistent frametimes, a properly tuned setup gives you rock-solid frame pacing, minimal input latency, and pristine target clarity. Dialing in your NVIDIA driver settings transforms your graphics card into a reliable competitive asset, ensuring every duel comes down purely to your aim and positioning.
To further optimize your competitive setup, explore our other CS2 technical guides.