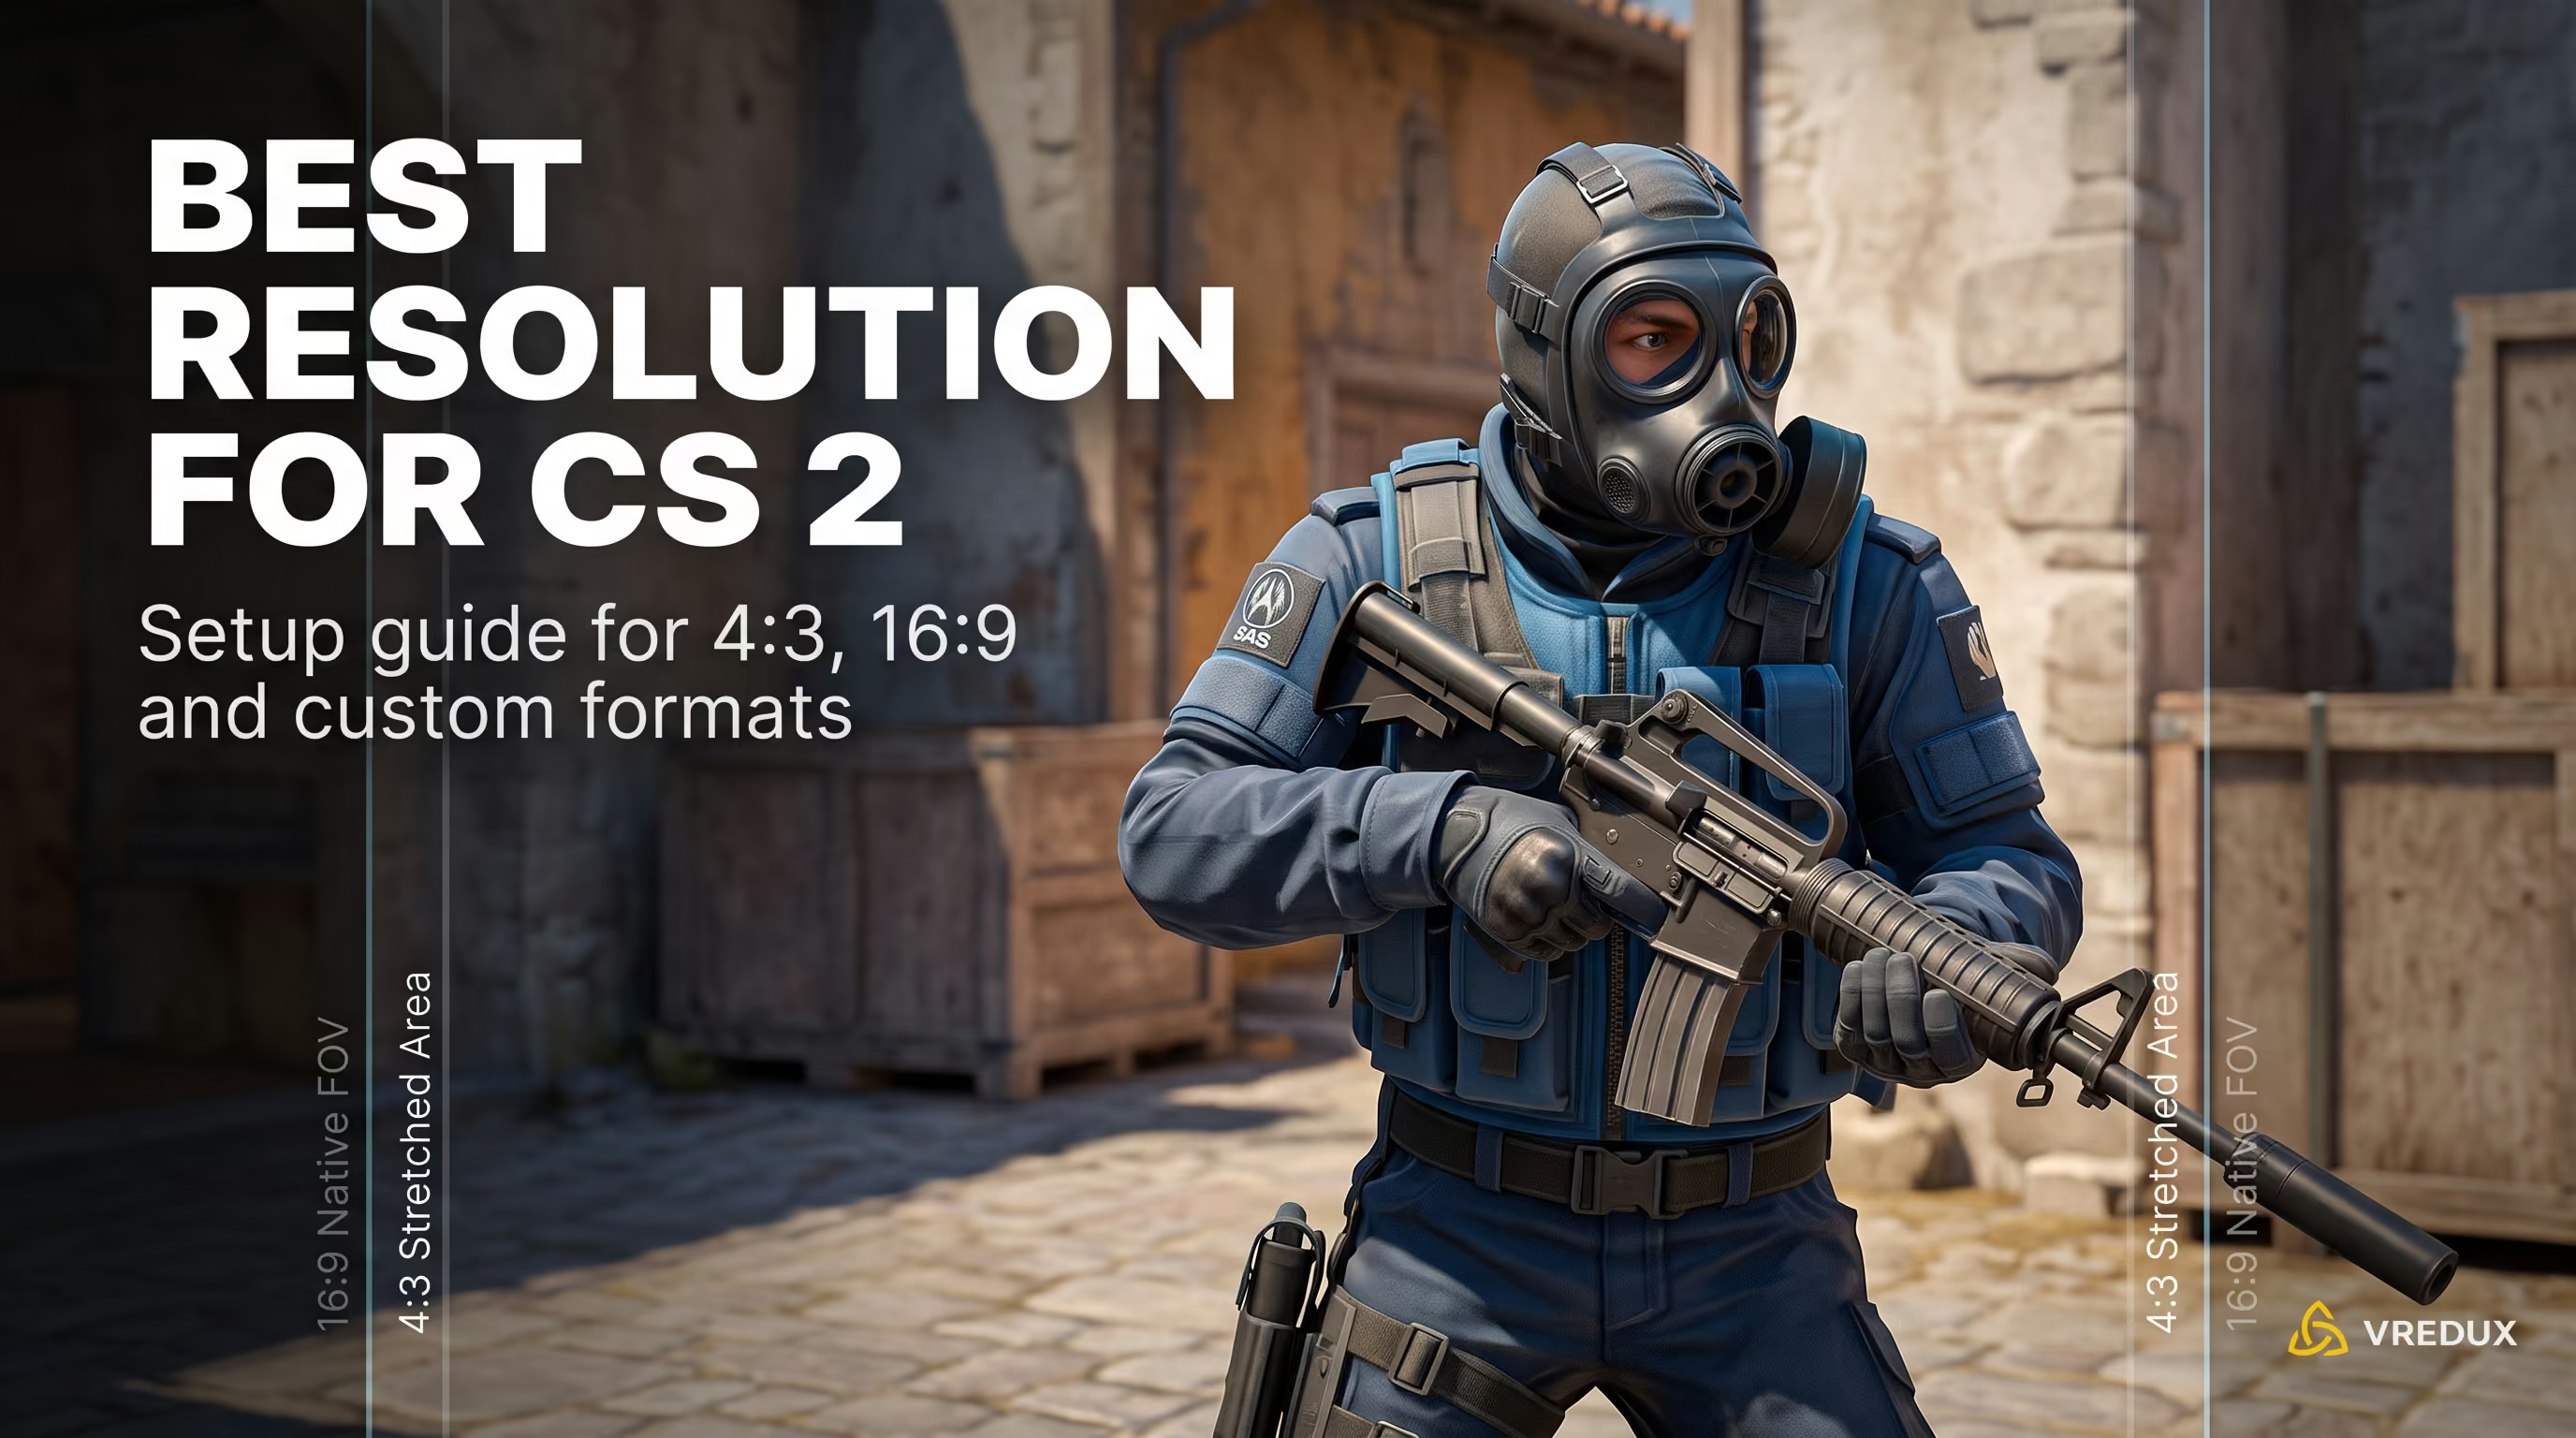
The best resolution for CS2 in 2026 comes down to 1280×960 (4:3 Stretched) for competitive play and 1920×1080 (16:9 Native) for maximum visual clarity. Playing on a stretched display is a legacy habit from Counter-Strike 1.6 when bulky CRT monitors set the standard. However, after moving to the Source 2 engine, the dynamics shifted significantly.
Are you tired of enemy models blending into a blurry mess on your 1440p monitor, or getting instantly deleted the moment an opponent peeks around a corner? When I first started placement matches in CS2, my resolution kept resetting, and black bars refused to go away through drivers or the console. In this guide, I'll share my hands-on testing across various hardware setups. We'll break down which resolution delivers the perfect balance of visual clarity, stable frame rates, and a competitive edge. You can always find more technical breakdowns and guides on VRedux.

Expert Verdict: Which CS2 Resolution Should You Choose?
If you want a quick answer on the best CS2 resolution, here is the breakdown. In 2026, the esports gold standard remains 1280×960 (4:3 Stretched), while casual play favors 1920×1080 (16:9 Native). Stretching 4:3 makes target models appear 33% wider visually, making aiming and tracking heads significantly easier—though at the cost of limiting your Field of View (FOV) to 90 degrees.
Quick Setup Recommendation Table
Source 2 Engine Mechanics: Why Do Pros Play 4:3 Stretched?
A common myth is that stretched resolutions in CS2 physically enlarge enemy hitboxes. That's not how Valve's engine works. Server-side registration calculates hits based on static 3D coordinates, which are completely independent of your monitor settings. The actual physical size of enemy hitboxes remains identical.
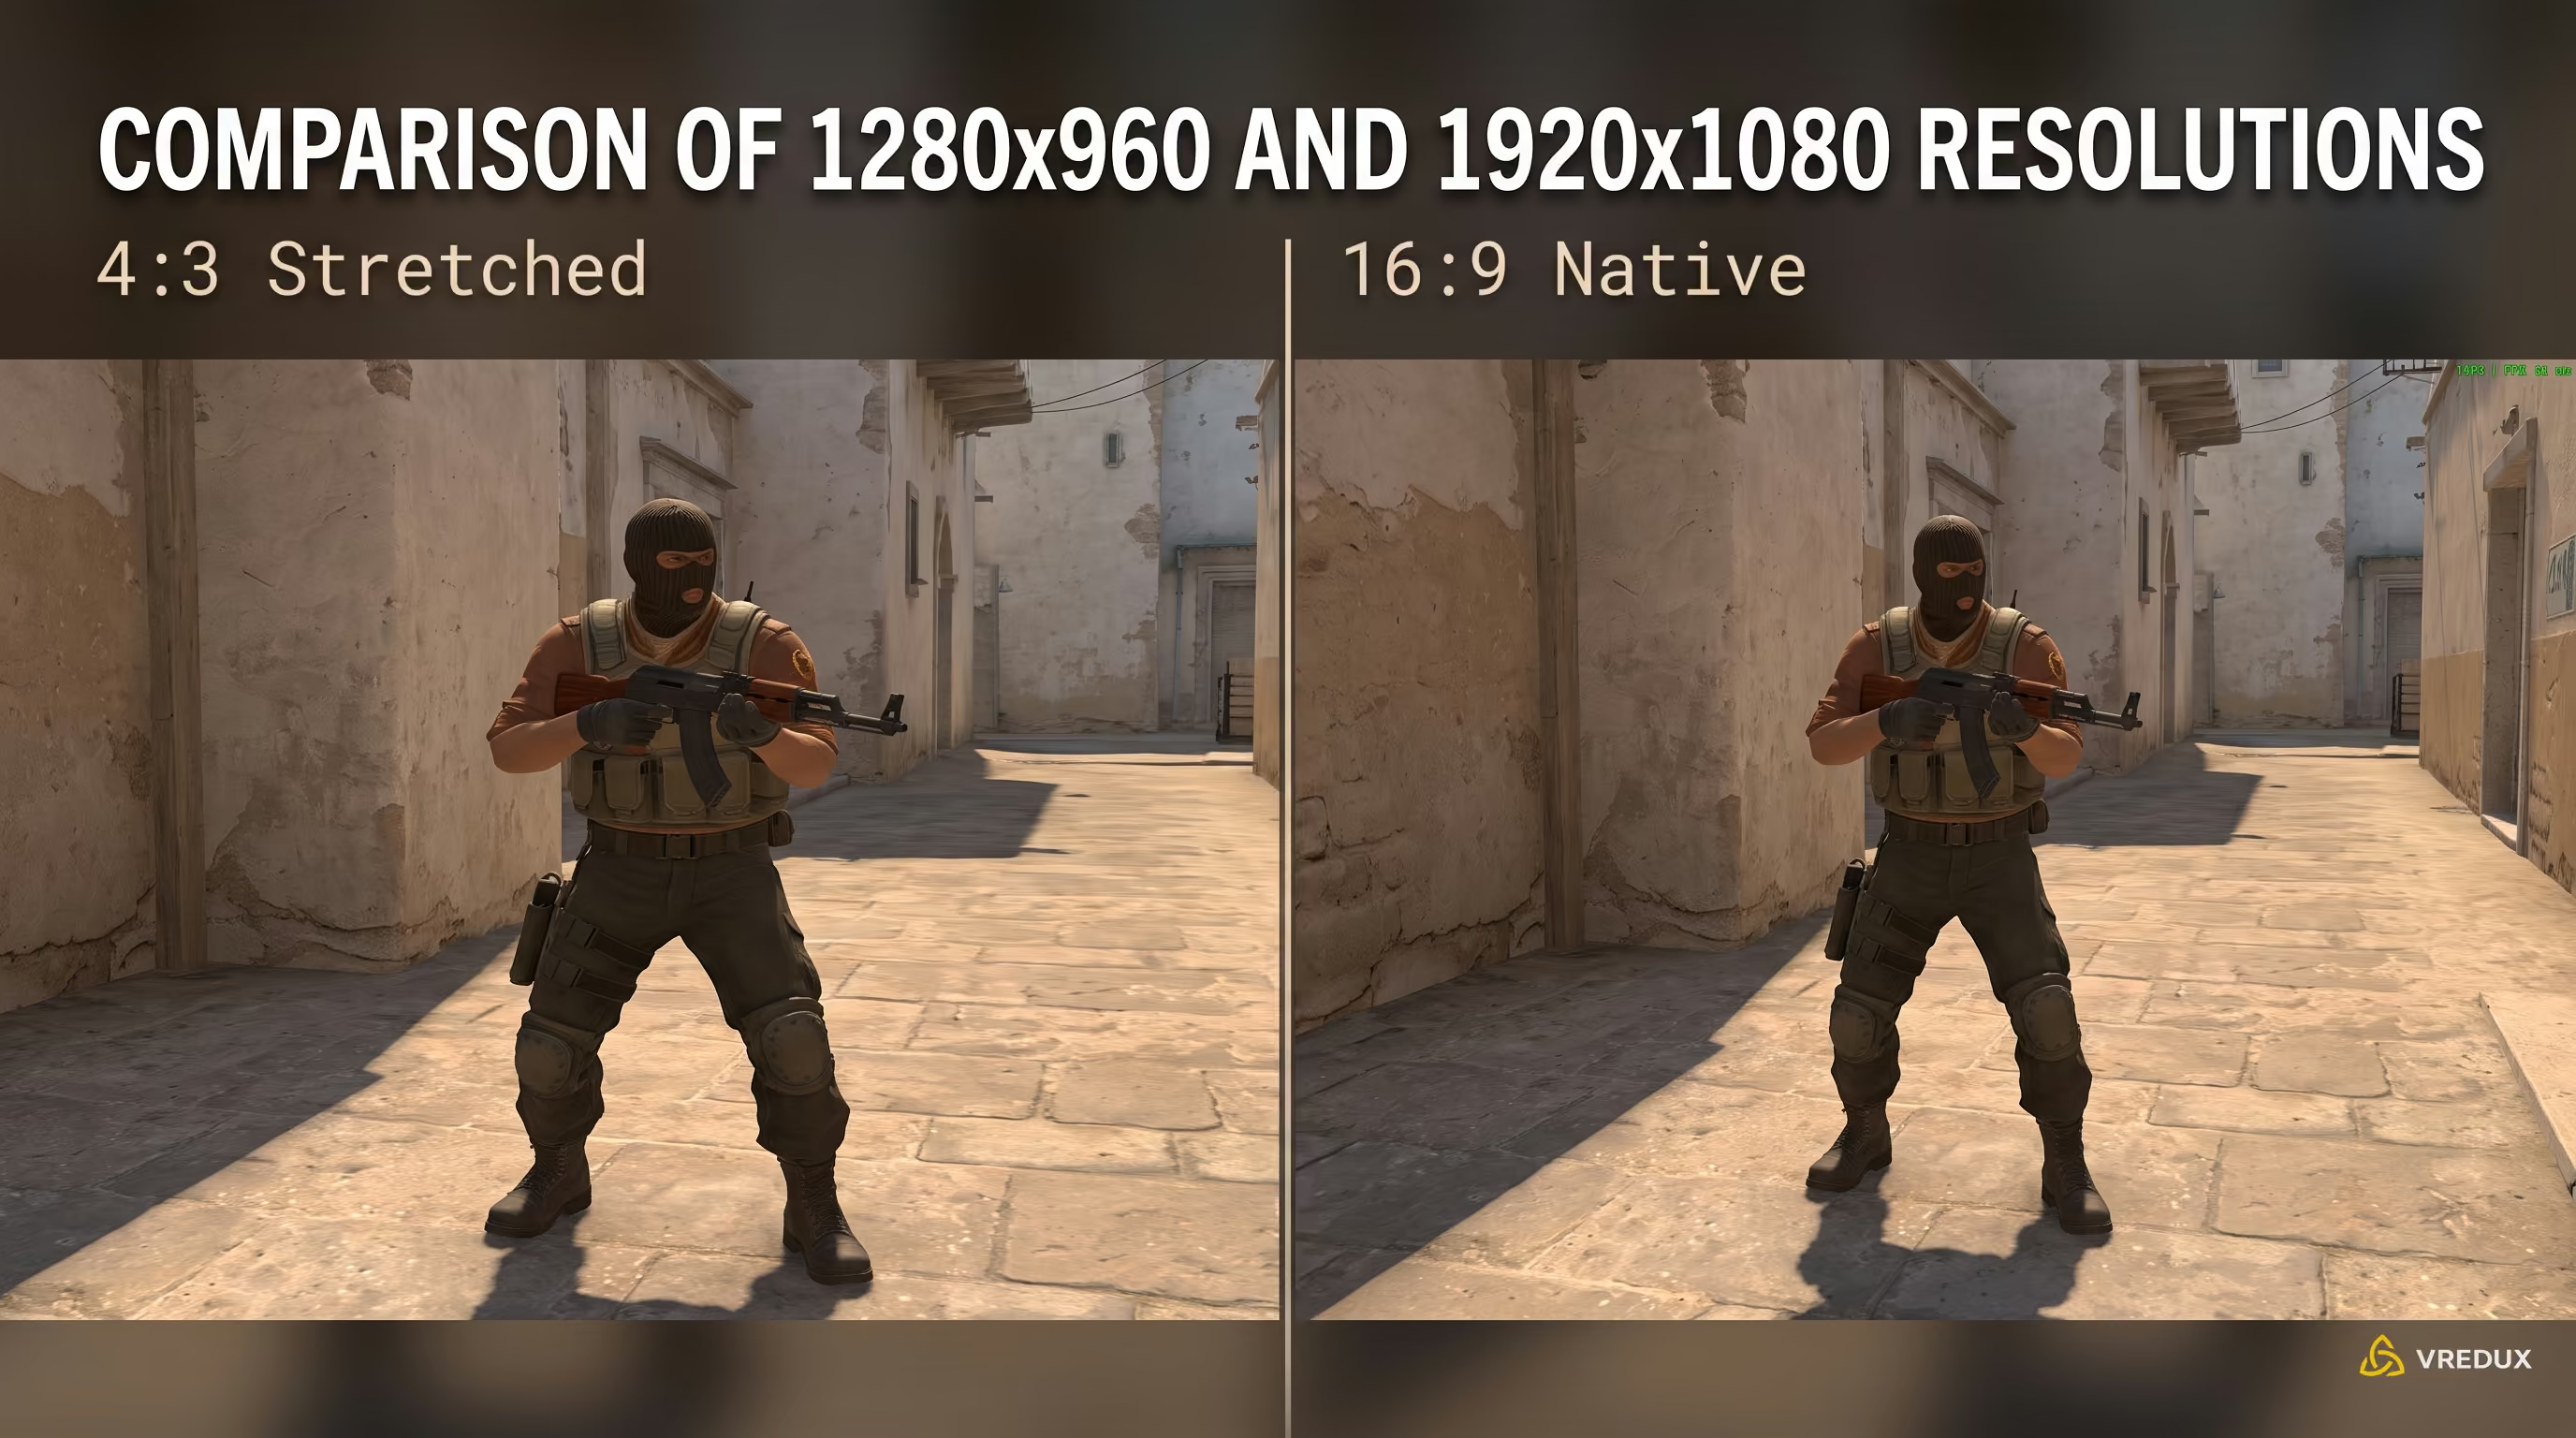
However, when you run a 4:3 aspect ratio stretched across a 16:9 display, client-side rendering changes the perception. The 2D pixel projection stretches horizontally across your screen. Player models appear visually wider, making it perceptually easier to snap onto targets and track heads. This reduces the precision needed for micro-adjustments. Having tested this over several months, an enemy head on 1280×960 appears noticeably larger than on Native 1080p, giving you extra confidence when peeking with an AWP or Scout.
FOV and Peripheral Vision Trade-offs
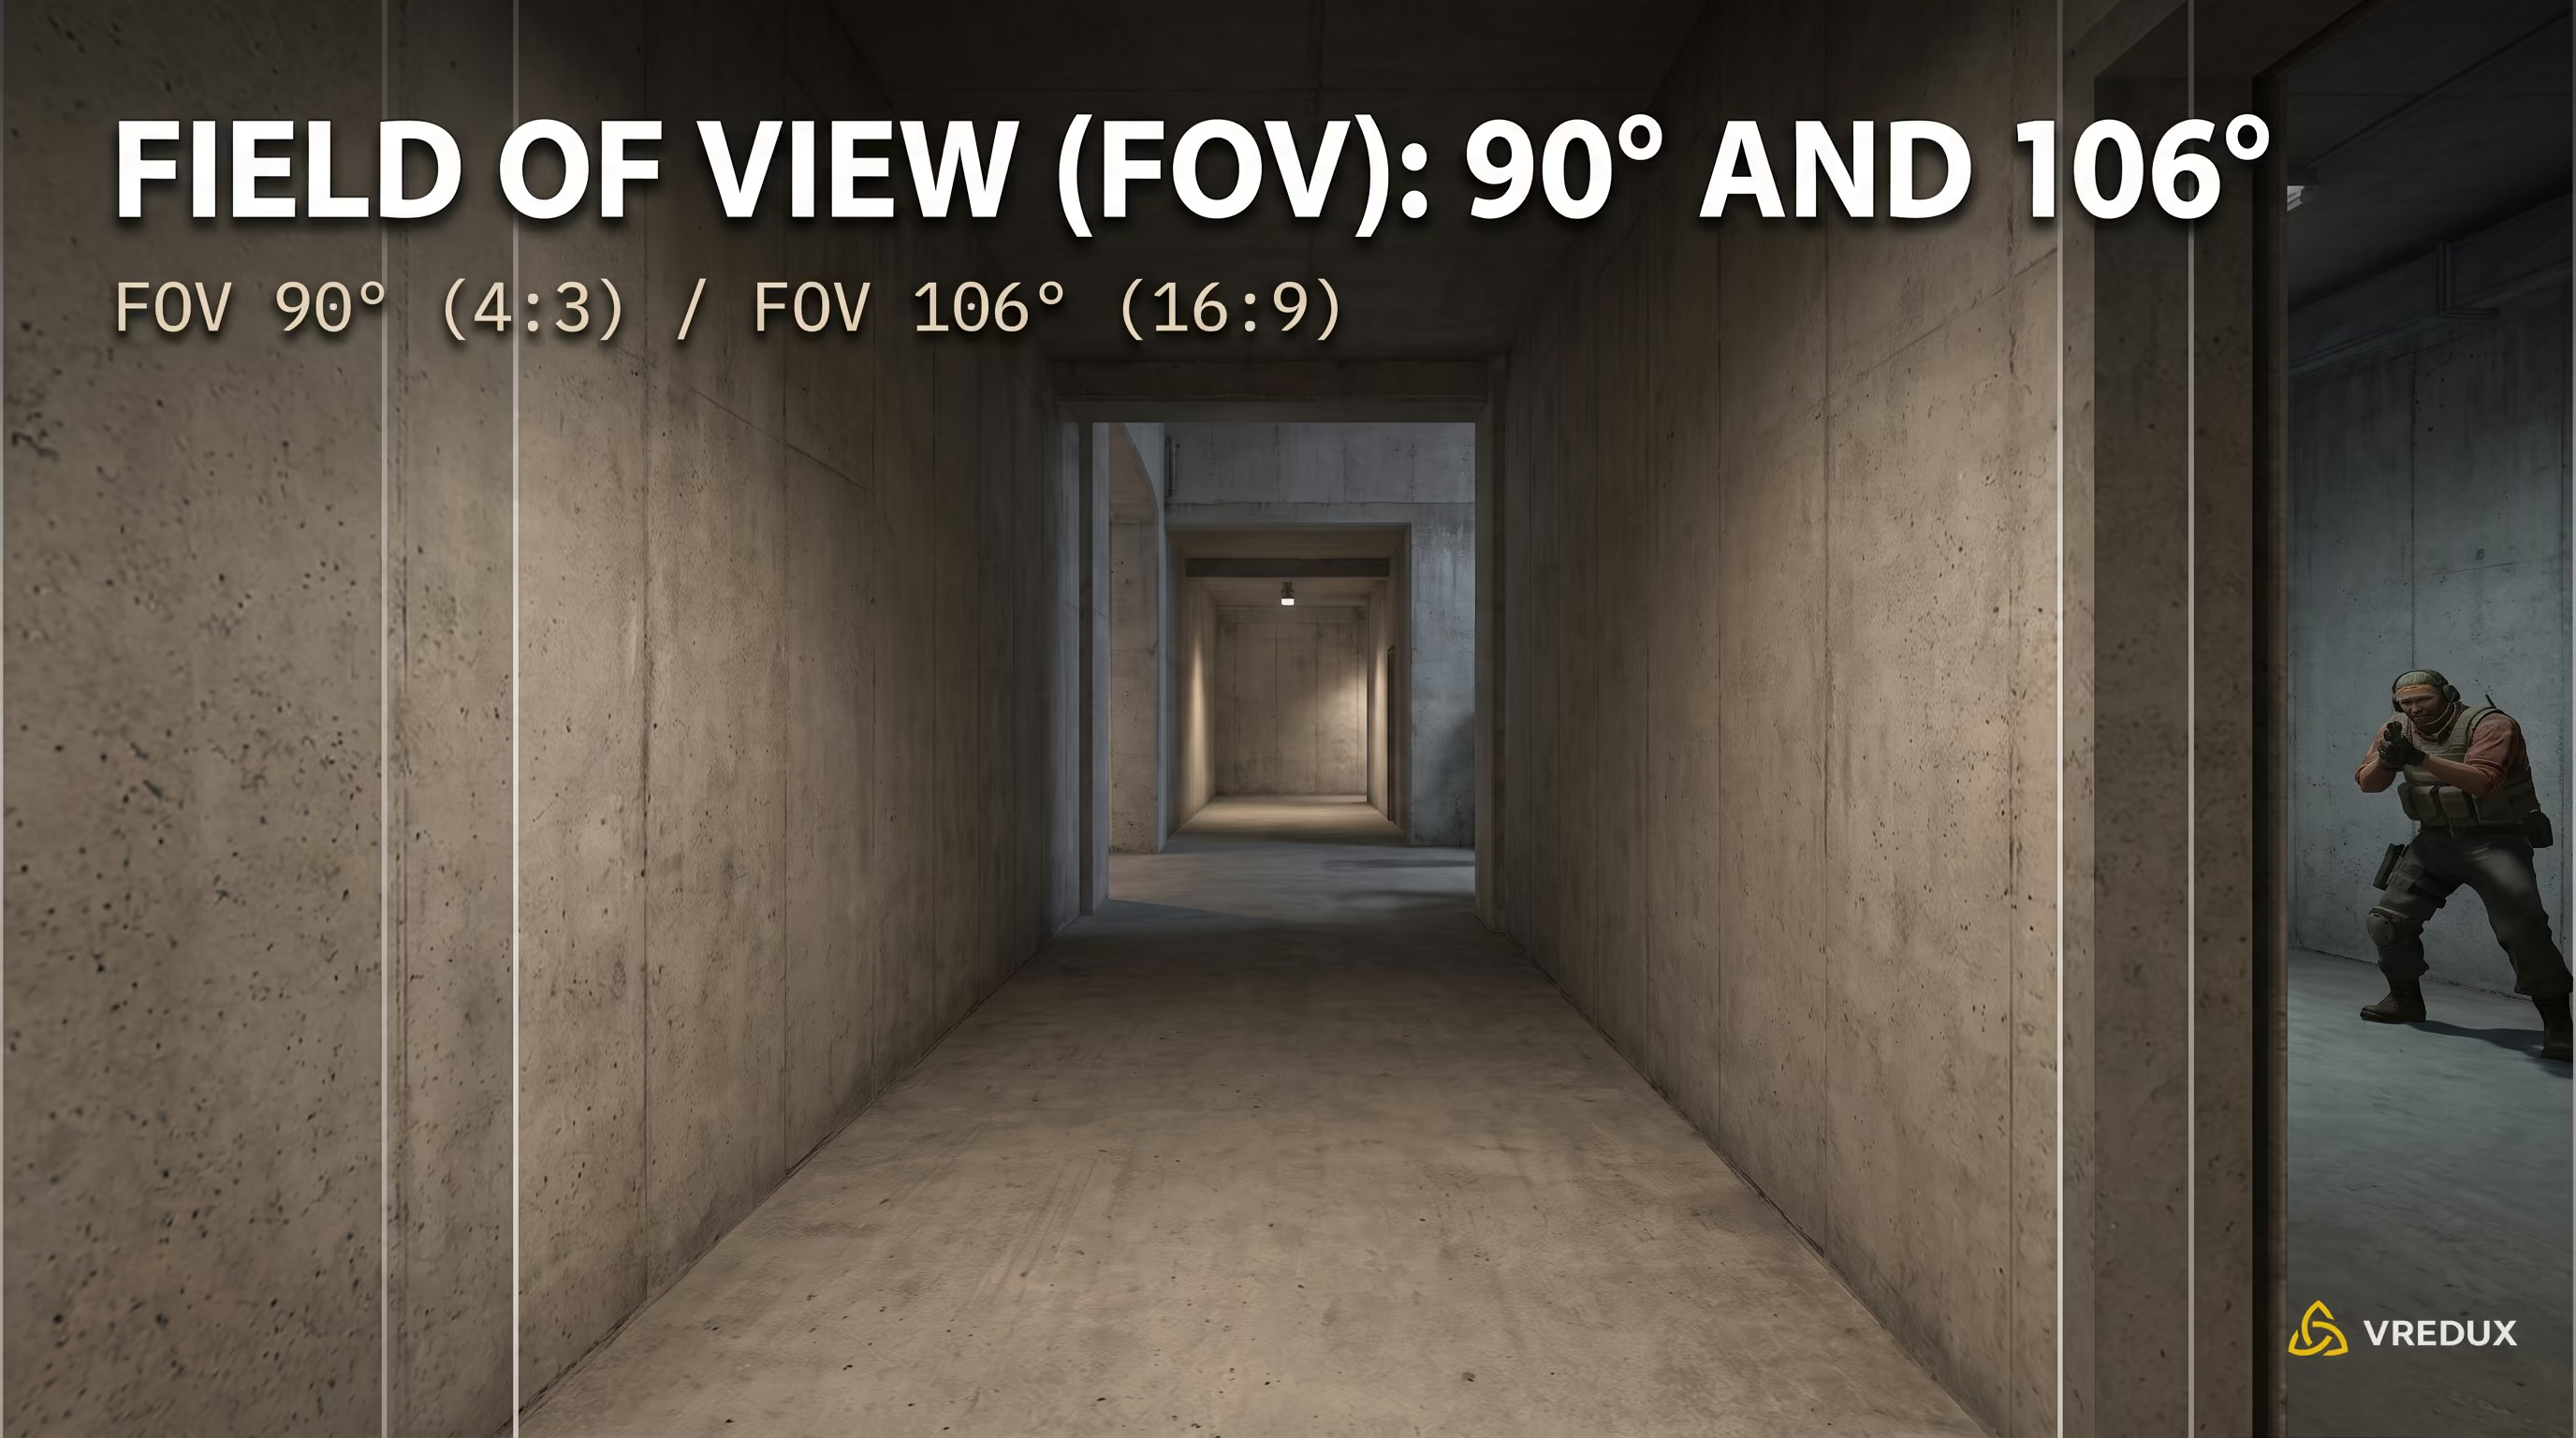
This is where the main trade-off lies. Switching from 16:9 to 4:3 forces the engine to crop the horizontal edges of your view. At 16:9, your default Field of View (FOV) sits at 106 degrees. On 4:3, it drops to 90 degrees, losing roughly 16 degrees of peripheral vision. This is why you frequently see pros walk right past enemies caught in their blind spots—a phenomenon universally known in the community as getting "4:3'd."
Pro Player Resolutions in CS2 (2026 Stats)
Looking at pro player setups gives a clear picture of the current meta. According to ProSettings data for 2026, roughly 59% of competitive players stick with 1280×960 Stretched. Here is how some top players configure their display settings:
As you can see, m0NESY, donk, deko, and s1mple all use the classic 1280×960 stretched resolution. Meanwhile, ropz continues to dominate on native 1080p, proving that top-tier aiming relies primarily on muscle memory rather than visual scaling tricks alone.
How to Enable 4:3 Stretched and Remove Black Bars
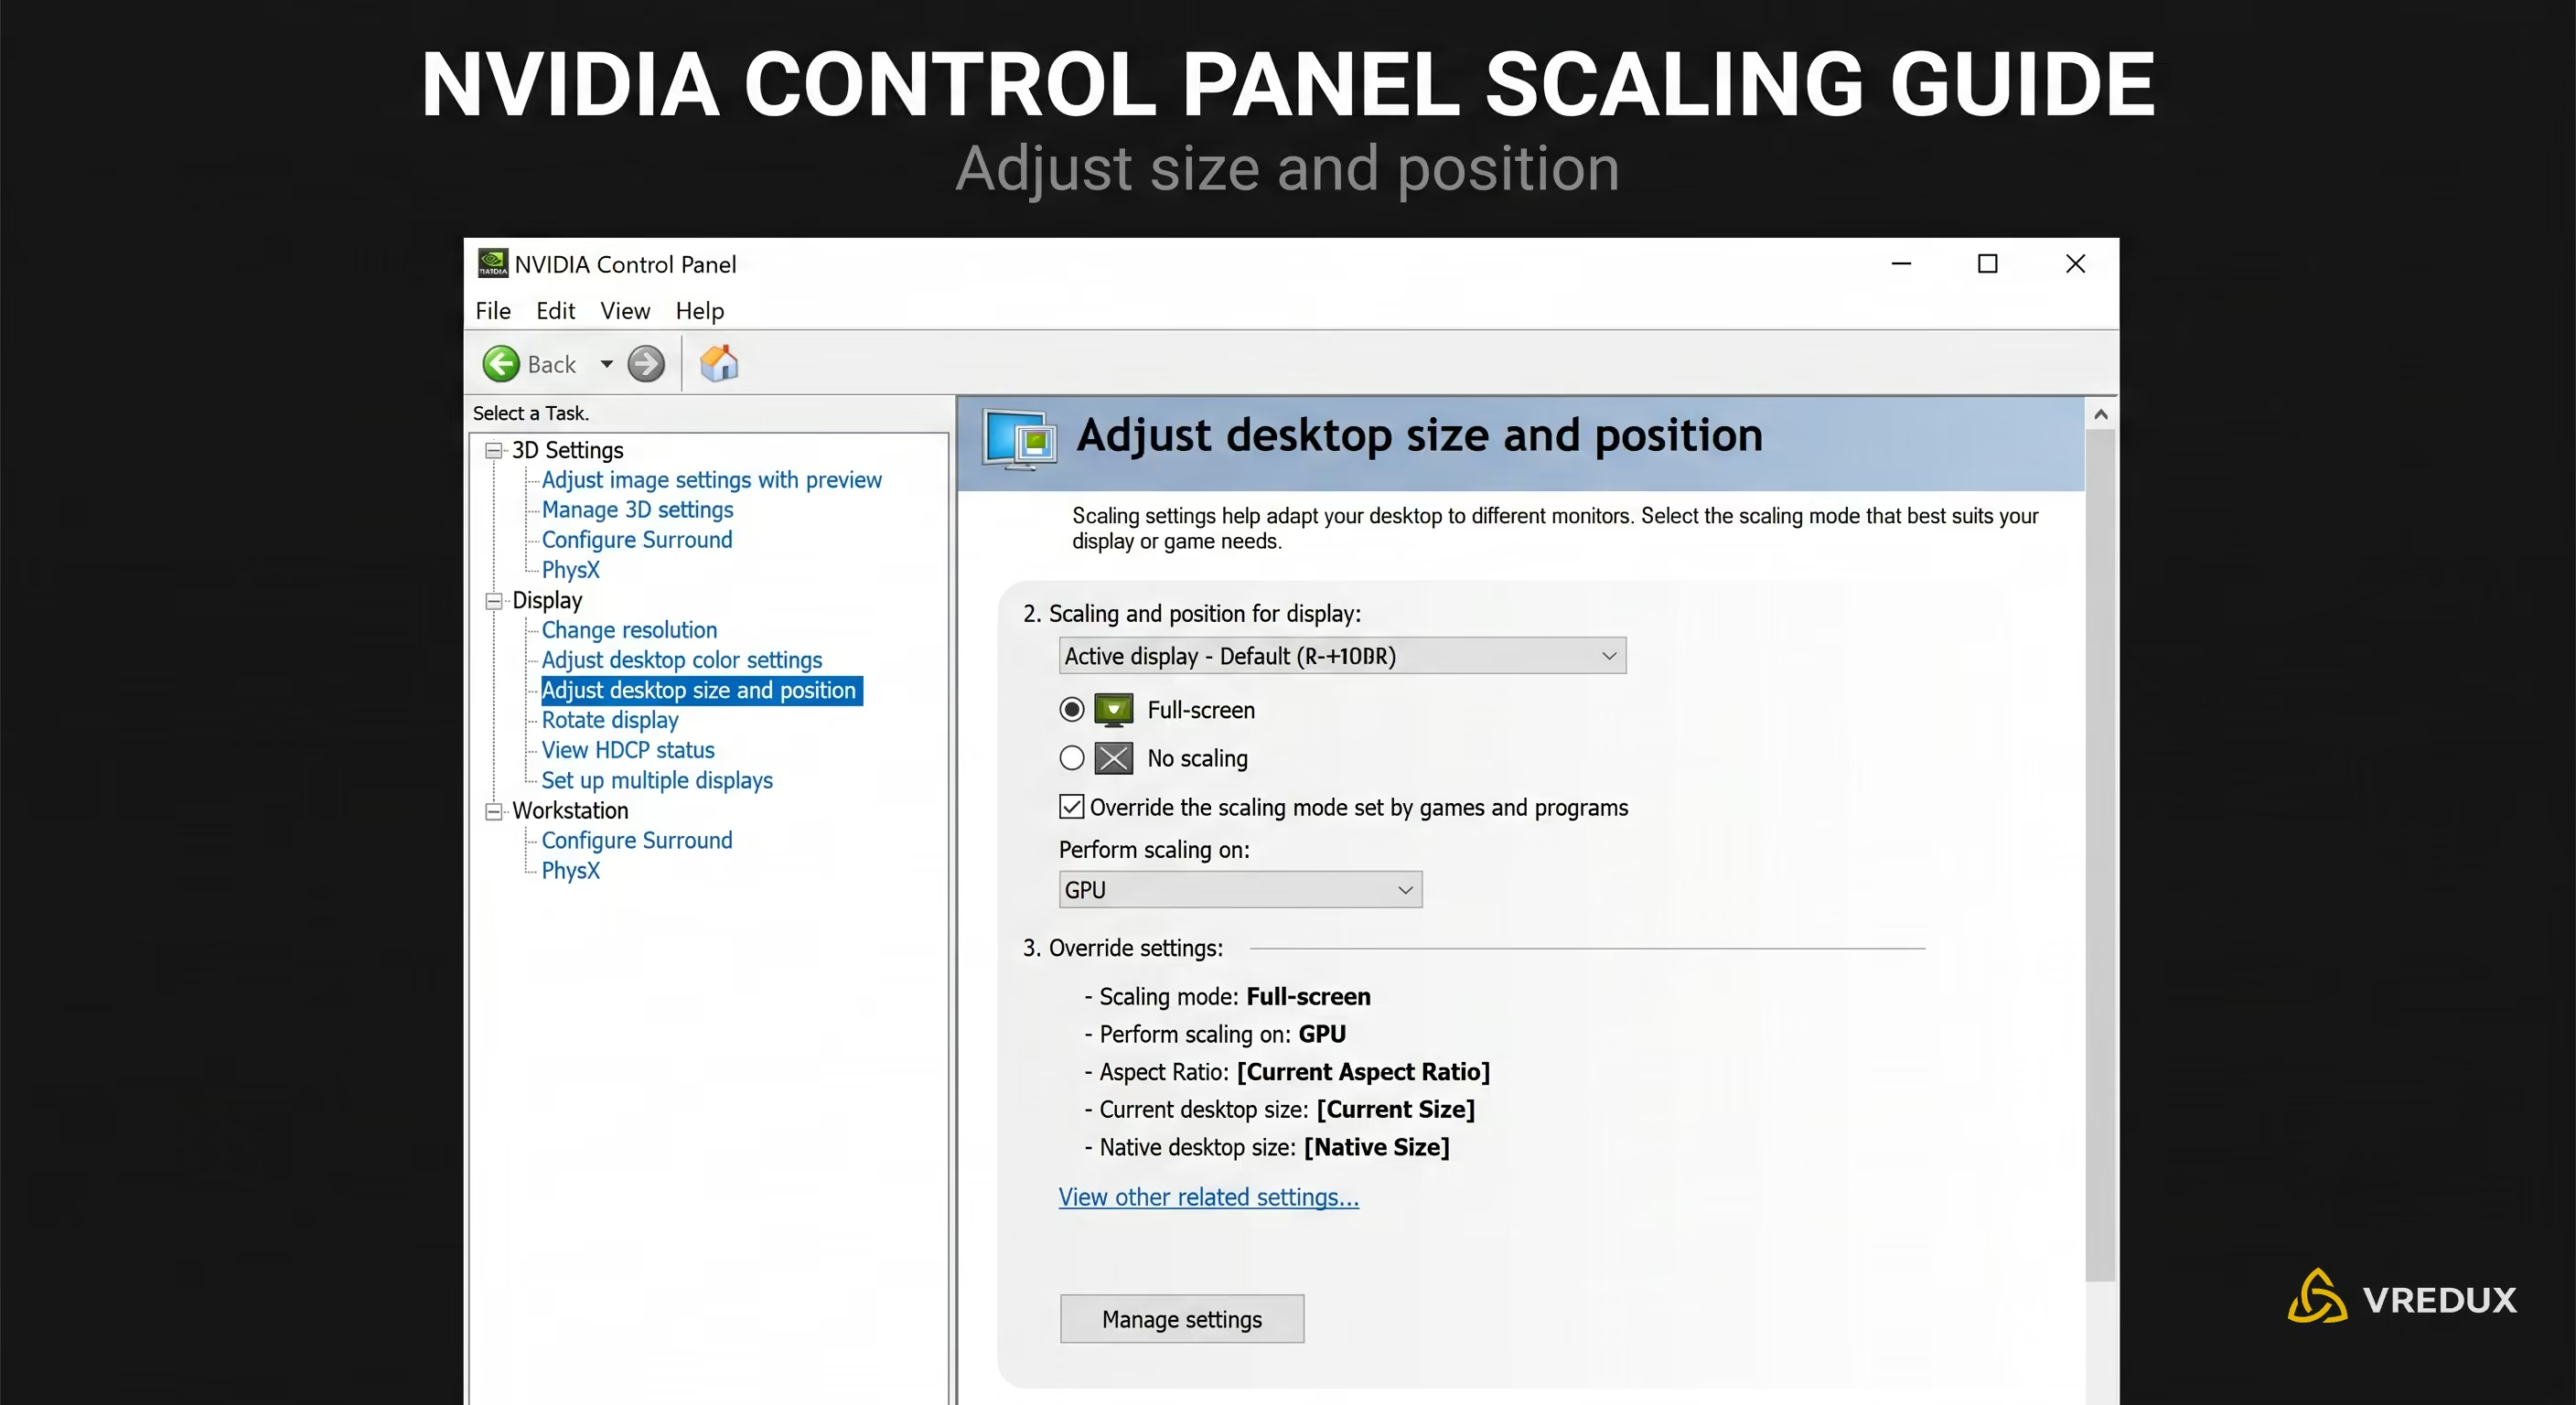
The most common issue players encounter is applying 4:3 only to get black bars on the sides. This happens because Windows or your monitor attempts to preserve the native aspect ratio. To make the game stretch across your entire screen, you need to configure your GPU to override display scaling.
NVIDIA Control Panel Step-by-Step Guide
- Right-click your desktop and open the NVIDIA Control Panel.
- Under the left menu, select Adjust desktop size and position.
- Set the scaling mode to Full-screen.
- Critical Step: Check the box for "Override the scaling mode set by games and programs." If left unchecked, Windows 11 will override your settings and keep black bars active.
- In the "Perform scaling on:" drop-down, select GPU.
- Click Apply and launch CS2.
AMD Radeon Software Step-by-Step Guide
Setting up a custom stretched resolution on AMD Radeon GPUs follows a similar process. Here's how to do it:
- Open AMD Software: Adrenalin Edition.
- Navigate to Gaming -> Display.
- Enable GPU Scaling.
- Under Scaling Mode, select Full Panel from the drop-down menu.
- Launch CS2 and select your desired 4:3 resolution in the video settings.
Troubleshooting Greyed-Out Scaling Options on Laptops
Laptop gamers often find display scaling options greyed out in the NVIDIA Control Panel. This occurs on systems using NVIDIA Optimus technology, where the internal display routes through the integrated Intel or AMD graphics chip. To fix this, open the Intel Graphics Command Center (or AMD Software), go to the Display tab, and set scaling to Stretched. Alternatively, enable your laptop's MUX Switch in the BIOS if supported.
Custom Resolutions: 1440×1080, 1920×1440, and 1080×1080
If built-in resolution presets feel lacking, setting up a custom resolution provides a much cleaner image. While 1280×960 looks decent on a 24-inch 1080p panel, running it on a 27-inch 1440p monitor results in heavy blur. Choosing the right custom resolution is essential for 1440p displays.
For 1080p monitors, 1440×1080 is the premier pick. It maintains full 1080 vertical pixel density while scaling the horizontal plane to a 4:3 aspect ratio. You get wider player models and a stretched view without sacrificing text sharpness or killfeed readability. Keep in mind that stretching alters your crosshair proportions horizontally—check out our custom CS2 crosshair setup guide to calibrate your cl_crosshairthickness settings accordingly.
Custom Resolution Breakdown
Ultra-stretched options like 1080×1080 (1:1 aspect ratio) are popular among aim enthusiasts. While peripheral vision takes a major hit, central screen focus is unmatched. The same applies to 5:4 ratios such as 1350×1080.
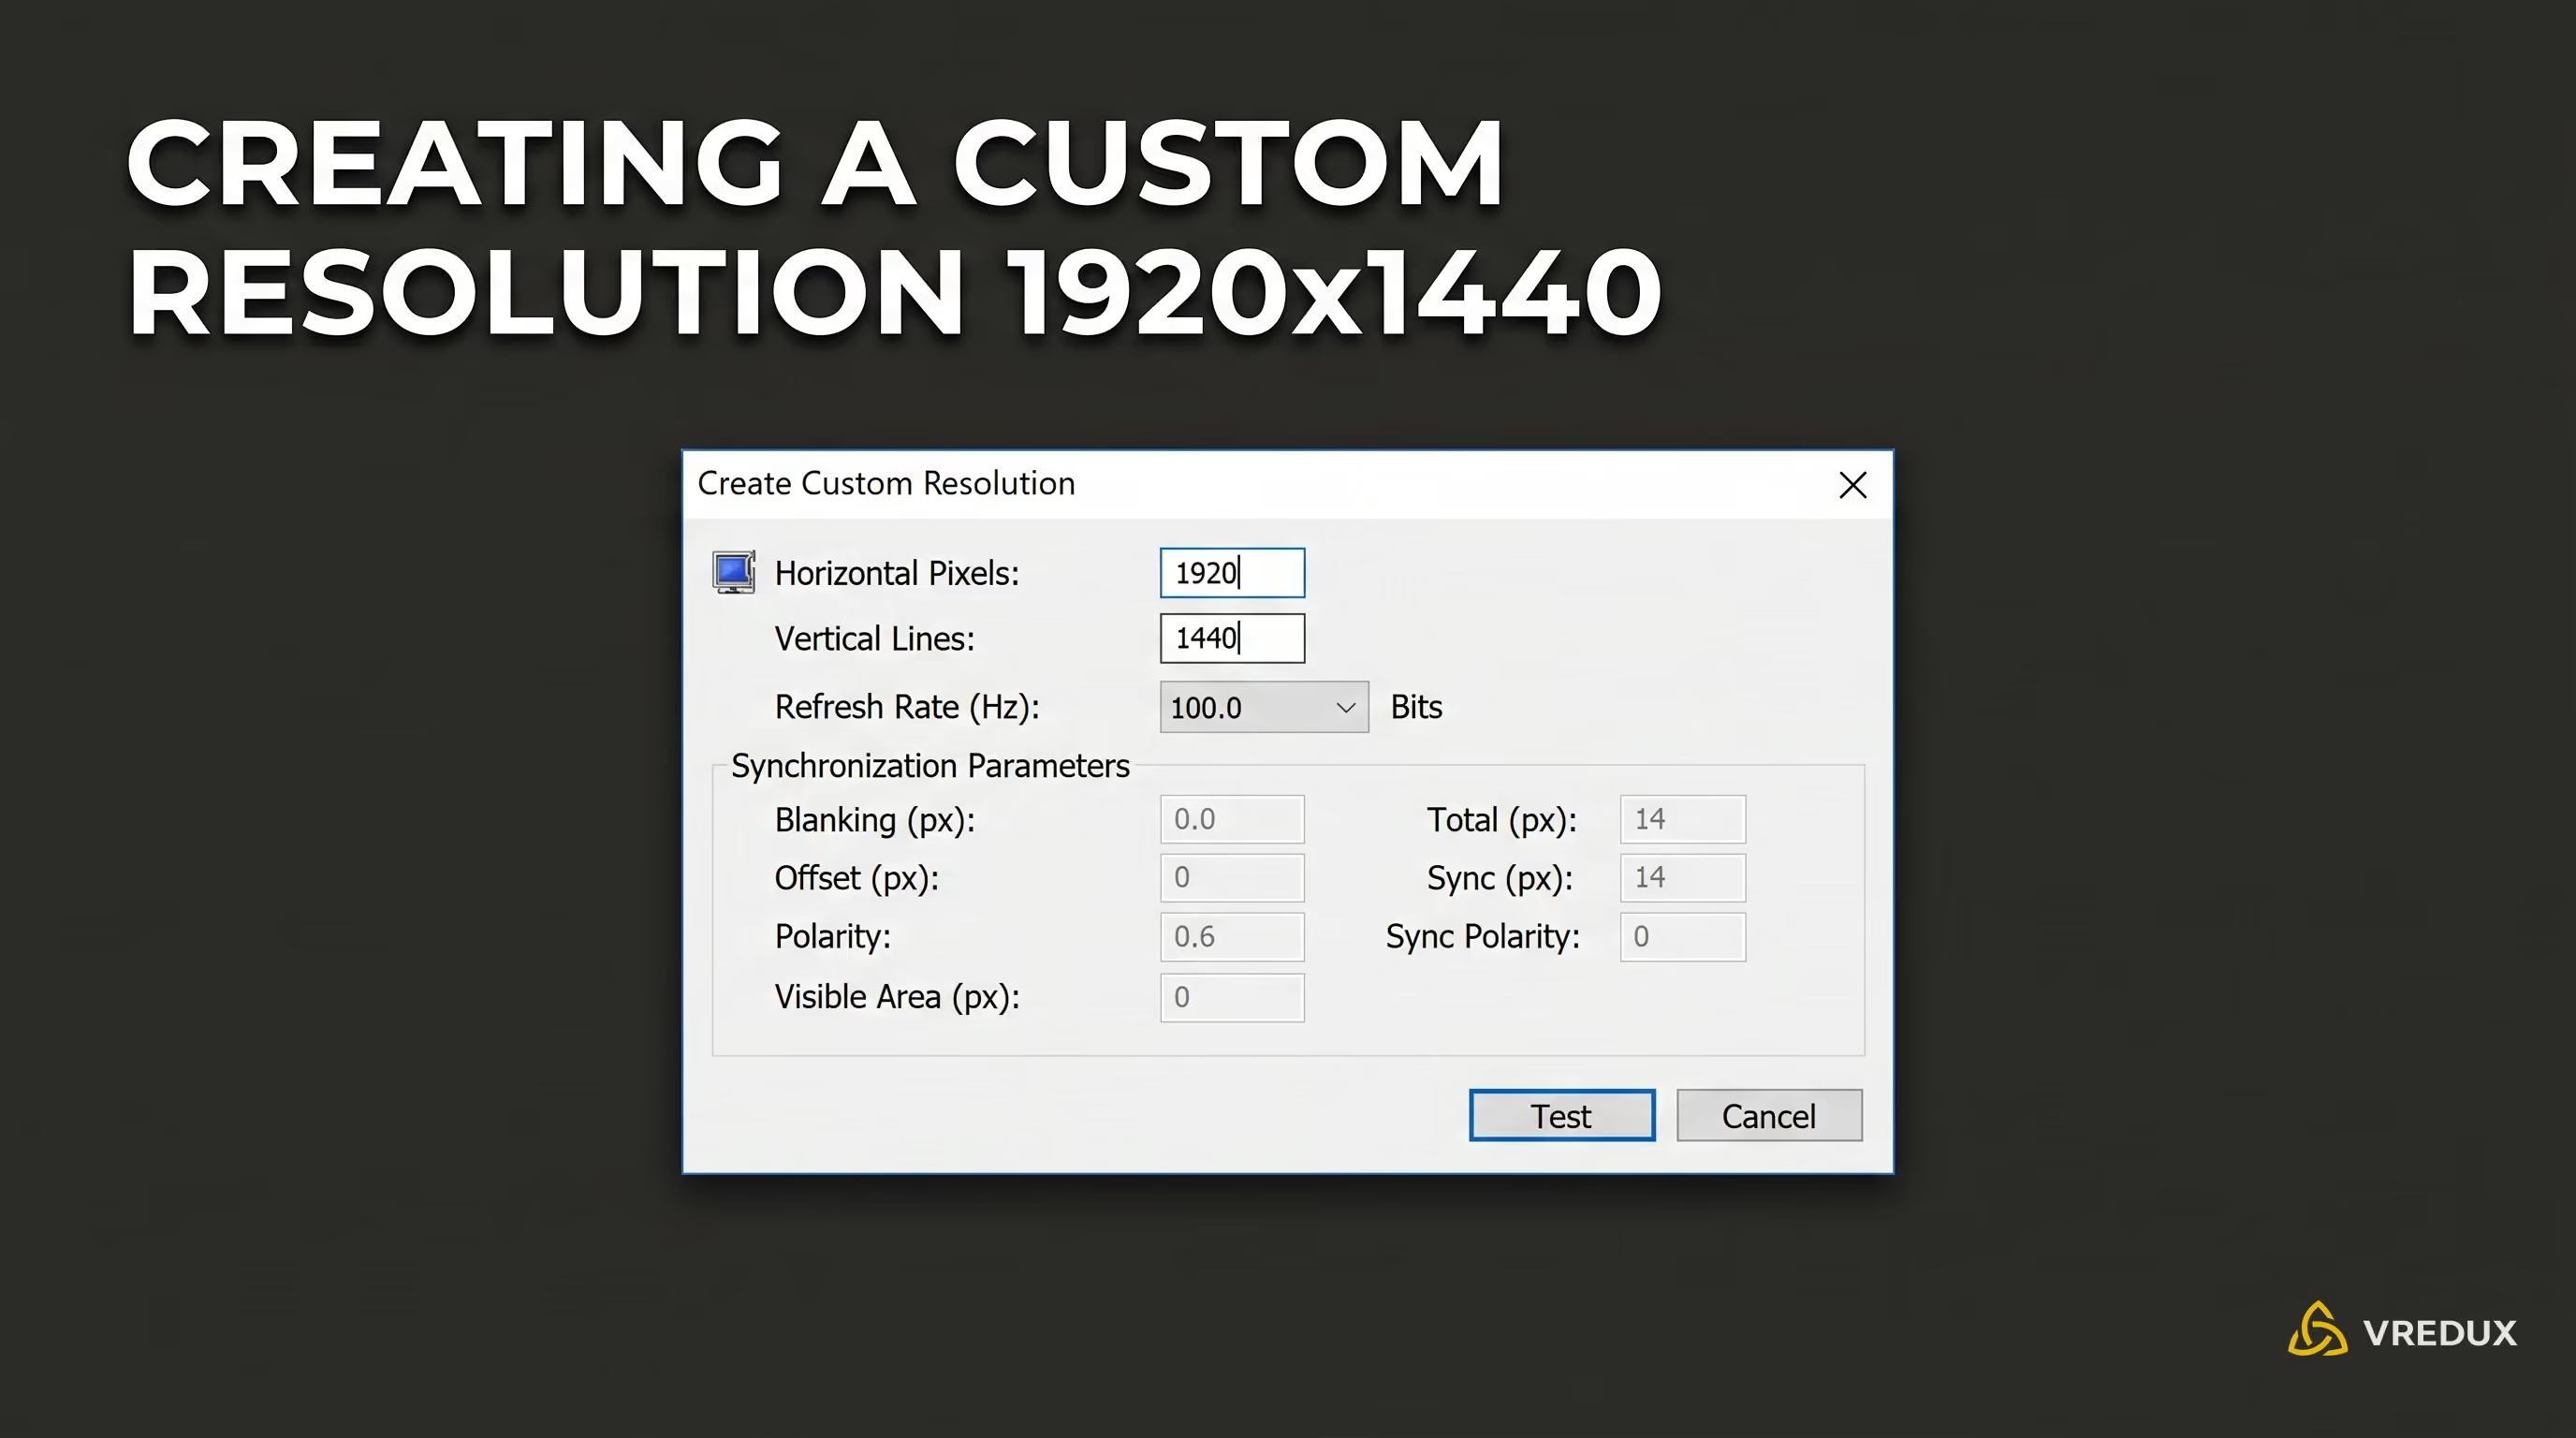
How to Create a Custom Resolution in GPU Drivers
In the NVIDIA Control Panel, go to Change resolution -> Customize -> Create Custom Resolution. Enter your target horizontal and vertical pixel values, set the timing standard to CVT reduced blanking (CVT-RB) or Automatic, and save.
Console Commands, Launch Options, and cs2_video.txt
Many outdated guides still recommend using the console command mat_setvideomode 1280 960 0. Note that this legacy CS:GO command does not function in Source 2. Source 2 handles display settings differently, so attempting to set video modes via mat_setvideomode will not work.
Steam Launch Options (Recommended Method)
The most reliable way to enforce a specific display resolution before launching CS2 is through Steam launch parameters. Open Steam, right-click Counter-Strike 2 -> Properties -> General -> Launch Options, and paste the following line:
-w 1280 -h 960 -fullscreen
Here, -w sets width and -h sets height. The -fullscreen parameter forces exclusive full-screen mode. For further performance optimization, check out our comprehensive CS2 FPS launch options guide.
Editing cs2_video.txt to Reset Display Settings
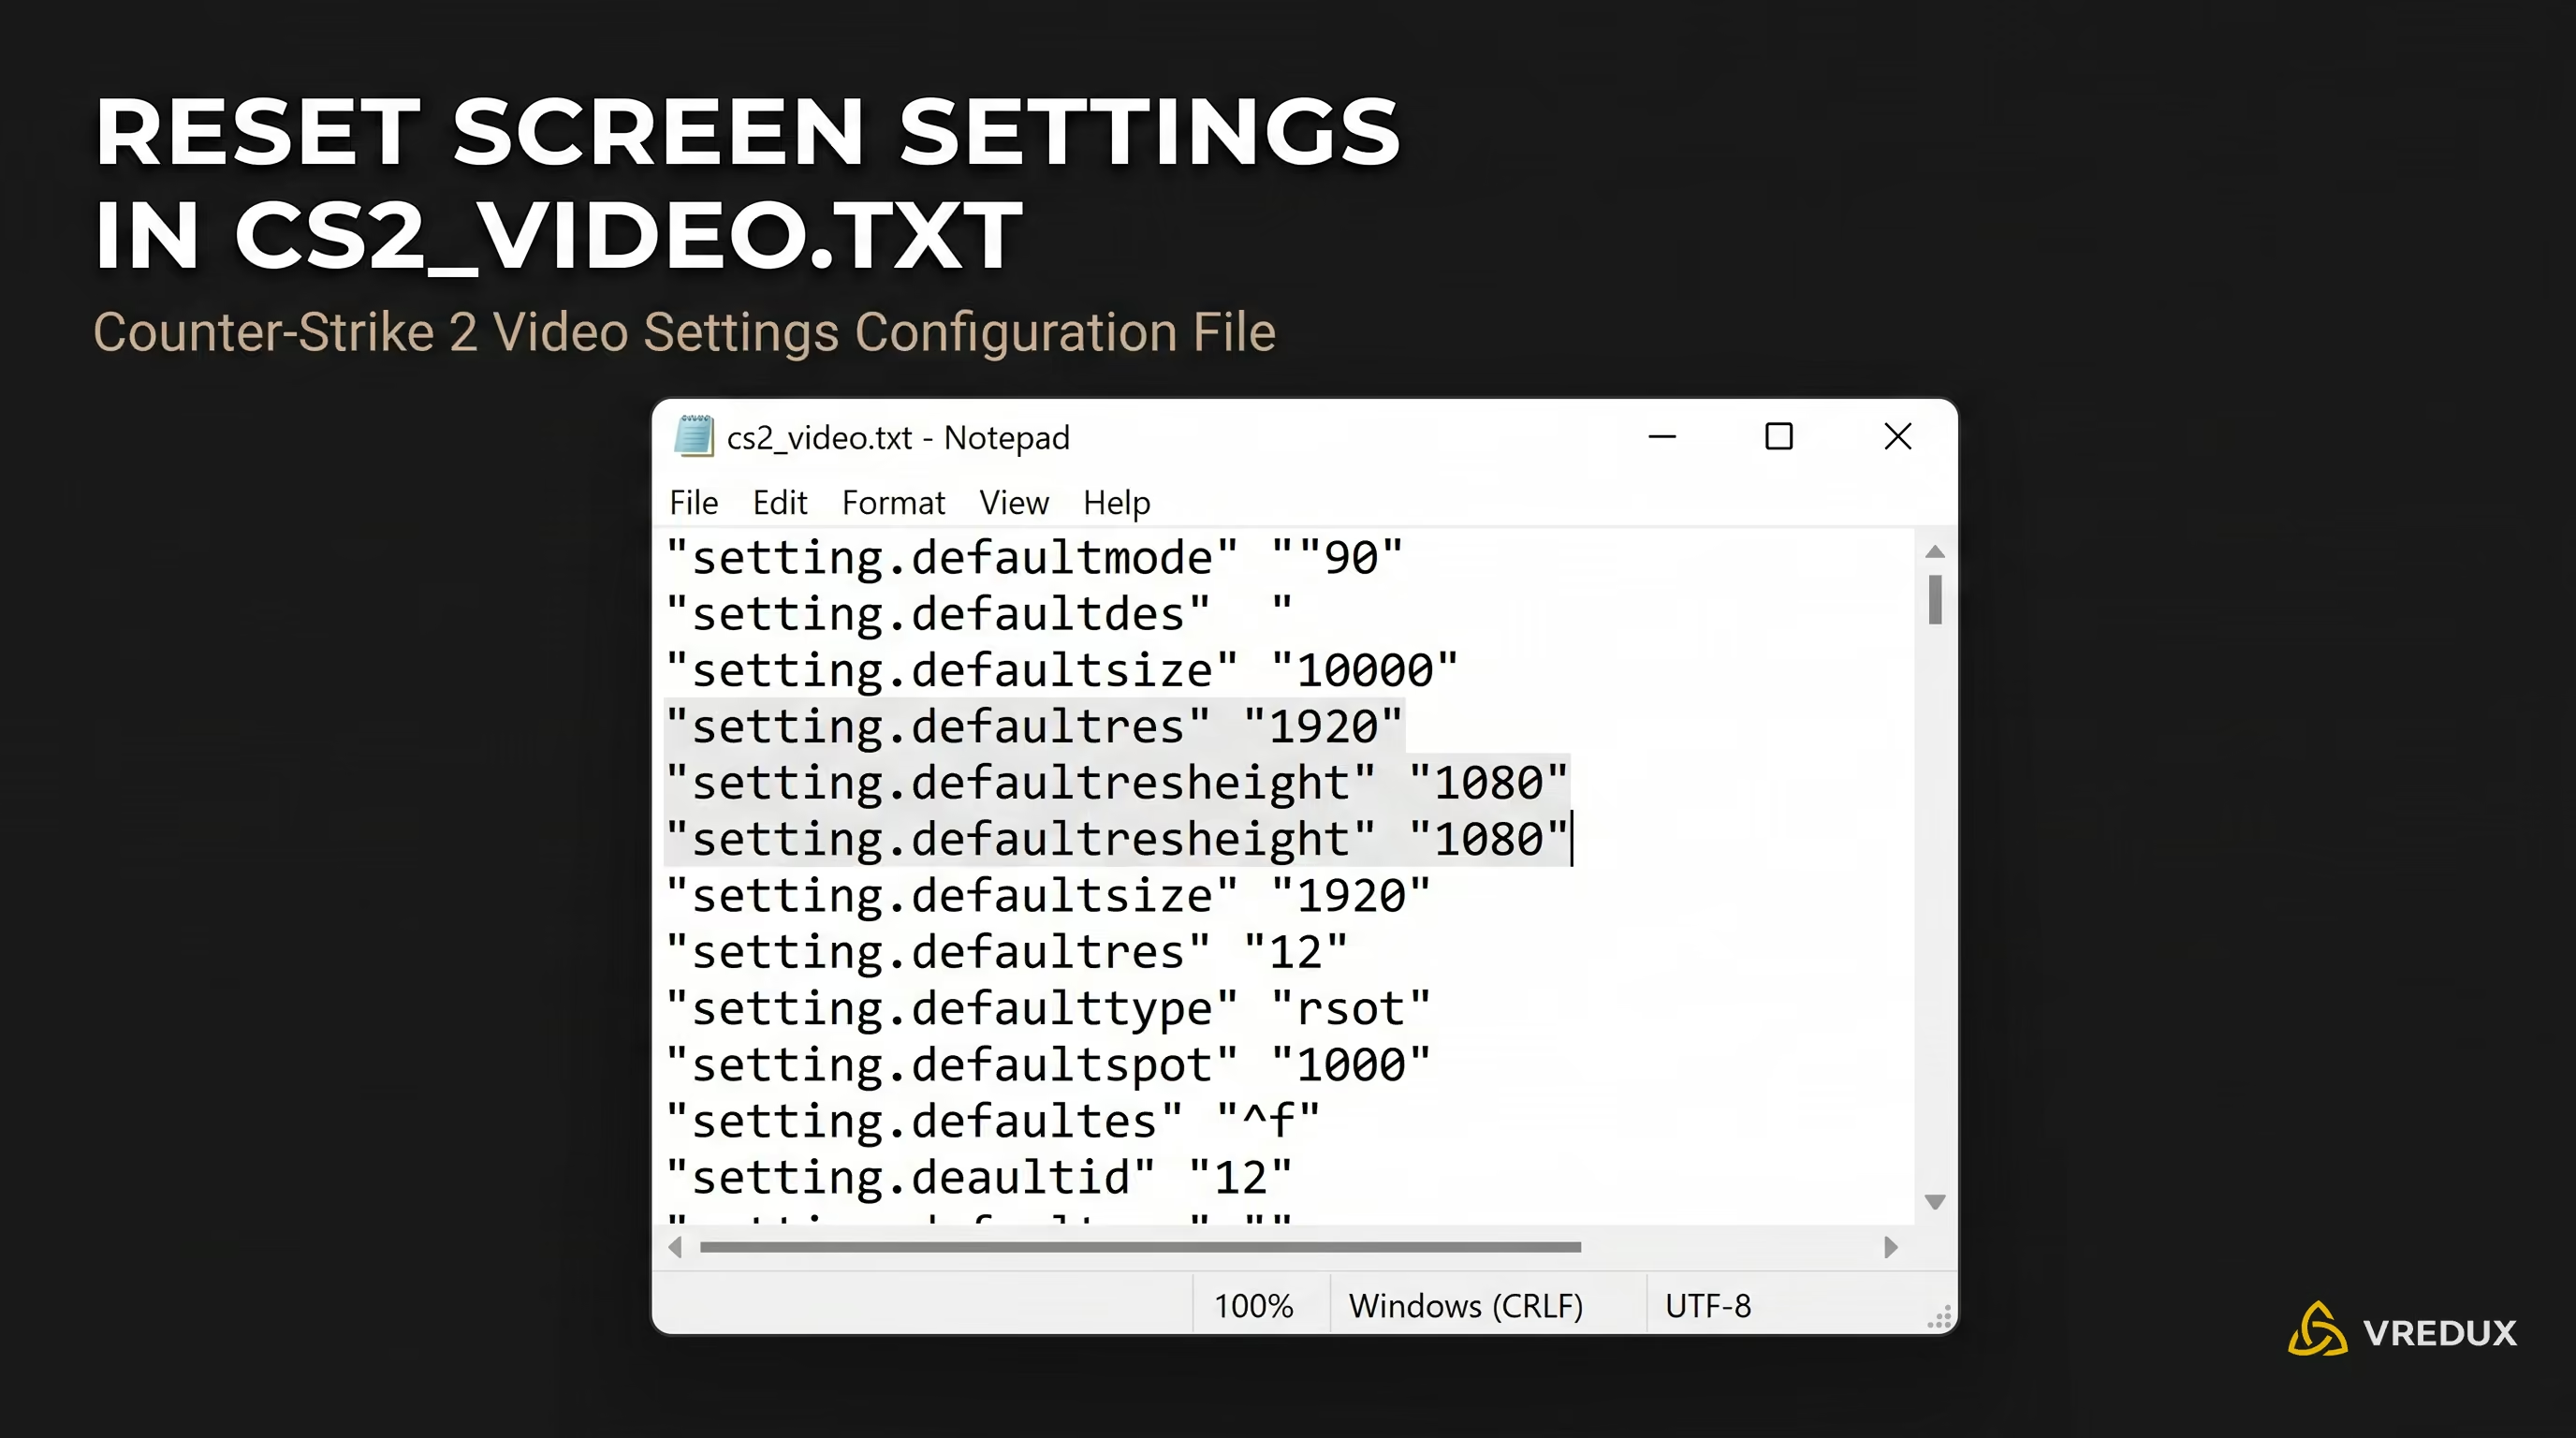
If applying an unsupported resolution results in a black screen or missing menu options, you can reset your settings manually by editing the engine configuration file.
- Navigate to:
C:\Program Files (x86)\Steam\userdata\[YOUR_STEAM_ID]\730\local\cfg. - Locate cs2_video.txt and open it with Notepad.
- Find the lines
"setting.defaultres"and"setting.defaultresheight". - Change their values back to standard parameters (e.g., 1920 and 1080) and save the file.
To quickly perform a full video reset, simply delete cs2_video.txt. CS2 will regenerate a default configuration matching your desktop's native resolution upon the next launch.
FPS and Input Lag Impact: Benchmark Analysis
A common assumption is that lower resolutions always provide a massive FPS boost. While true a decade ago, CS2 is heavily CPU-bound. Modern GPUs often wait on the CPU to finish calculating sub-tick processing, grenade physics, and networking data before rendering frames.
Independent benchmarks show that running 1440×1080 versus 1920×1080 on modern systems yields only a 3–5% difference in frame rate (roughly 373 FPS vs. 359 FPS). Dropping pixel density purely for an FPS gain offers minimal returns on mid-to-high-end hardware.
Why do competitive players stick with 1280×960? The real benefit lies in system latency (Input Lag). Rendering fewer pixels reduces GPU frame times, delivering frames to the screen faster. Paired with NVIDIA Reflex Low Latency set to "On + Boost," lower resolutions provide a noticeably snappier mouse feel—giving competitive players crucial milliseconds in reaction time.
The 16:10 aspect ratio (such as 1680×1050) is also worth considering. It offers a moderate model stretch without sacrificing as much horizontal visibility as 4:3—making it a solid middle ground if a 90-degree FOV feels too restrictive.
Troubleshooting CS2 Resolution Issues and Resets
Here is how to resolve common engine display bugs, including settings resetting when Alt-Tabbing:
- Ensure your launch options do not contain
-windowed -noborder. CS2 should run in exclusive full-screen mode for stable resolution persistence. - Disable "Optimizations for windowed games" in Windows 11 under System -> Display -> Graphics -> Change default graphics settings.
- If the UI appears misaligned or the radar spills off-screen, adjust your HUD safety zone limits. For complete step-by-step instructions, view our CS2 HUD and radar configuration guide.
CS2 Resolution FAQ
Answers to common questions regarding resolutions, aspect ratios, hitboxes, and input latency in CS2.
Final Thoughts
There is no single resolution preset that will magically boost your Rating overnight. Switching to 4:3 Stretched makes targets easier to focus on, but requires adapting to faster horizontal movement speeds. Try playing on 1280×960 (or 1440×1080 on higher-end monitors) for a few days to evaluate your aim. If it feels unintuitive, stick with native 16:9—it clearly hasn't held ropz back.
To keep your game running as smoothly as possible, browse our technical guide section for deep-dive optimization tutorials. Good luck out there!