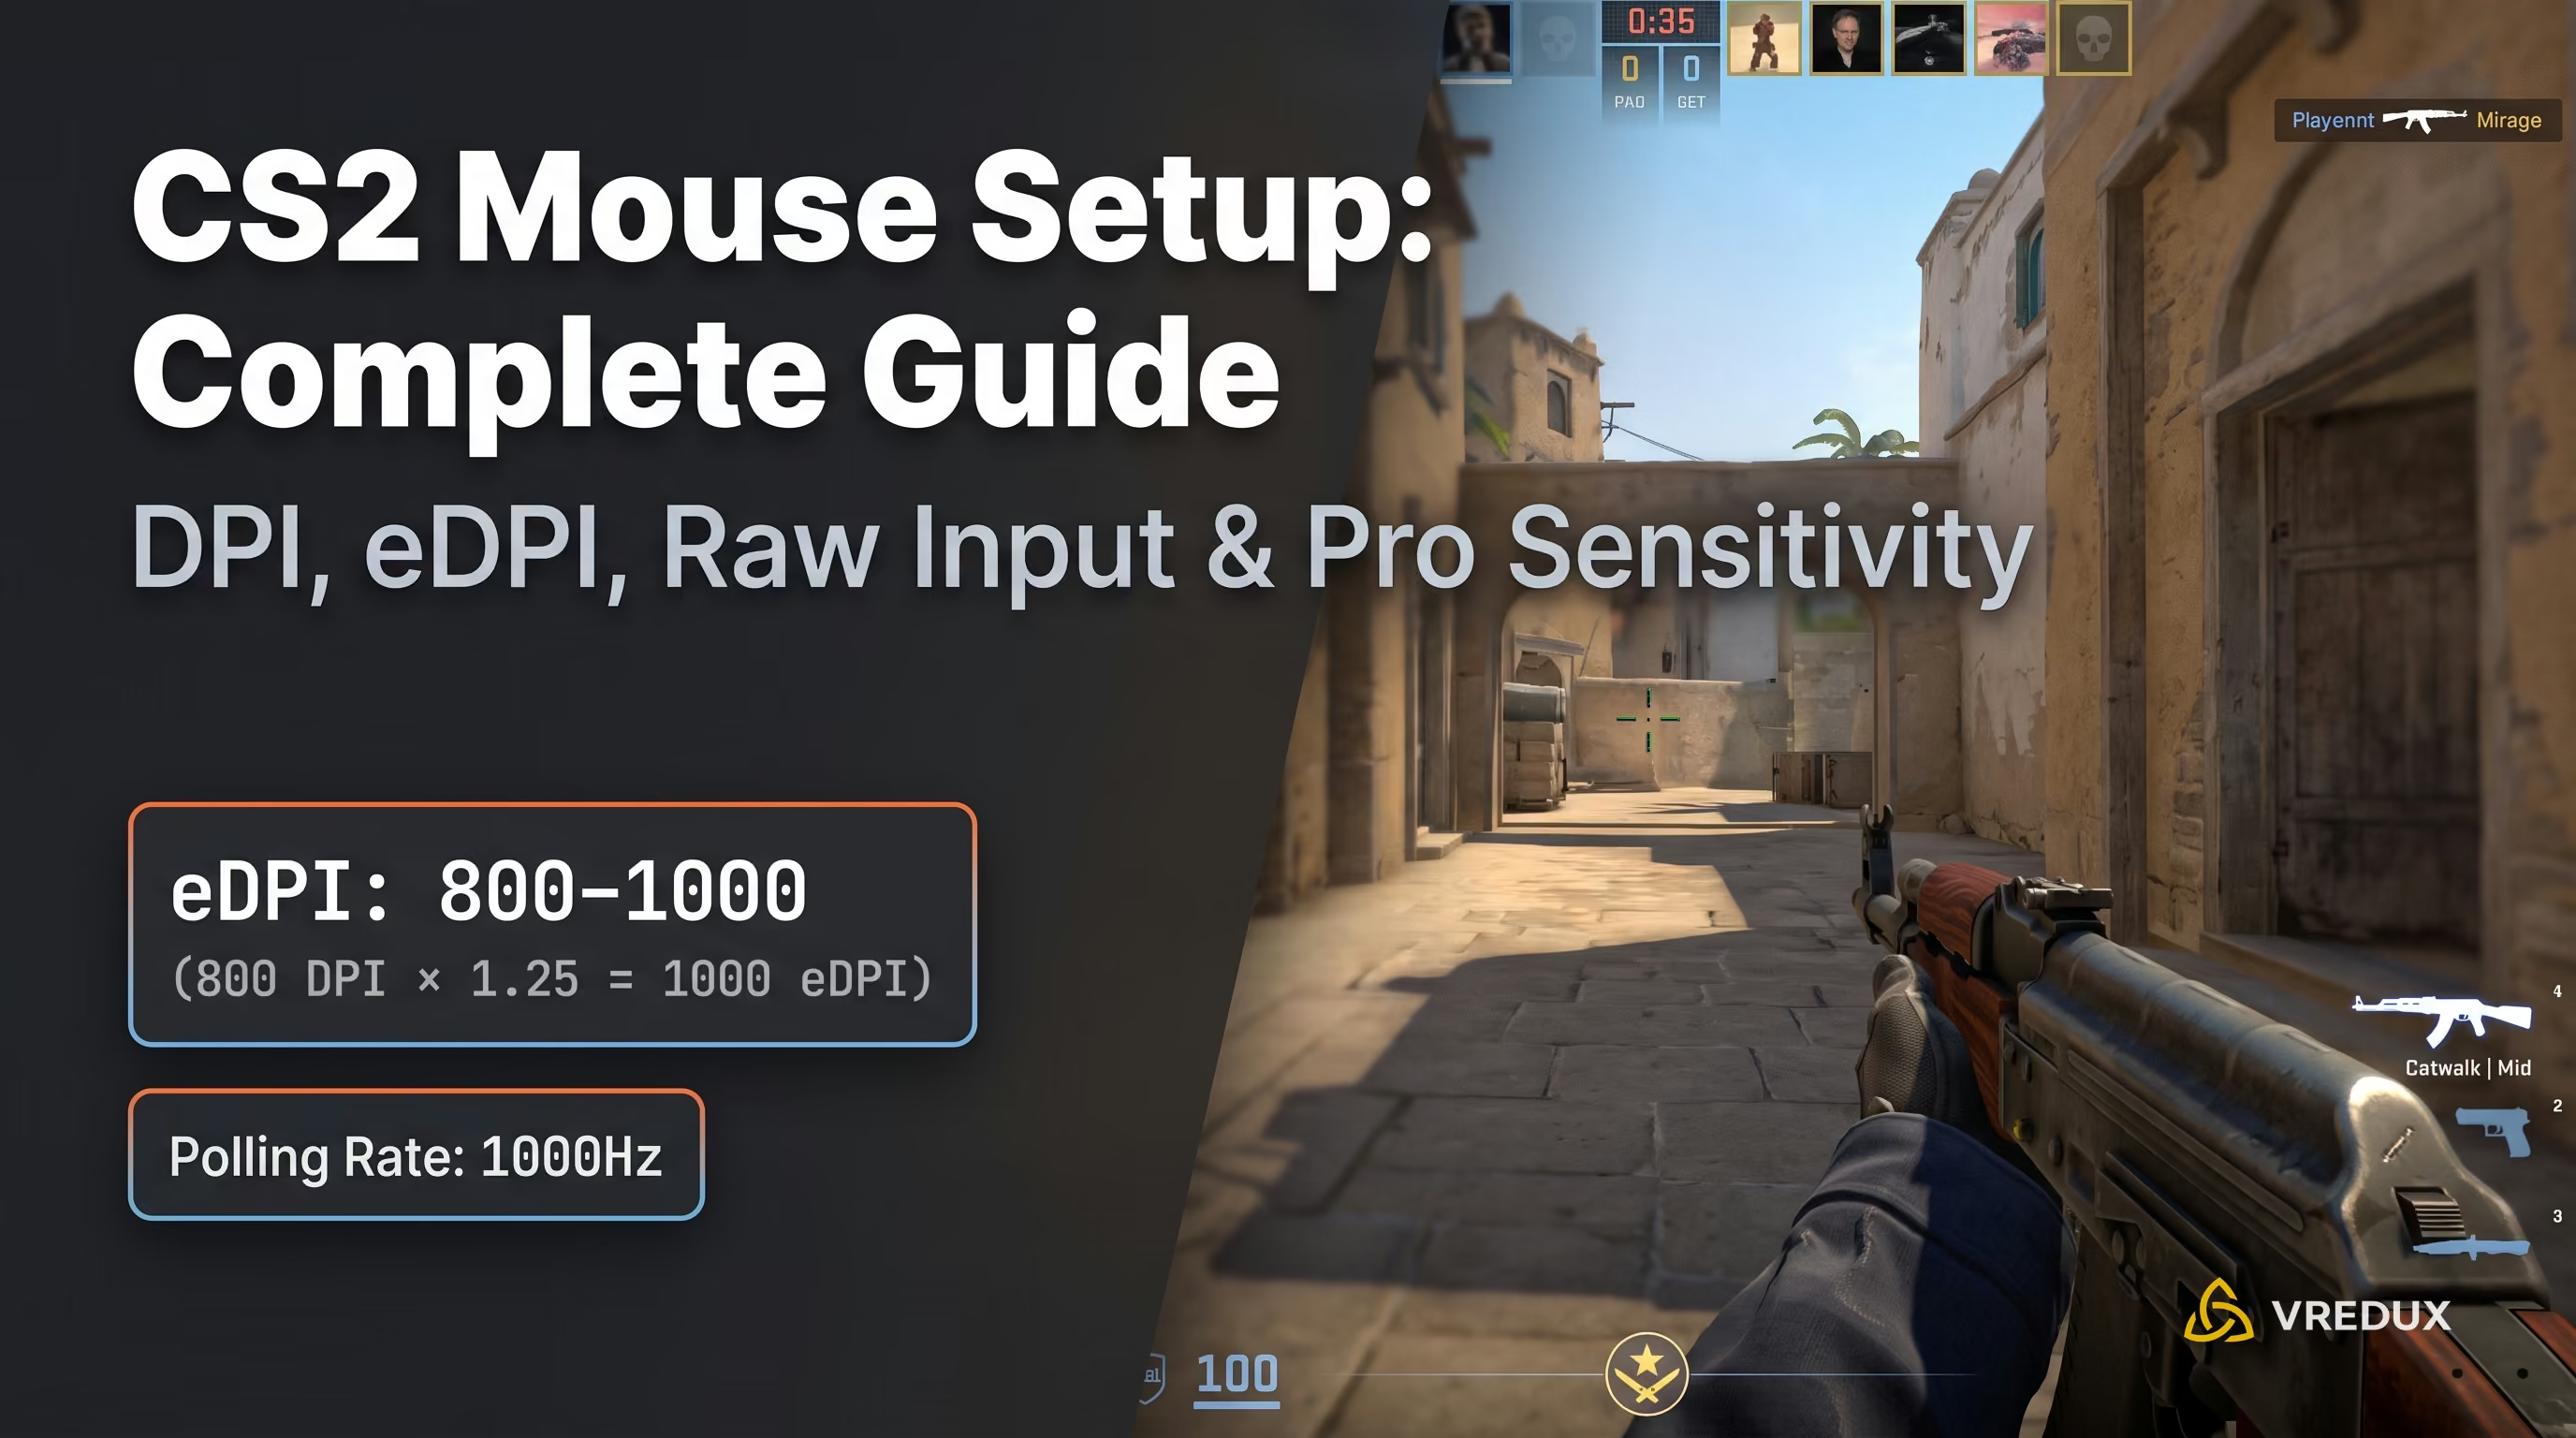
To achieve perfect aim and spray control in Counter-Strike 2, set your hardware DPI to 400 or 800, disable acceleration in Windows settings, and adjust your in-game sensitivity to land your effective DPI (eDPI) in the esports sweet spot of 700–1000. Note: Raw Input is built into the Source 2 engine by default in CS2, meaning legacy CS:GO console commands are no longer needed.

The Core Issue & Quick Fix
Key Steps for Perfect Aim:
- Windows Setup: Set the pointer speed slider strictly to the 6th notch (6/11) and uncheck "Enhance pointer precision" in system settings.
- Finding Your eDPI (DPI × Sens): Target the pro-scene sweet spot around 800–900 eDPI. This delivers the ideal balance between flick accuracy and micro-adjustments.
- Polling Rate: Stick with 1000 Hz as your default baseline. Only switch to 2000–4000 Hz if you run a high-end CPU and a 240+ Hz monitor.
- Clean Your Config: Remove legacy commands like
m_rawinputandm_customaccelfrom yourautoexec.cfg—they only clutter your settings.
The tradition of obsessively tweaking peripherals dates back to the days of sticking Teflon skates on legendary optical mice like the Microsoft IntelliMouse 3.0. But with the transition to Source 2, the rules of the game have changed completely. As an FPS veteran, ignoring proper sensor setup guarantees free kills for your opponents every match. Analyzing match logs and demos across competitive games reveals a stark reality: 60% of lost clutches at high Premier ranks stem directly from input lag or poorly tuned sensitivity.
Aim Anatomy: DPI, Sensitivity, and eDPI
Let's cover the fundamentals first. Many players confuse hardware polling rate with sensitivity, then wonder why their cursor jitters when trying to micro-adjust to hit an enemy's head at range.
Your overall crosshair speed relies on three core factors:
- DPI (Dots Per Inch) — Your mouse sensor's hardware resolution. It measures how many pixels the cursor moves per inch of physical movement. The esports standards are 400, 800, or 1600.
- Sensitivity (In-Game Sens) — The software multiplier inside CS2 itself.
- eDPI (Effective DPI) — Your true effective sensitivity. This value allows you to accurately compare settings across different players regardless of hardware.
Seeing beginners play on 3200 DPI with a 2.5 in-game sensitivity (a staggering 8000 eDPI!) is painful. At those values, making precise micro-adjustments at long distances—like holding Long to Pit on Dust II—is physically impossible.
eDPI Formula and cm/360: Calculating It Right
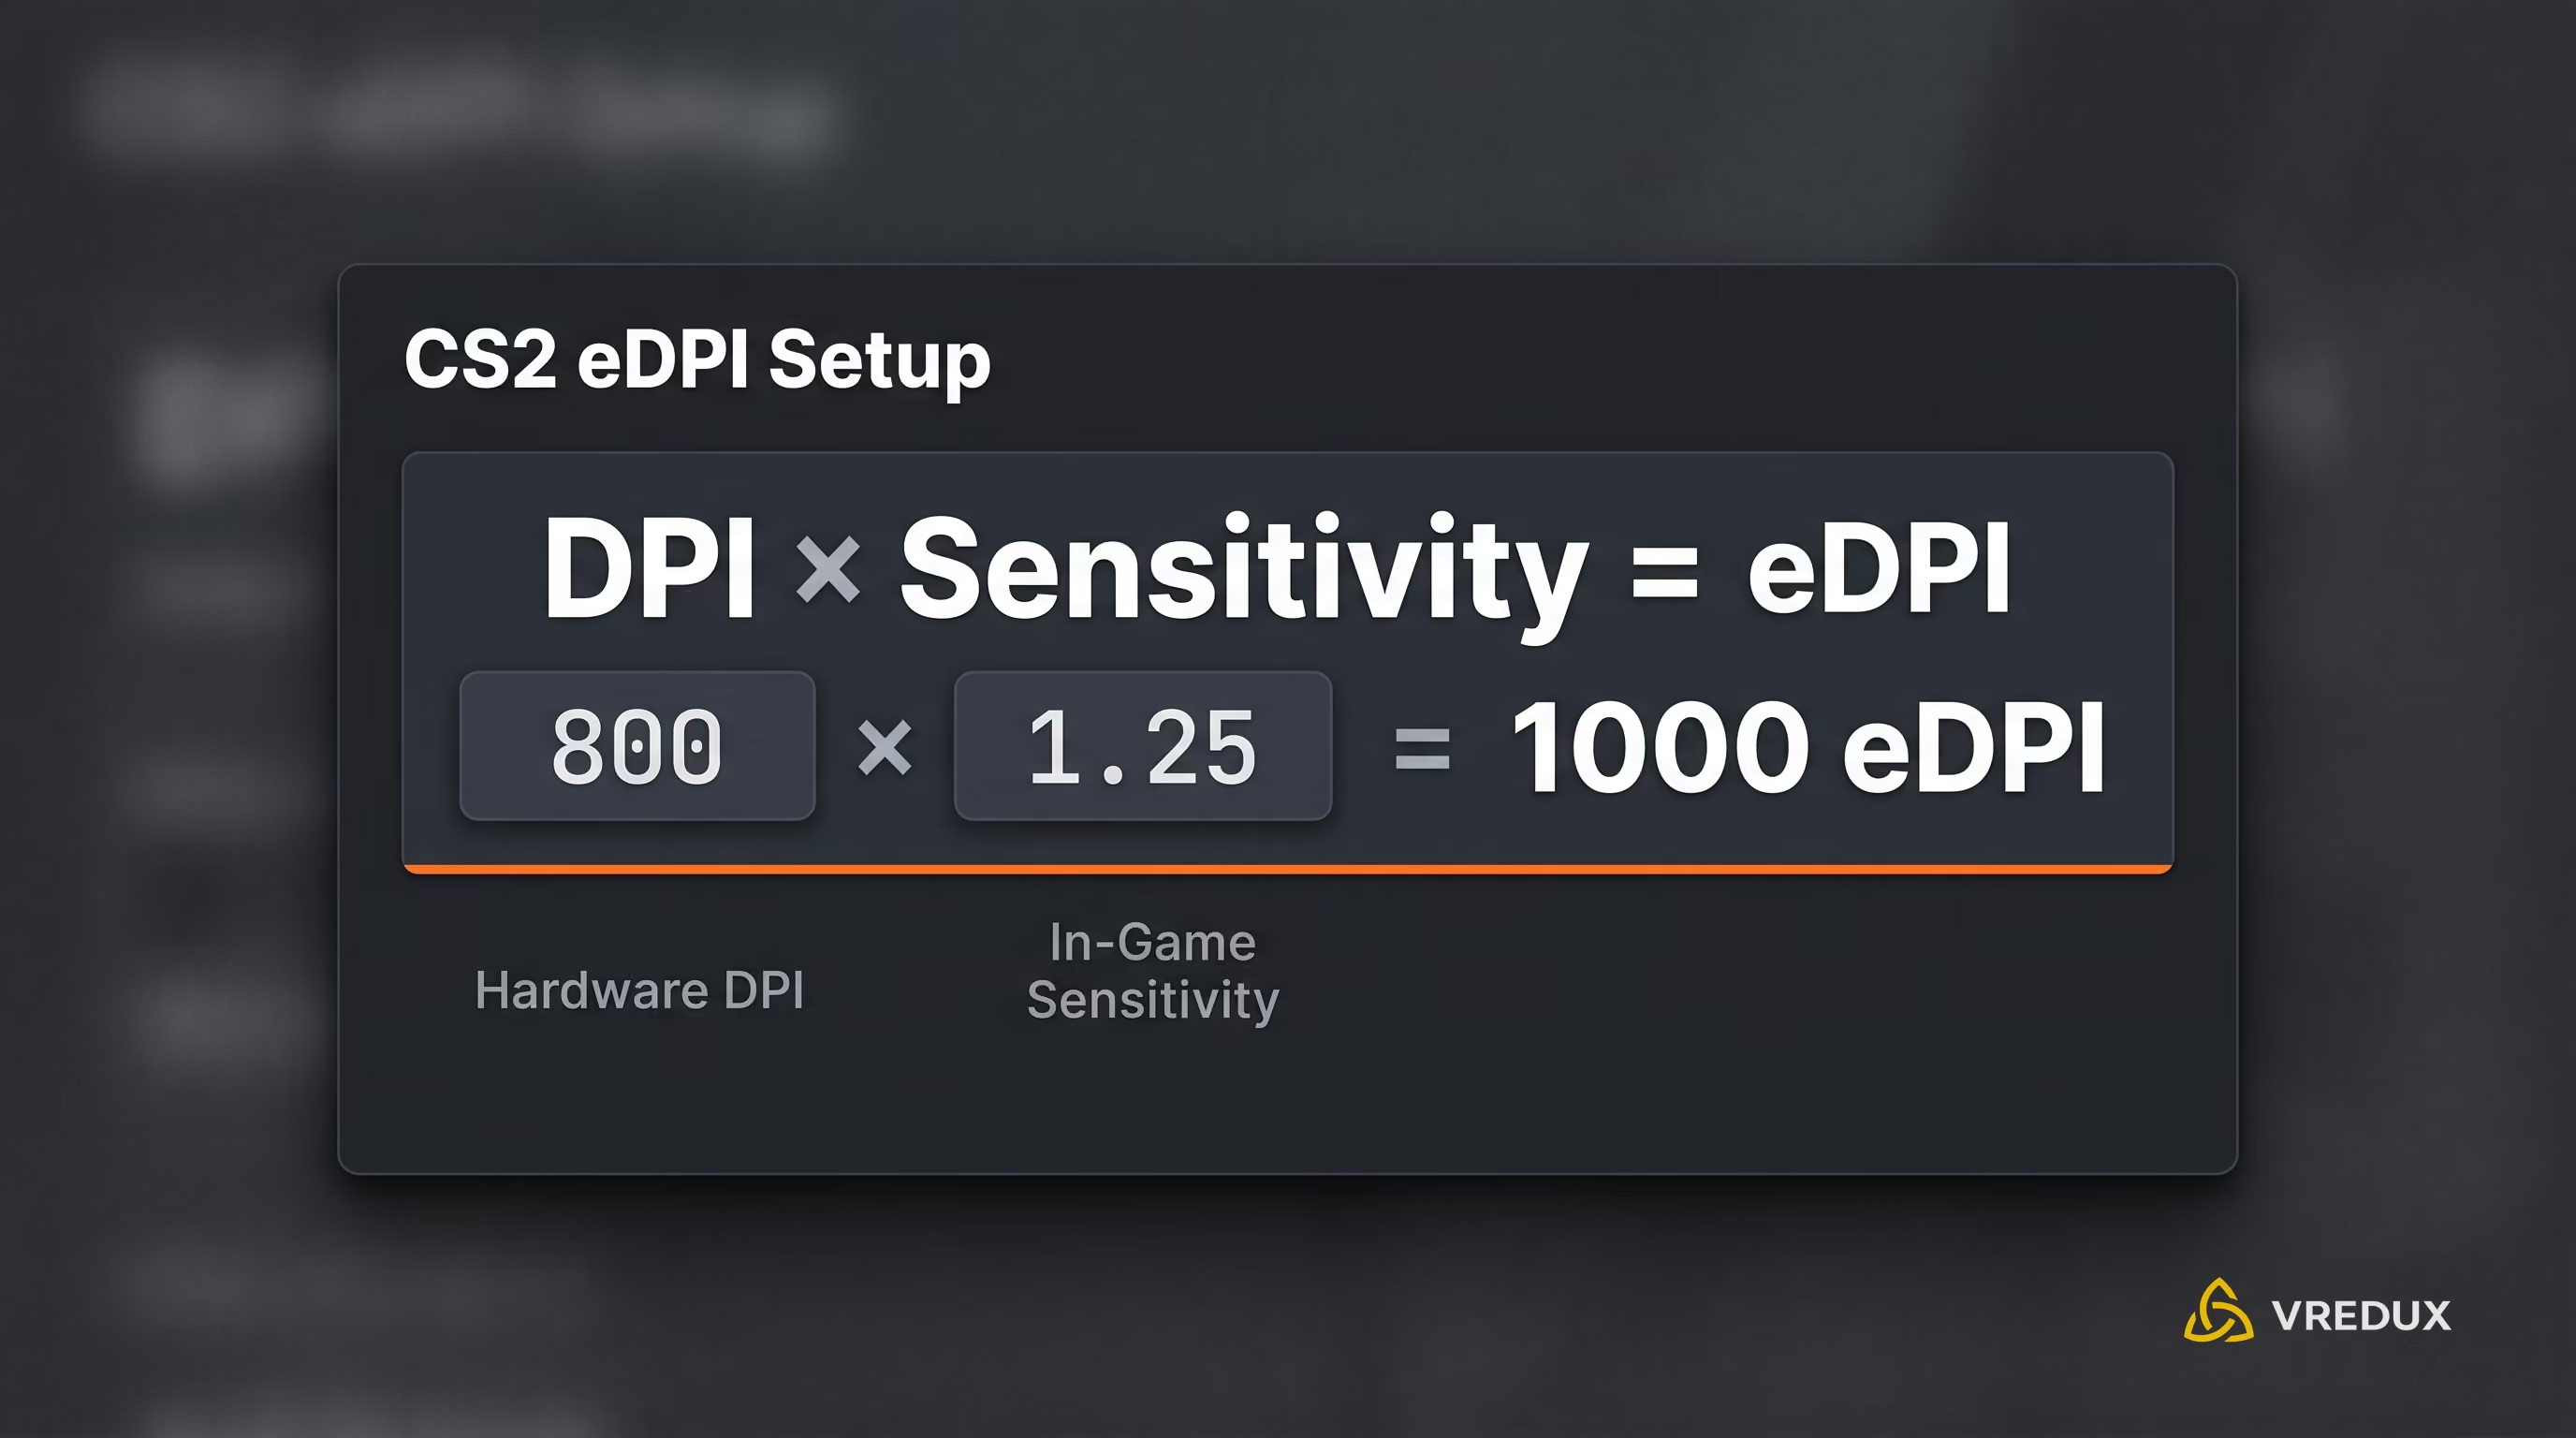
To determine your true control level, multiply your DPI by your in-game Sensitivity. For instance, donk's mouse settings: 800 DPI × 1.25 = 1000 eDPI.
The second, more precise physical metric is cm/360. This represents the physical distance in centimeters your mouse must travel across the mousepad for your character to make a full 360-degree rotation. The formula is: (2.54 * 360) / (DPI * Sens * 0.022), where 0.022 is the standard m_yaw angular multiplier. Most professional players use a range between 35 and 50 centimeters.
Windows Mouse Settings for CS2: Eliminating Acceleration and Interpolation
Before adjusting sliders in-game, you need to eliminate acceleration at the OS level. Operating systems enable mouse acceleration by default, dynamically altering cursor speed based on how fast you flick your hand. In competitive shooters, this ruins muscle memory development.
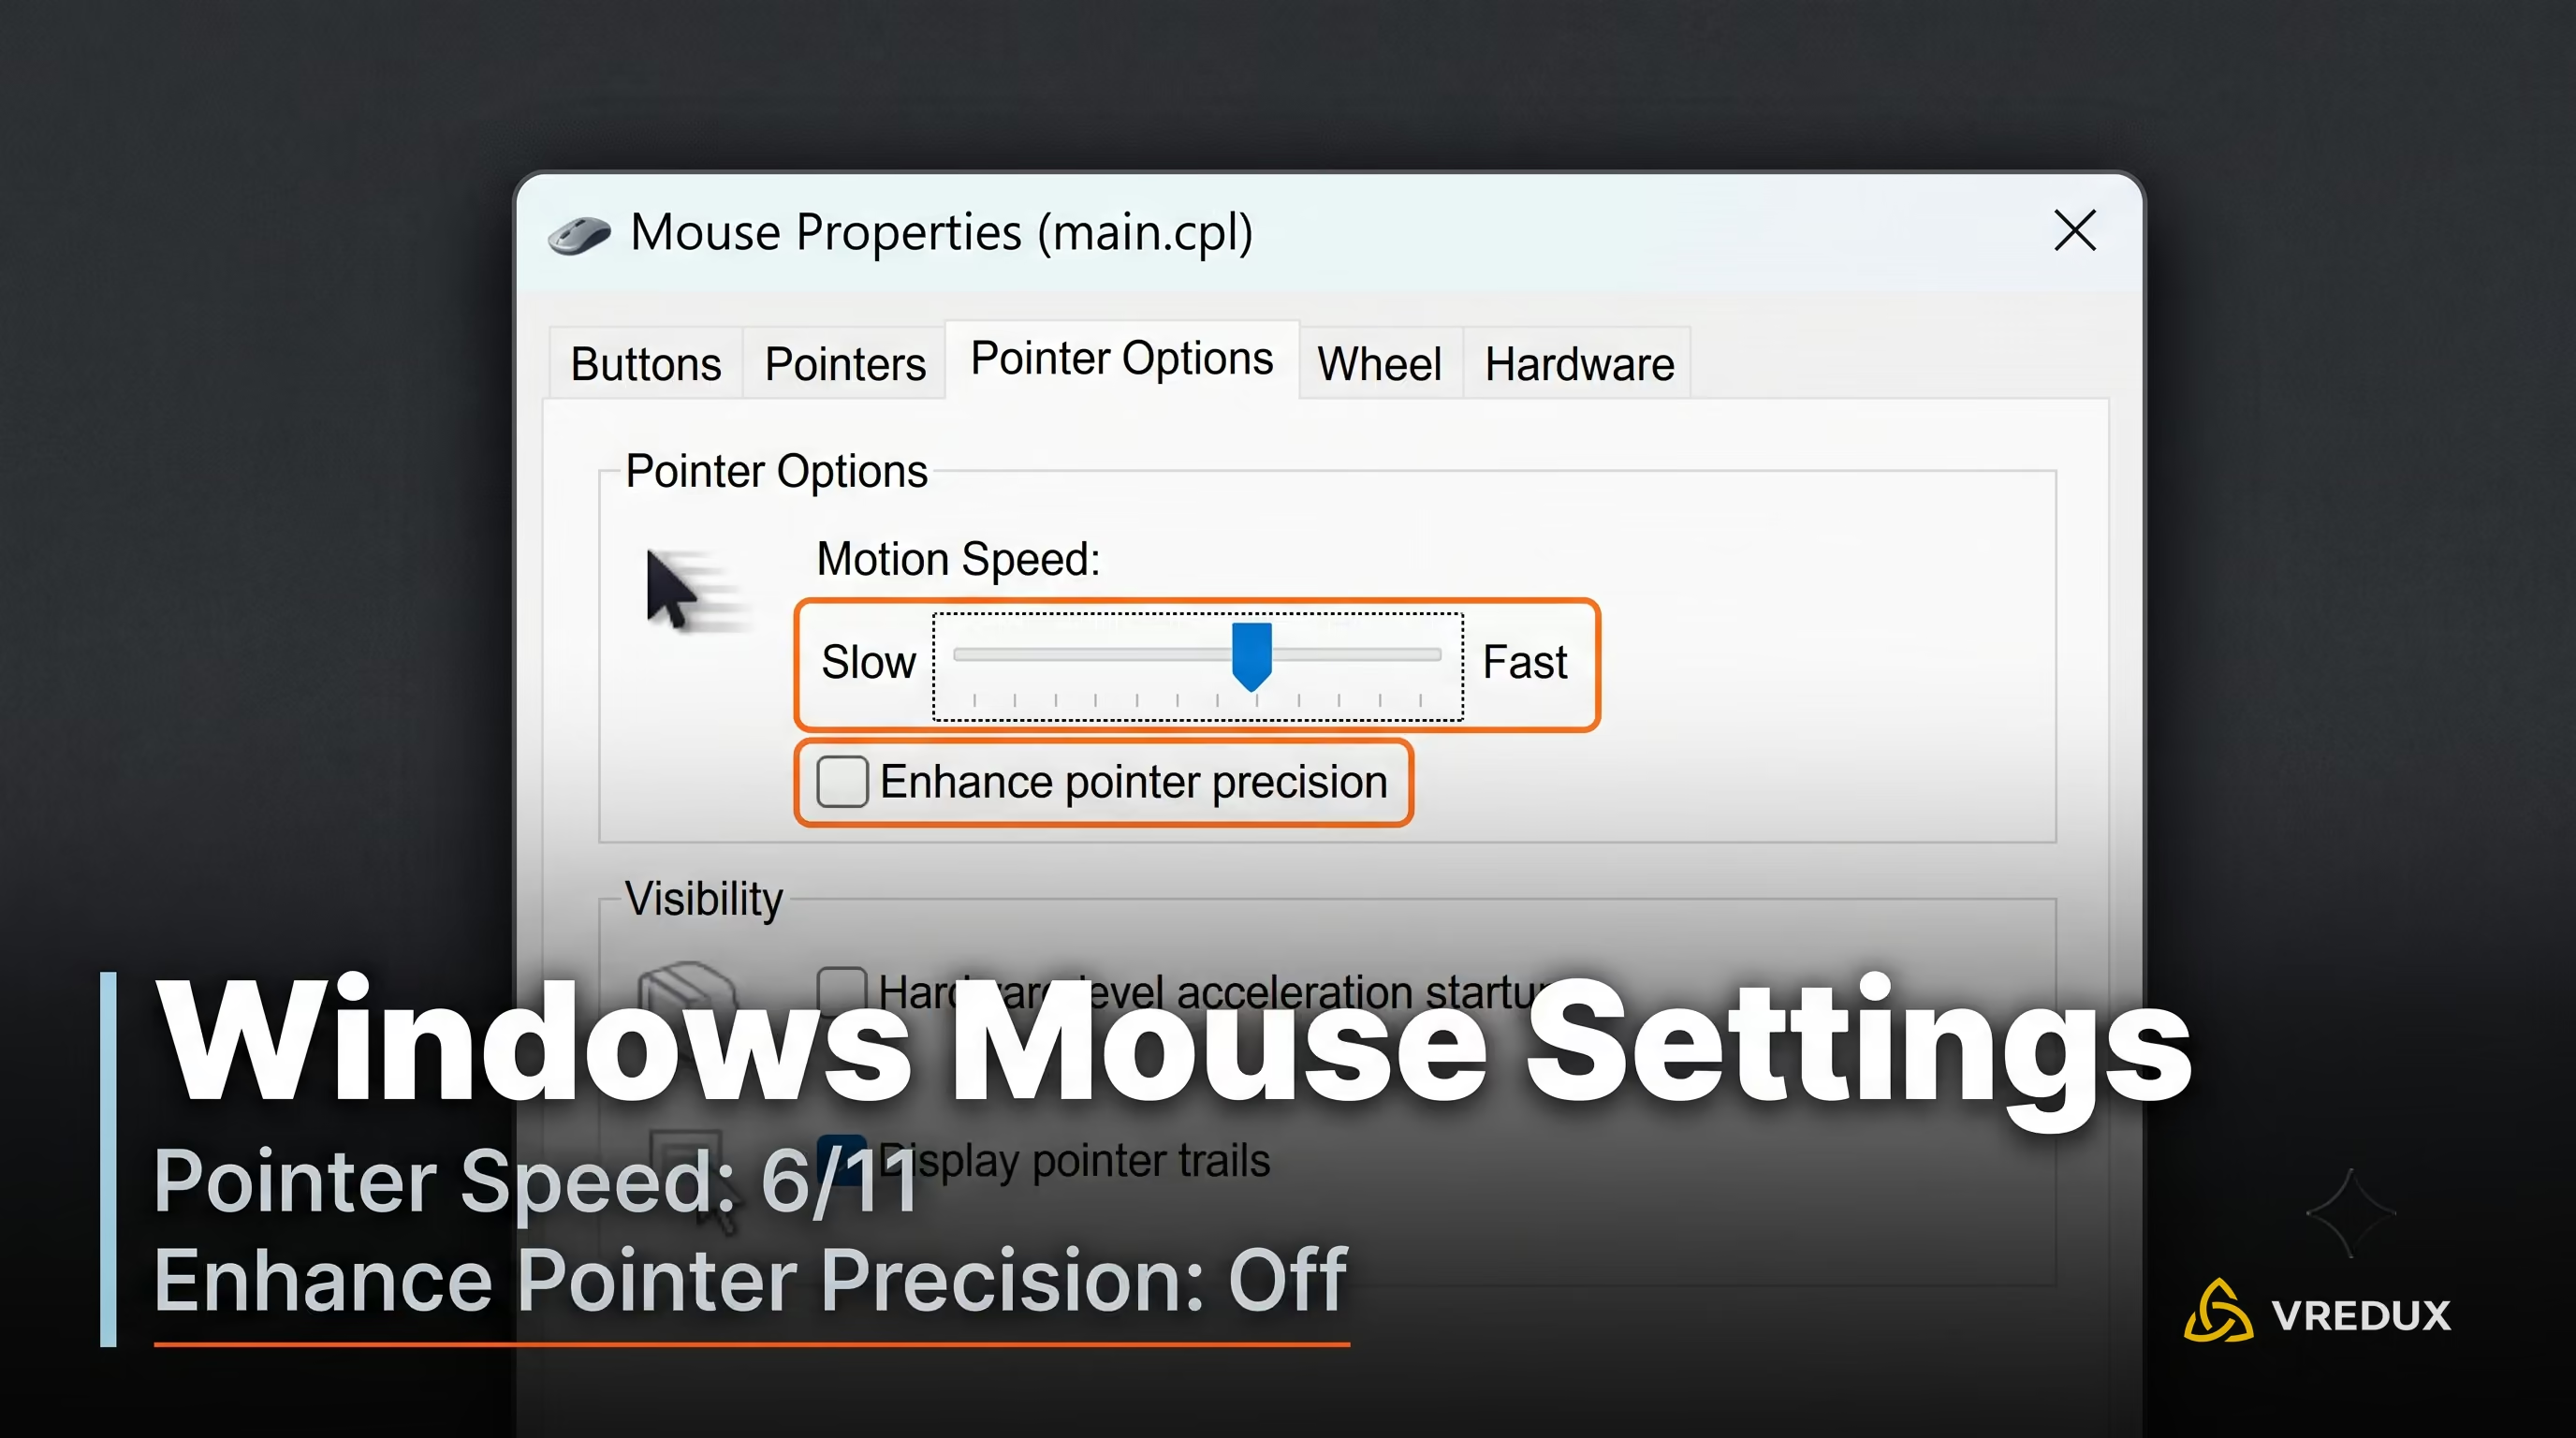
Follow these step-by-step Windows settings:
- Press
Win + Ron your keyboard. - Type
main.cpland press Enter to open Mouse Properties. - Switch to the "Pointer Options" tab.
- Set "Select a pointer speed" strictly to the 6th notch out of 11.
- CRITICAL: Uncheck "Enhance pointer precision." This disables system-level hardware acceleration.
- Click "Apply" and "OK."
Why 6/11? At this setting, Windows passes cursor movement at a 1:1 ratio. Choosing 4/11 or 8/11 forces the OS to drop or duplicate pixels. While CS2 uses forced Raw Input during matches, maintaining 6/11 is essential for accurate cursor movement in game menus, on the desktop, and across other apps.
If your mouse feels slow afterward, adjust your hardware DPI using your peripheral software (Logitech G HUB, Razer Synapse). This setup step mirrors our guide on reducing input lag in CS2, as clean input signals directly impact responsiveness.
Raw Input and Console Commands Status in CS2 (Source 2)
Countless outdated articles from the CS:GO era still recommend entering m_rawinput 1 or launch options like -noforcemaccel. Here is how Source 2 actually handles these settings.
In Counter-Strike 2, direct controller input (Raw Input) is forcibly enabled at the engine level. You can no longer toggle it on or off via developer console. The game bypasses OS system overlays and reads raw coordinates straight from your USB port.
- Command
m_rawinput 1— Removed. - Command
m_customaccel 0— Removed. - Command
m_mousespeed 0— Obsolete / Ineffective.
If you are searching for how to disable mouse acceleration in CS2 via console commands, the answer is simple: you don't need to—the engine handles it automatically. Just ensure acceleration is turned off in your mouse software and Windows settings.
Hardware: Mouse Polling Rate and Sensor Tech
Polling rate (measured in Hz) determines how many times per second your sensor sends position updates to your PC. The competitive esports standard has long been 1000 Hz (1 ms latency).
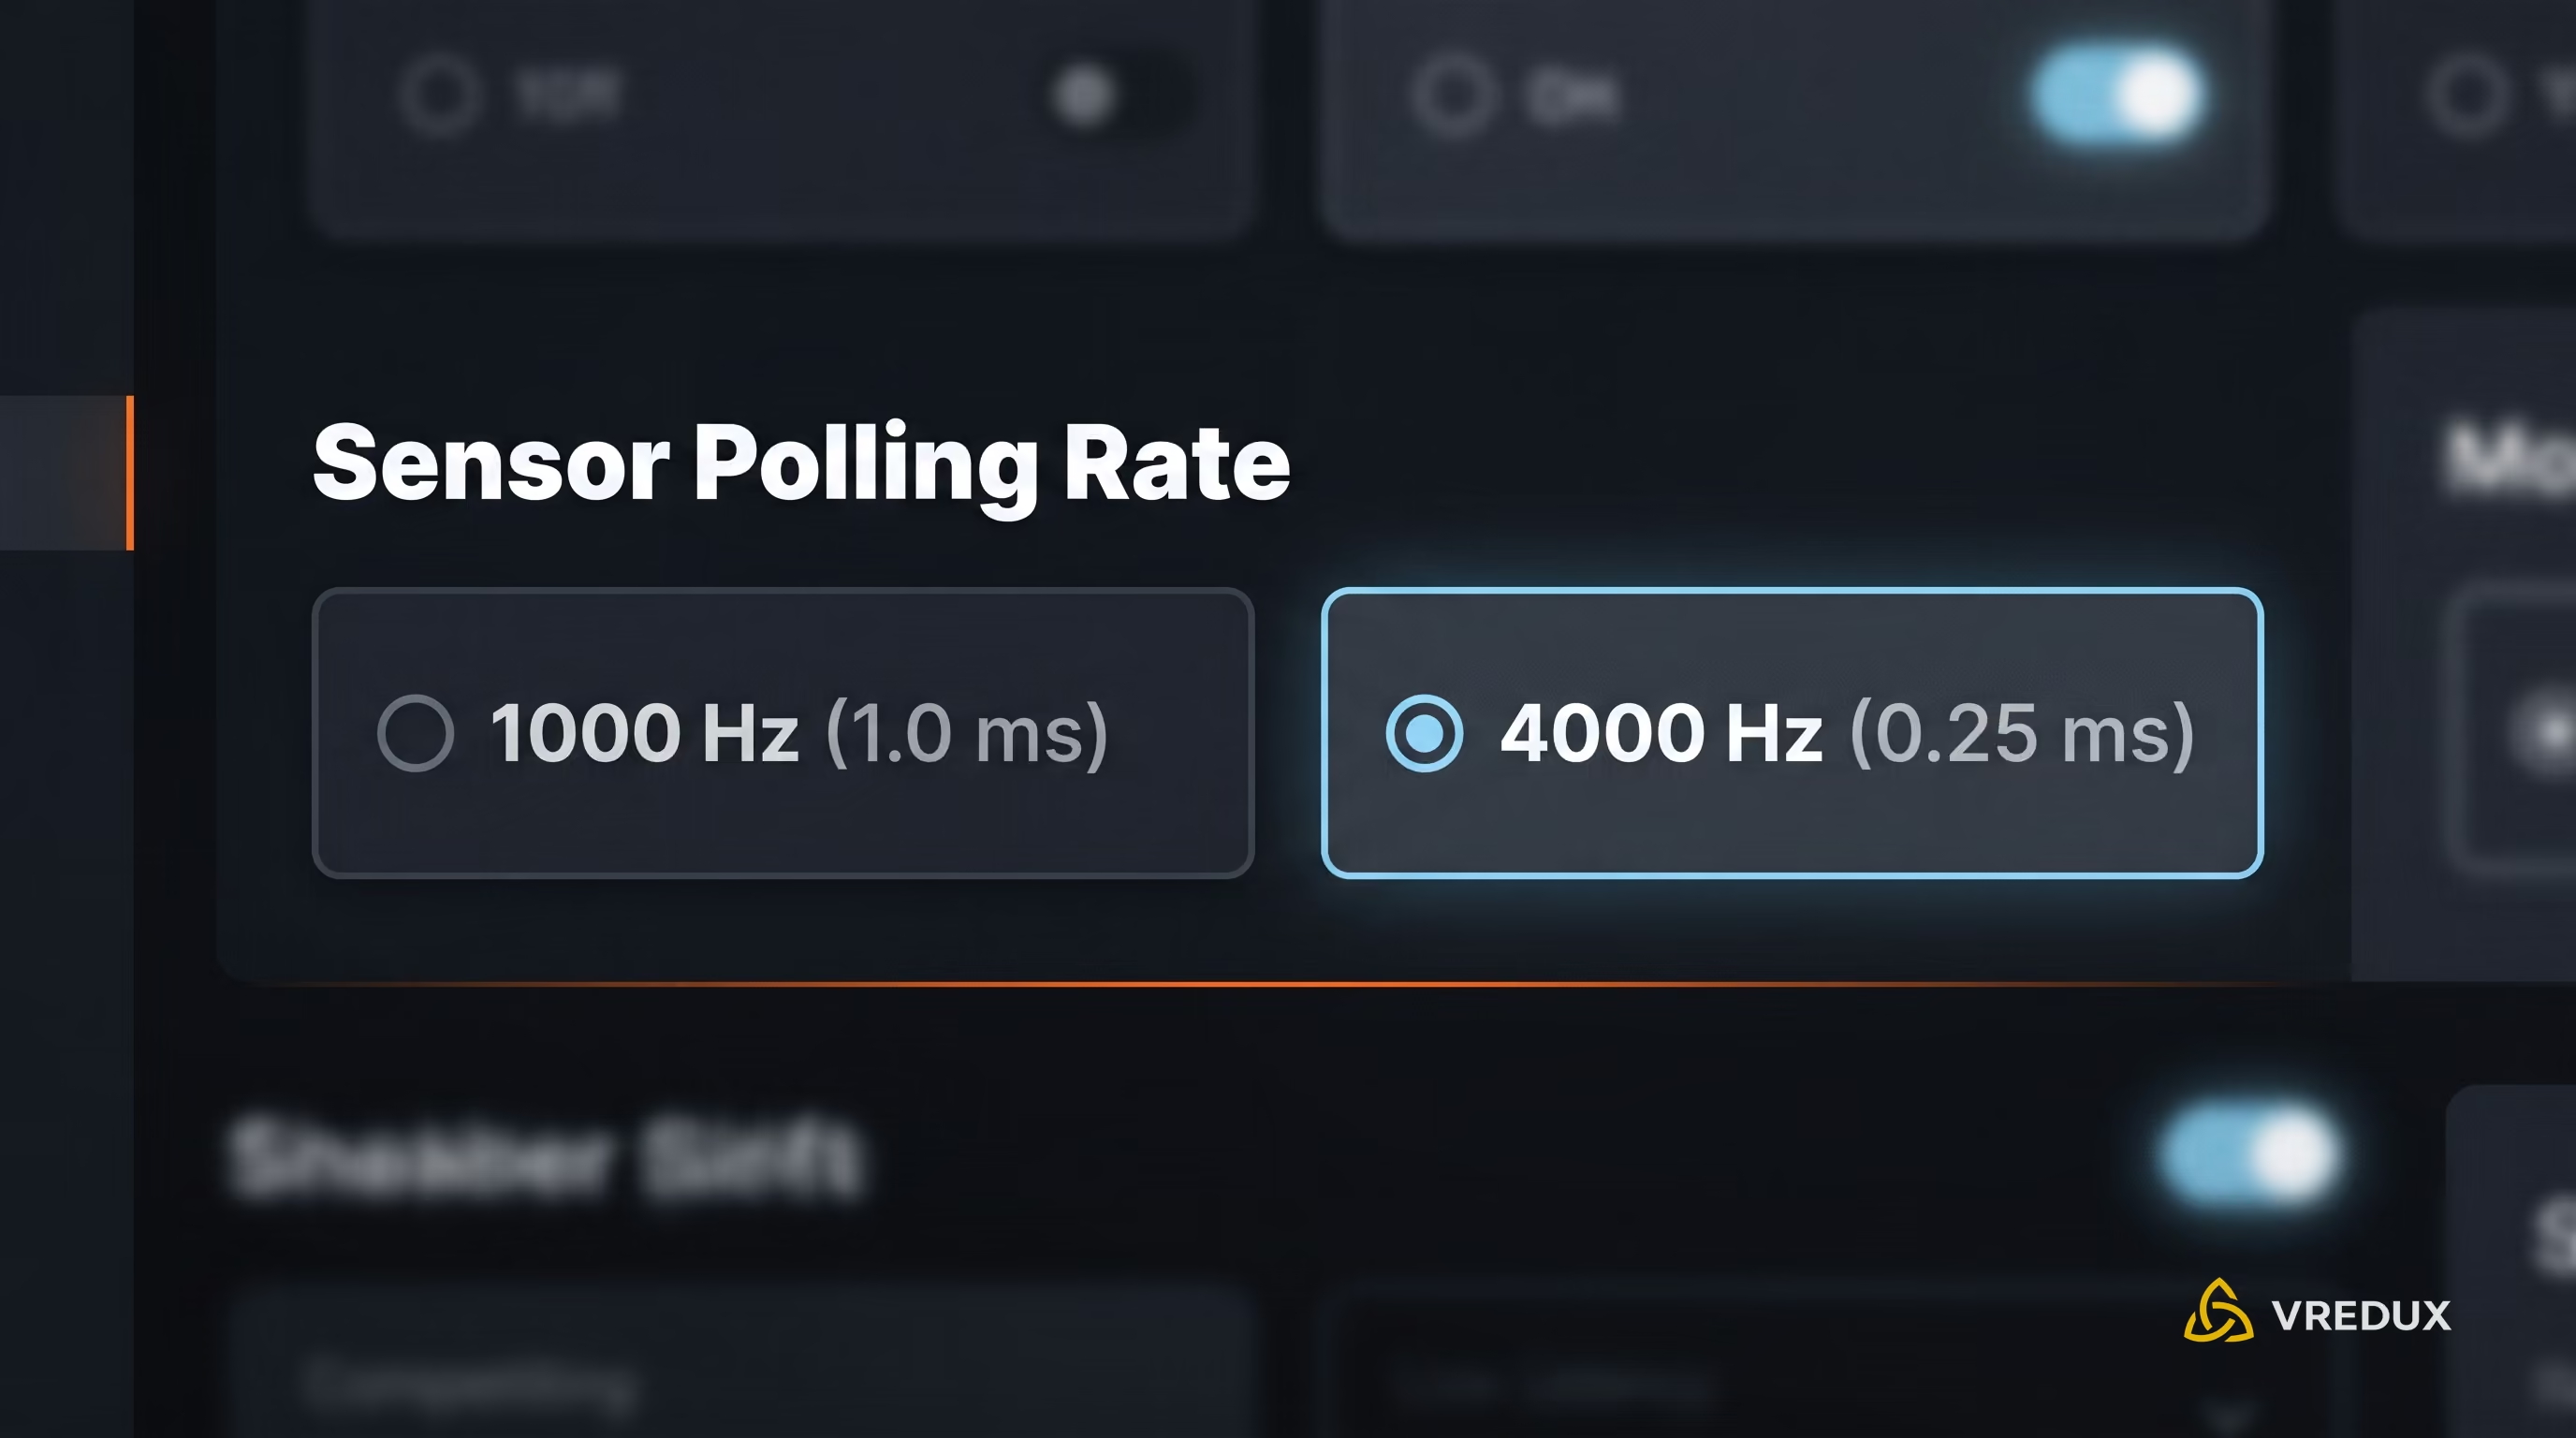
Modern gaming mice featuring top-tier sensors (PixArt PAW3950, HERO 2) support 4000 Hz and even 8000 Hz. Pro players like m0NESY are adopting higher polling rates to cut input delay down to 0.25 ms, creating smoother visual tracking on 360+ Hz gaming monitors.
Zoom Sensitivity Multiplier: AWP and Scoped Rifles
If you main the AWP or SSG 08, fine-tuning your scoped sensitivity is essential. This is controlled by the console command zoom_sensitivity_ratio_mouse. The default value is 1.0.
When scoping in with a sniper rifle, your field of view (FOV) narrows. To match physical mouse travel 1:1 with hipfire tracking, use the focal length scaling ratio: 0.818933027098. Setting zoom_sensitivity_ratio_mouse 0.8189 keeps your scoped flick muscle memory identical to hipfire aiming. Most professional snipers (s1mple, ZywOo) use values between 0.81 and 1.0.
// Ideal zoom multiplier for 1:1 muscle memory
zoom_sensitivity_ratio_mouse "0.818933027098"
The PSA Method: Finding Your Ideal Sensitivity from Scratch
If you are new to CS2 or feel your current sensitivity lacks precision, avoid copying pro configs blindly. Use the Perfect Sensitivity Approximation (PSA) method—a systematic binary search algorithm designed to pinpoint your optimal sensitivity. To start, jump onto a dedicated aim training map like Aim Botz.
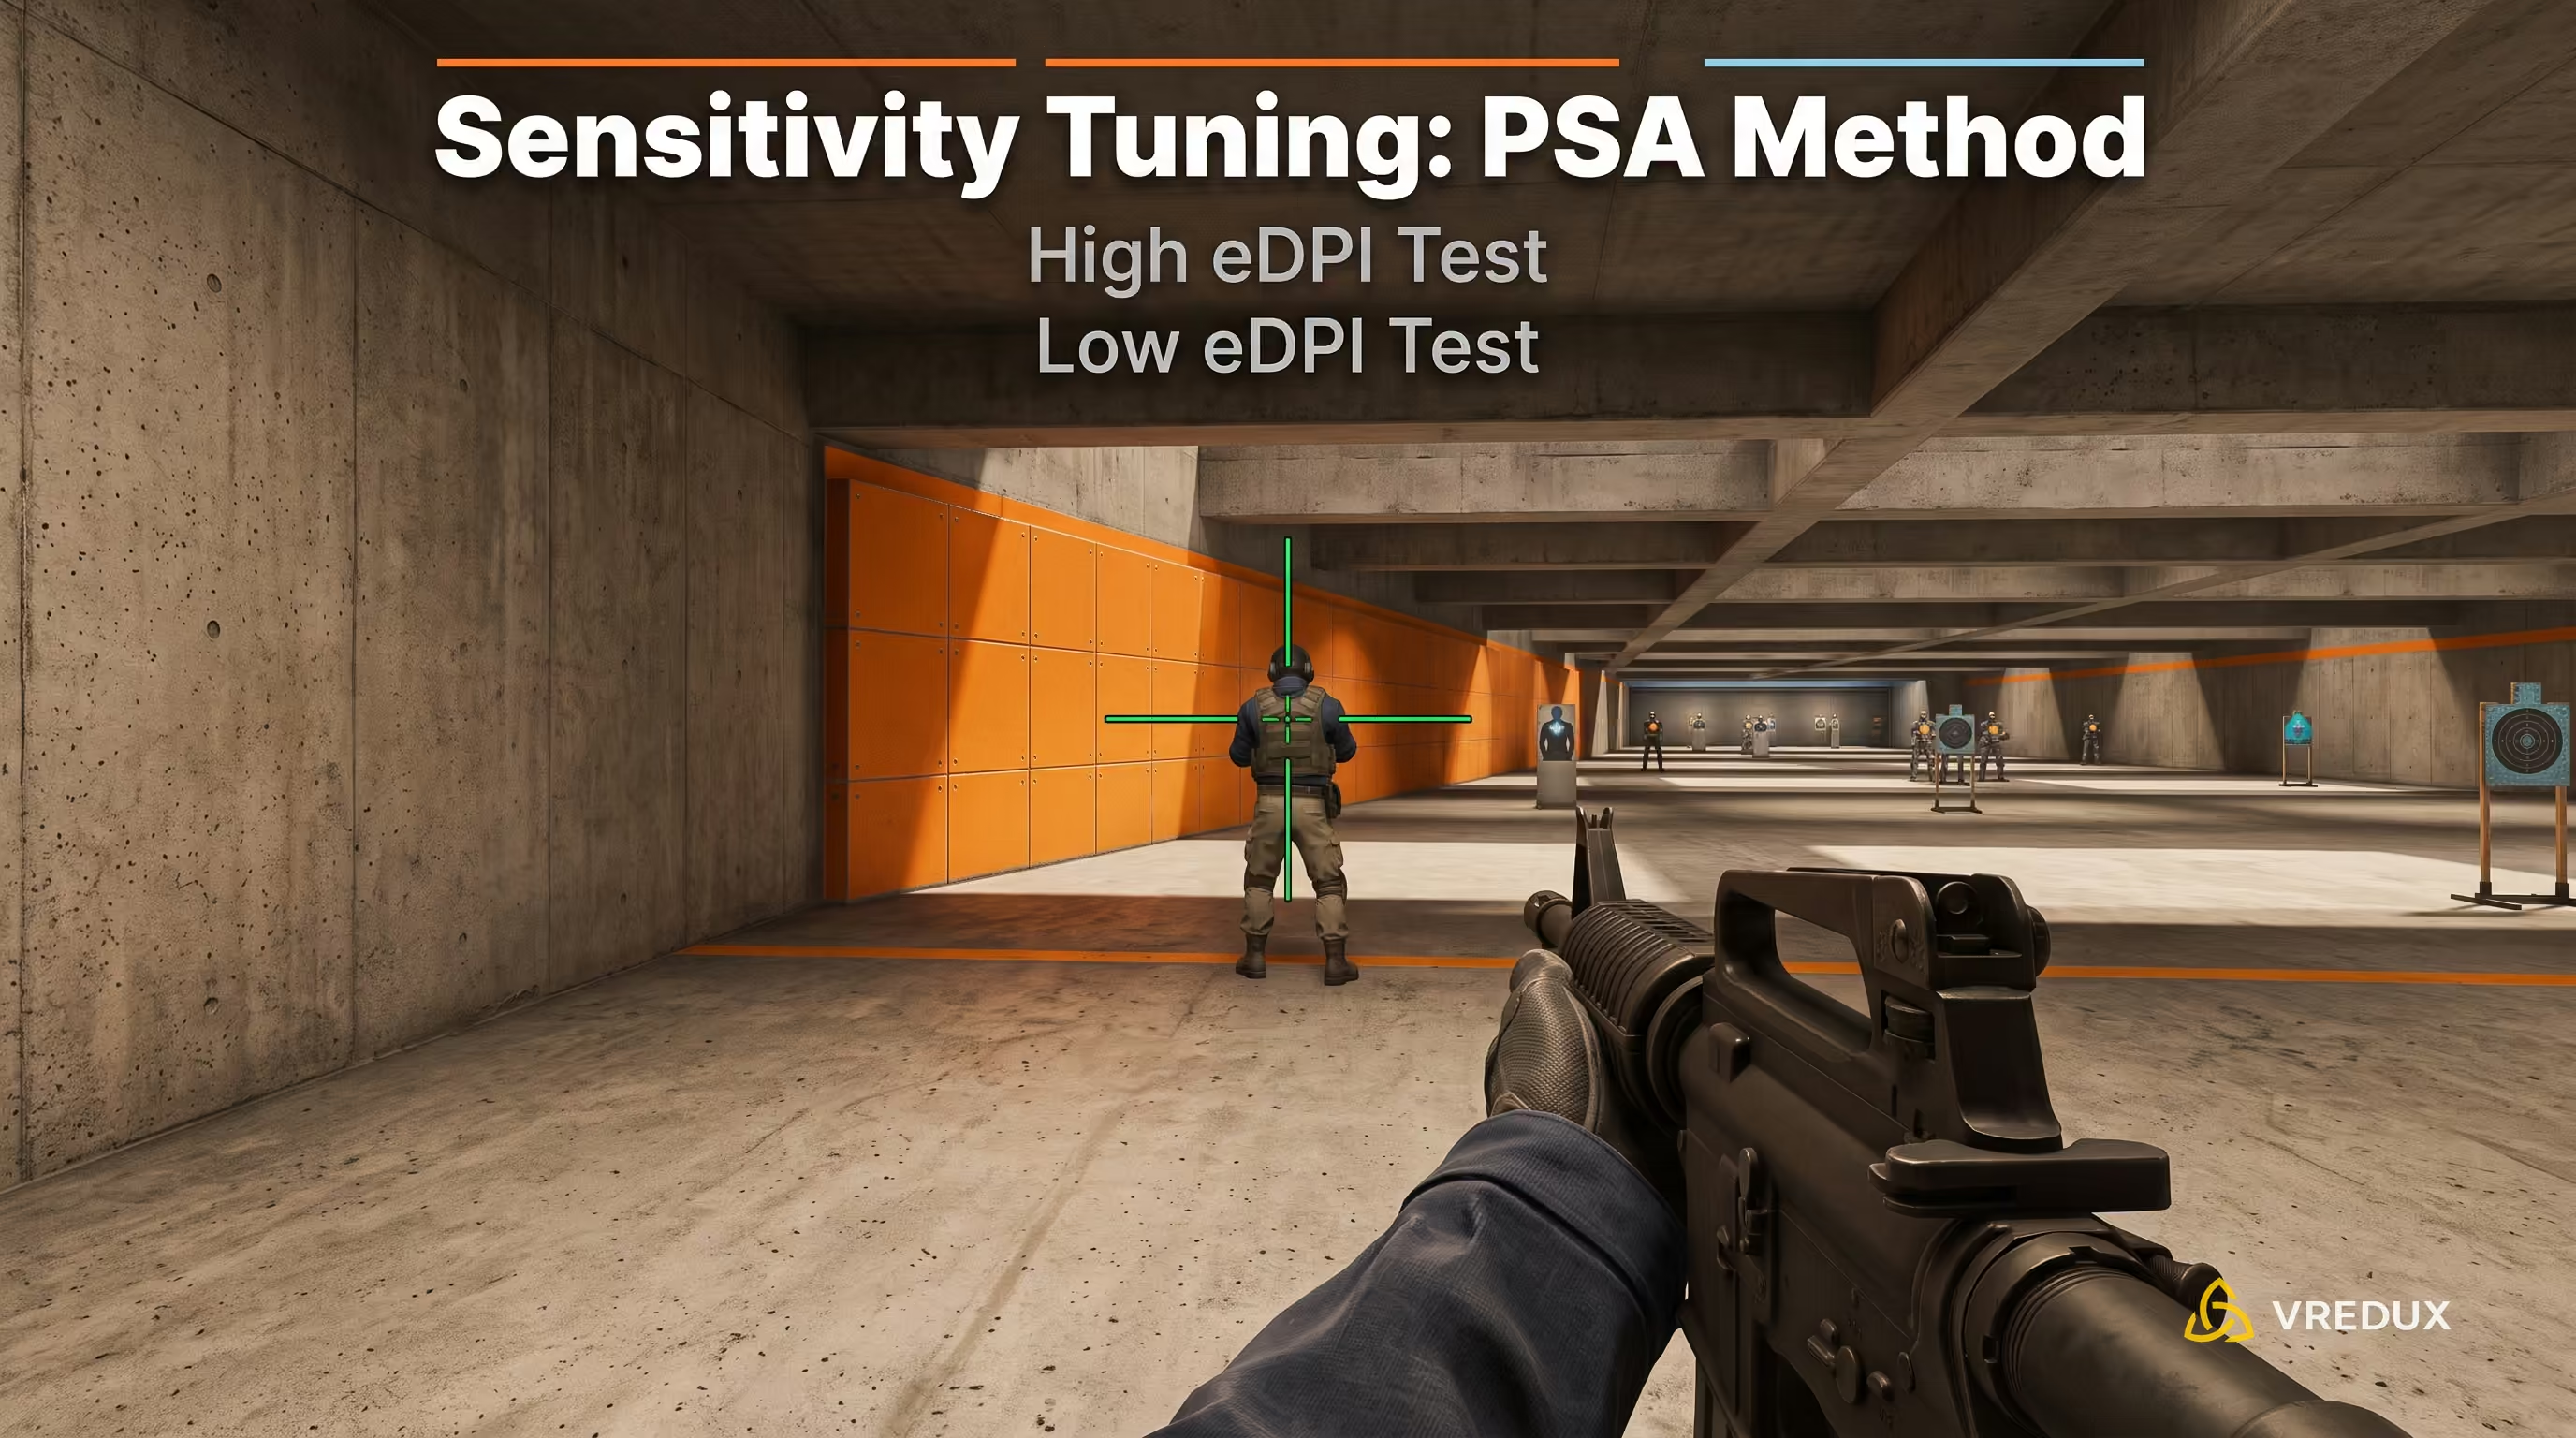
- Baseline: Multiply your current DPI by your sensitivity to set a baseline of 800 eDPI.
- Set Bounds: Calculate High (+50% of baseline) and Low (-50% of baseline). For example, if your baseline in-game sensitivity is 2.0, High is 3.0 and Low is 1.0.
- Testing: Spend 5 minutes tracking and flicking to bots on High, then 5 minutes on Low.
- Refining: Decide which setting felt more consistent. If Low felt better, Low becomes your new baseline, and you calculate new High/Low bounds around it.
- Finalizing: Repeat this process until the difference between High and Low narrows down to decimals. That final value is your ideal sensitivity.
CS2 Pro Player Mouse Settings
Analysis of top-tier players reveals a clear meta trend: pro players prioritize stability over extreme speed, leaning toward low to medium sensitivity ranges.
Note: donk's sensitivity in CS2 (1000 eDPI) is considered high for modern pro standards, but he offsets it with aggressive rifle crosshair placement and incredible wrist control. Interestingly, donk sets his Windows pointer speed to 4/11, though as established, Raw Input in Source 2 renders Windows sensitivity irrelevant during matches.
Top 5 Critical Mouse Setup Mistakes
Even optimal sensitivity settings won't rescue your aim if your setup suffers from these fundamental flaws:
- Pixel Skipping (High Sensitivity + Low DPI): Playing on 400 DPI with 3.0 sensitivity forces the engine to artificially interpolate pixels. During fine adjustments, your crosshair will jump in steps. Bumping your hardware DPI to 800 and dropping in-game sensitivity to 1.5 keeps the same 1200 eDPI while eliminating pixel jitter.
- Mouse Float / Input Lag: If your crosshair feels floaty or delayed, input lag is the culprit. Common causes include enabling V-Sync in video settings, background overlays loading render pipelines, or running in borderless windowed mode. Always select "Fullscreen."
- Constant Setting Changes: Avoid changing your sensitivity after every bad match. Muscle memory requires at least two weeks of consistent practice to adapt to new settings.
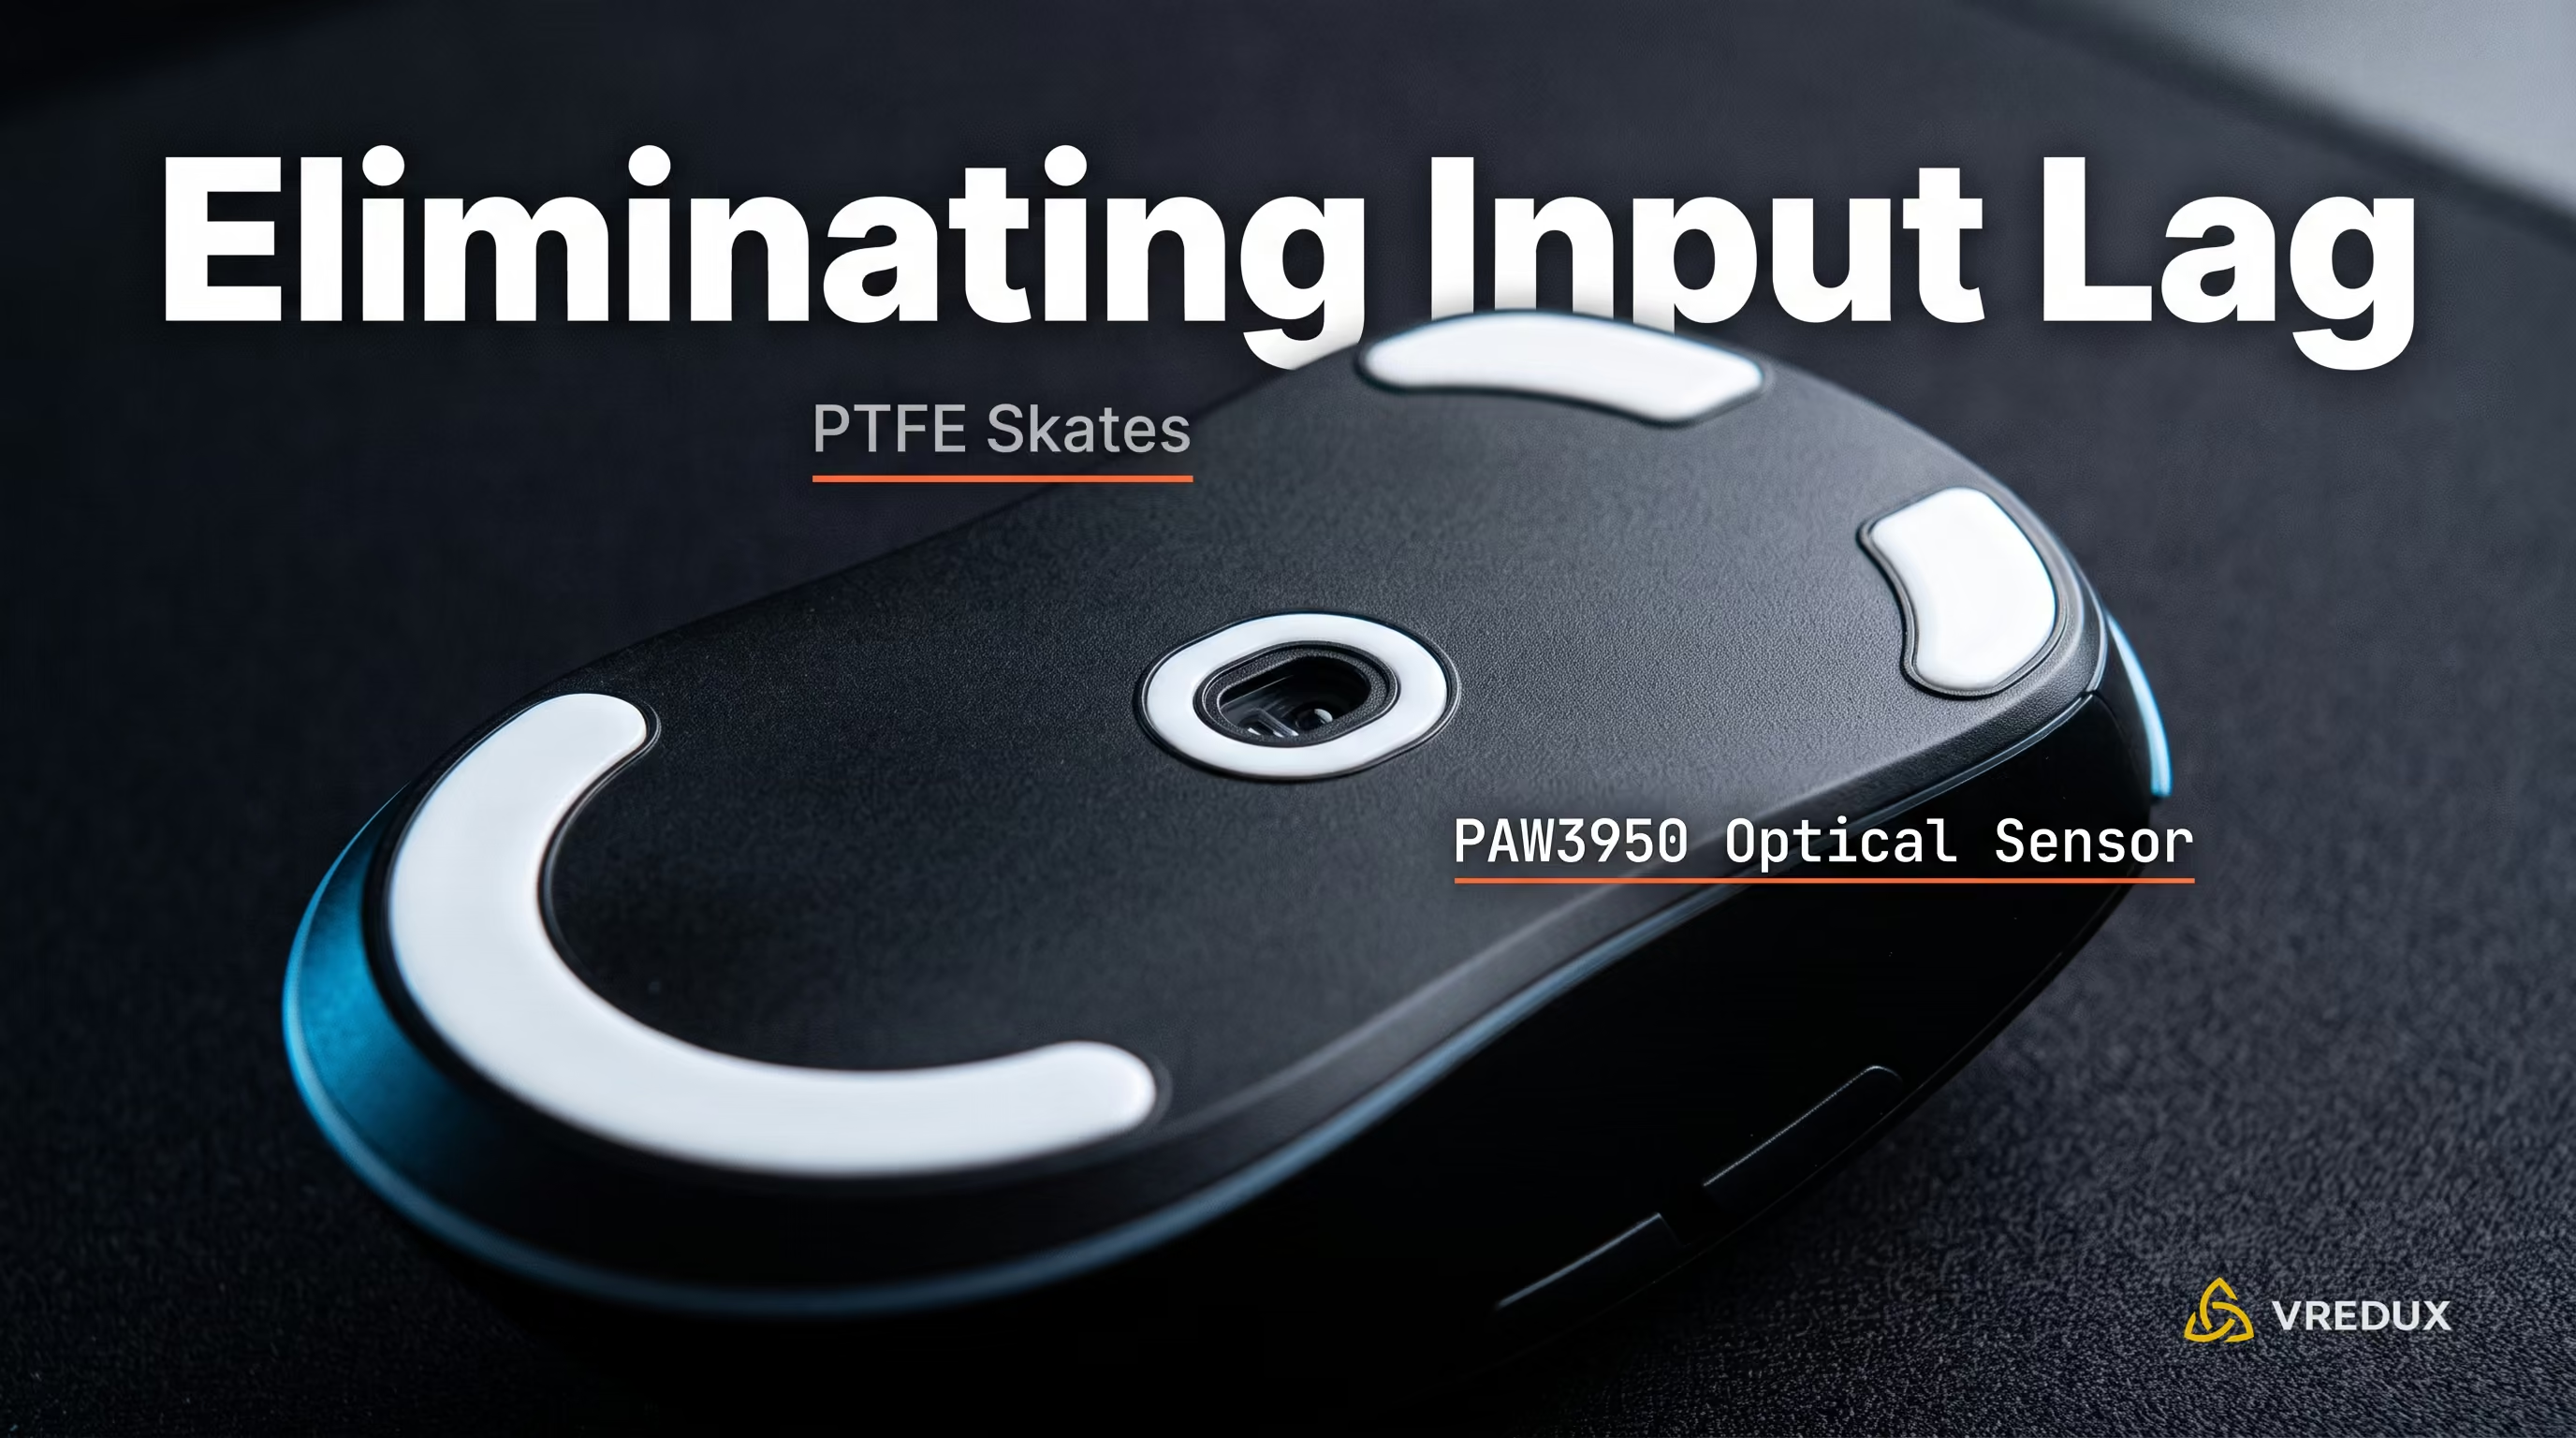
- Dirty Mousepads and Worn Skates: Humidity, dust, and worn PTFE feet alter surface friction drastically. Before assuming your sensitivity is off, clean your mousepad and check your mouse skates.
- Budget Sensors: A reliable budget gaming mouse must feature a sensor at or above PixArt PAW3395 level (e.g., Attack Shark or VGN). Office mice will spin out during rapid flick shots.
FAQ: Frequently Asked Questions
Below are answers to the most common questions regarding mouse setup, sensitivity tuning, and troubleshooting in CS2.
Conclusion
Proper mouse configuration forms the foundation of your aim in CS2. Whether you use a claw grip or aim with your entire arm, the primary goal is removing OS-level software interference and locking in a comfortable eDPI. Finalize your settings, stick with them through tough matches, and let your muscle memory do the work. Good luck on the servers and enjoy those crisp headshots!