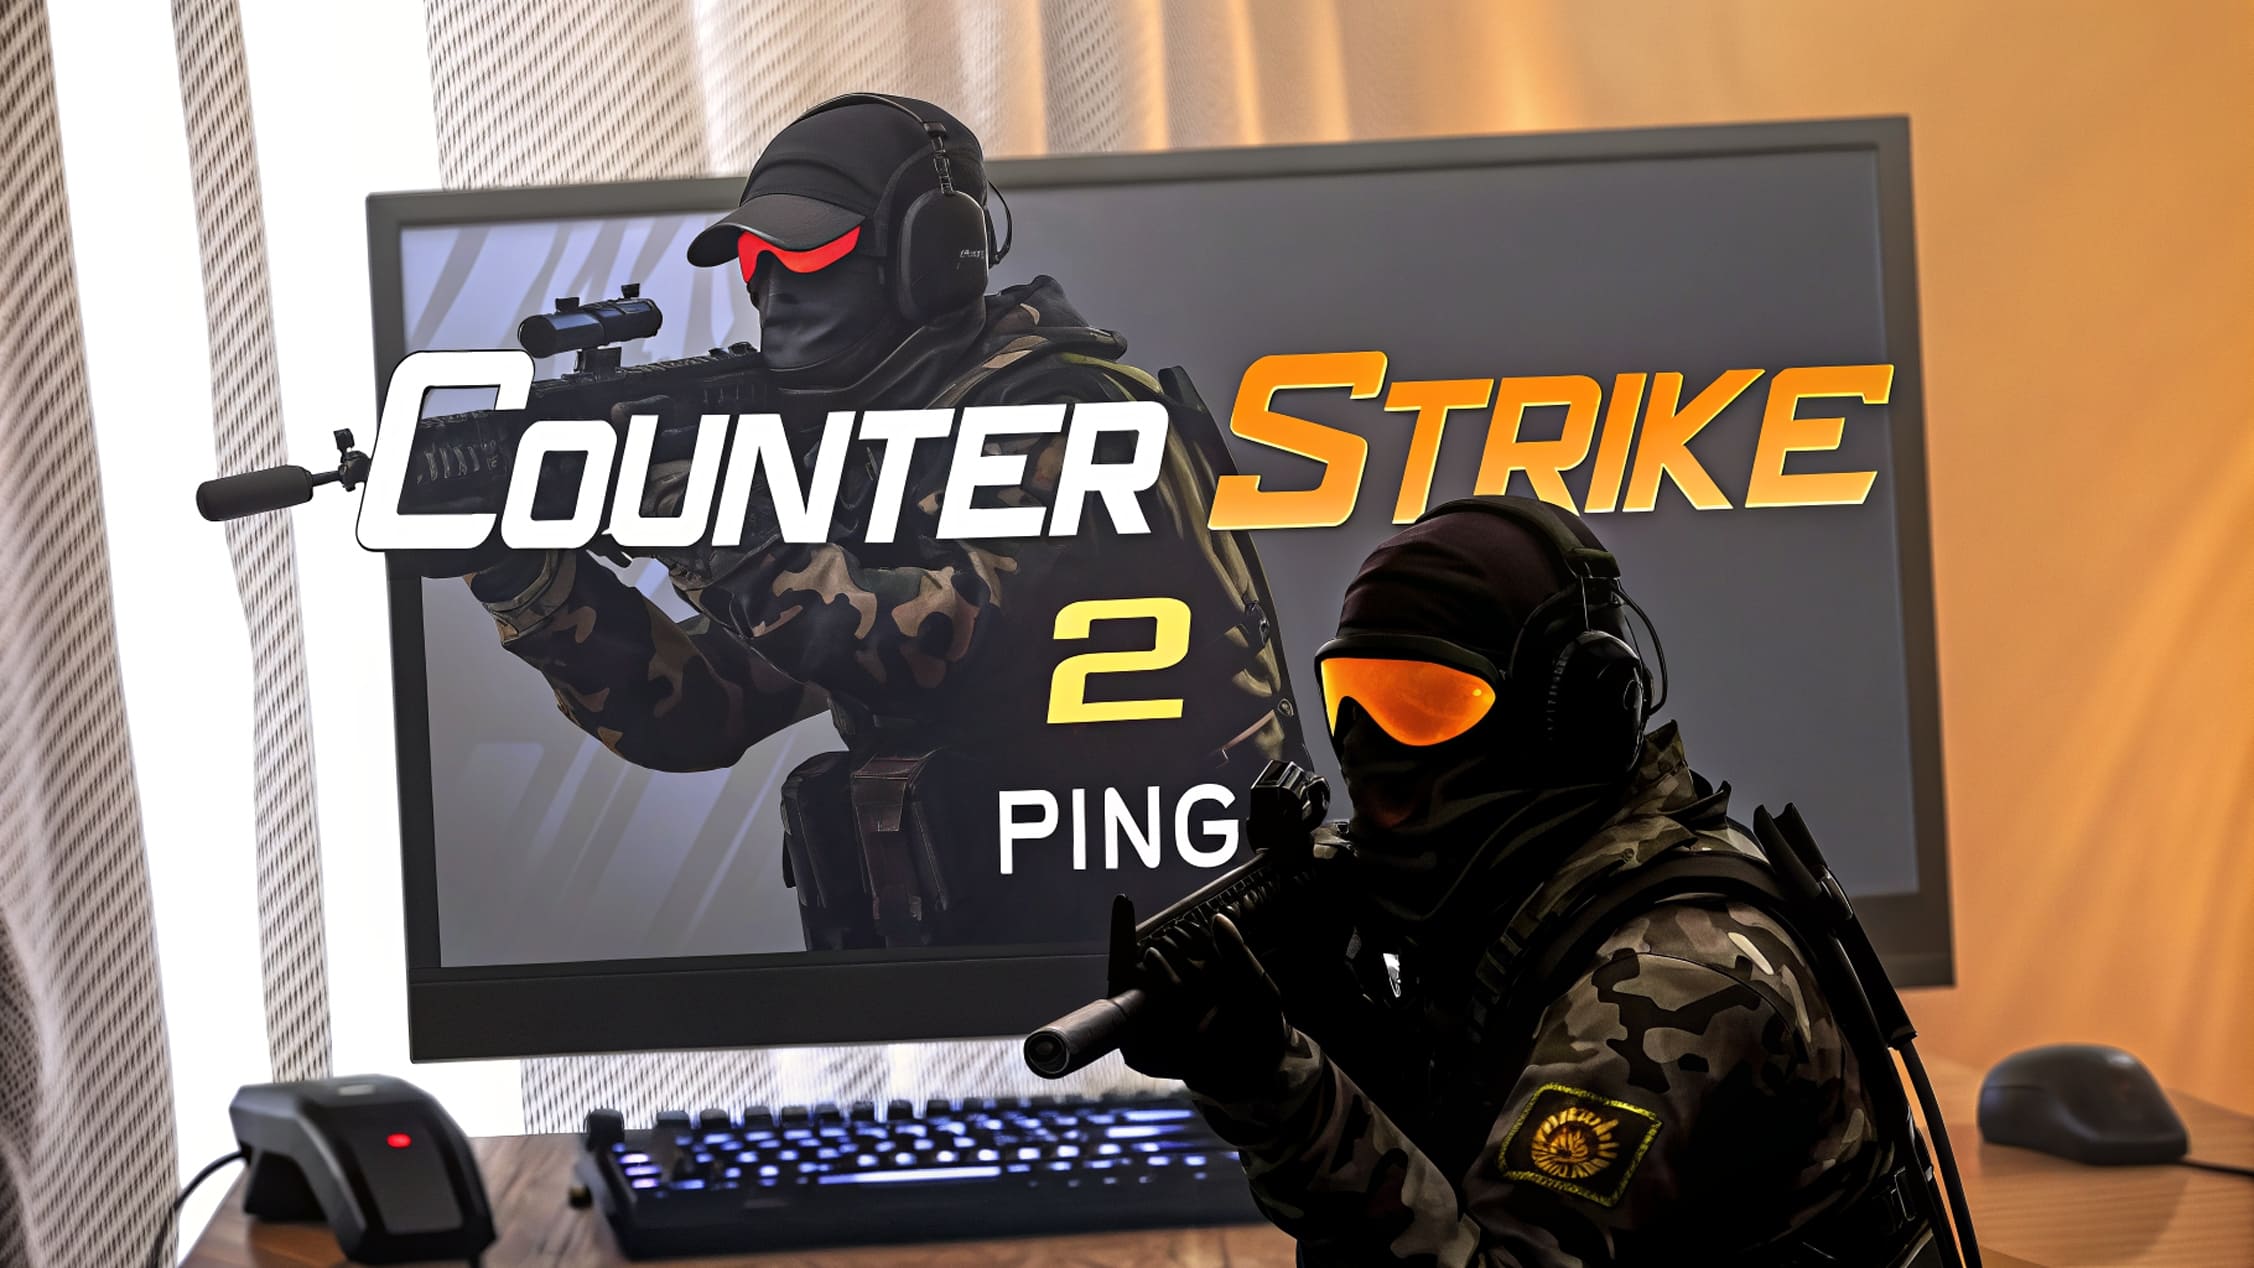
How to Install Config in CS2: Complete Guide
Every Counter-Strike game has special configs - the ability to quickly and conveniently customize the game according to user needs. Loading your own config in CS2 allows you to immediately enable personal game client parameters. For example, screen resolution, crosshair, and others. This is a very convenient way to set the required settings with just a couple of clicks.
Even now on gaming forums, people often ask how to install config in CS2. Due to the relevance of this problem, we provide a detailed action algorithm.
How to Set CS GO 2 Config: 5 Simple Steps
-
Download the settings file (you can download individual game customization from any CS esports player)
-
Go to the game folder
-
Move the file with .cfg extension to the address ..../Counter-Strike Global Offensive/csgo/cfg/
-
Launch the game
-
Open the console and type exec "config name".cfg. The final command will look like this - exec csmod11ru.cfg
How to Install Your Config in CS GO Forever?
There is one useful life hack that will eliminate the need to enter a command to load personal settings when starting the game. To do this, before copying personal settings to the game folder (step 3 from the list above), you need to change the file name to config.cfg. This way the settings will not be reset after exiting the game.
Another way is through the Steam library. To set a permanent config in CS GO, you need to:
-
Go to Steam and navigate to the library ("Games" section)
-
Right-click on the game and select "Properties" from the menu
-
Go to the "Set launch options" tab
-
Type -console -exec "name".cfg and click "OK"
Here's an example of the name you need to type: -console -exec csmod11ru.cfg.
This is another option for how to load your config in CS GO. Gaming with individual parameter customization can become even more enjoyable if you reduce ping in CS 2.